A collection of specialized administration and configuration tools are available to enhance the ability to fine-tune operations, bulk load data, define integration points, and more.
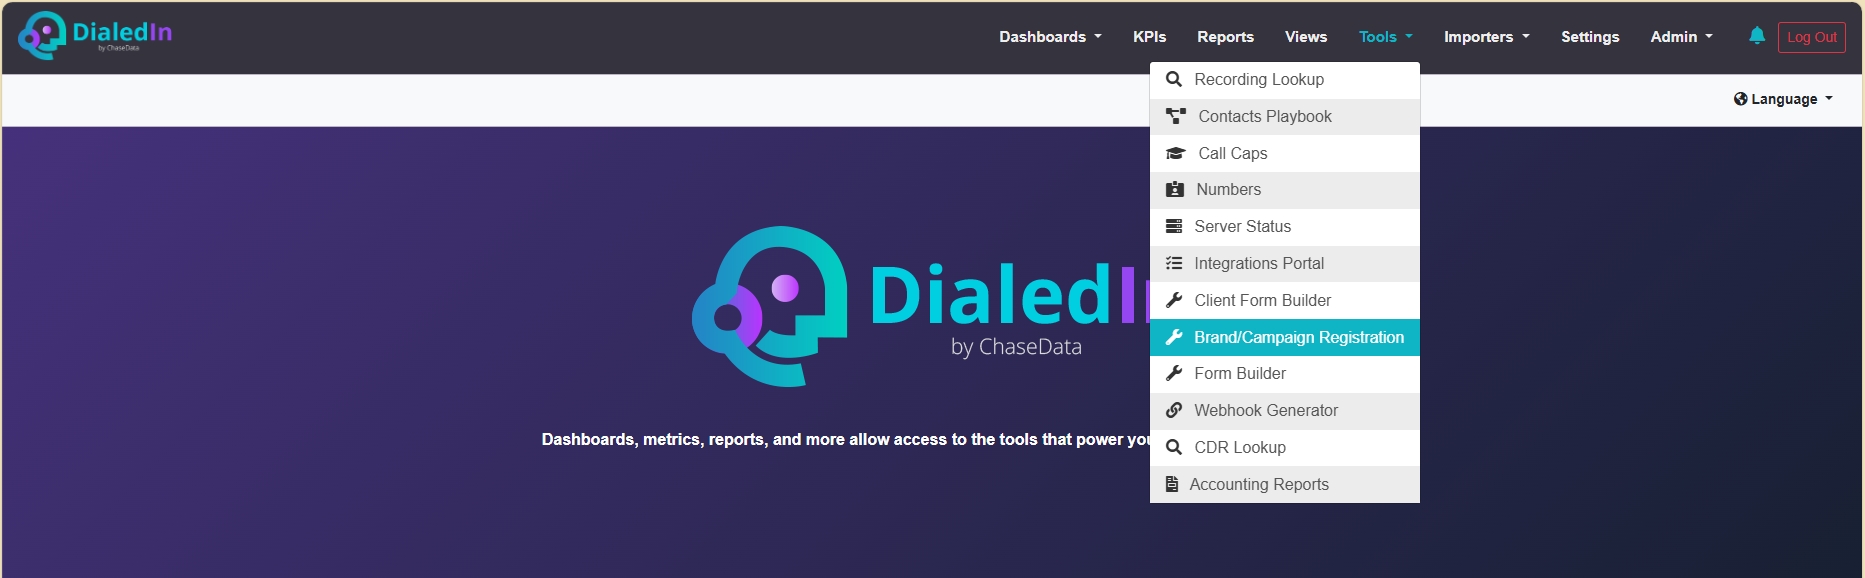
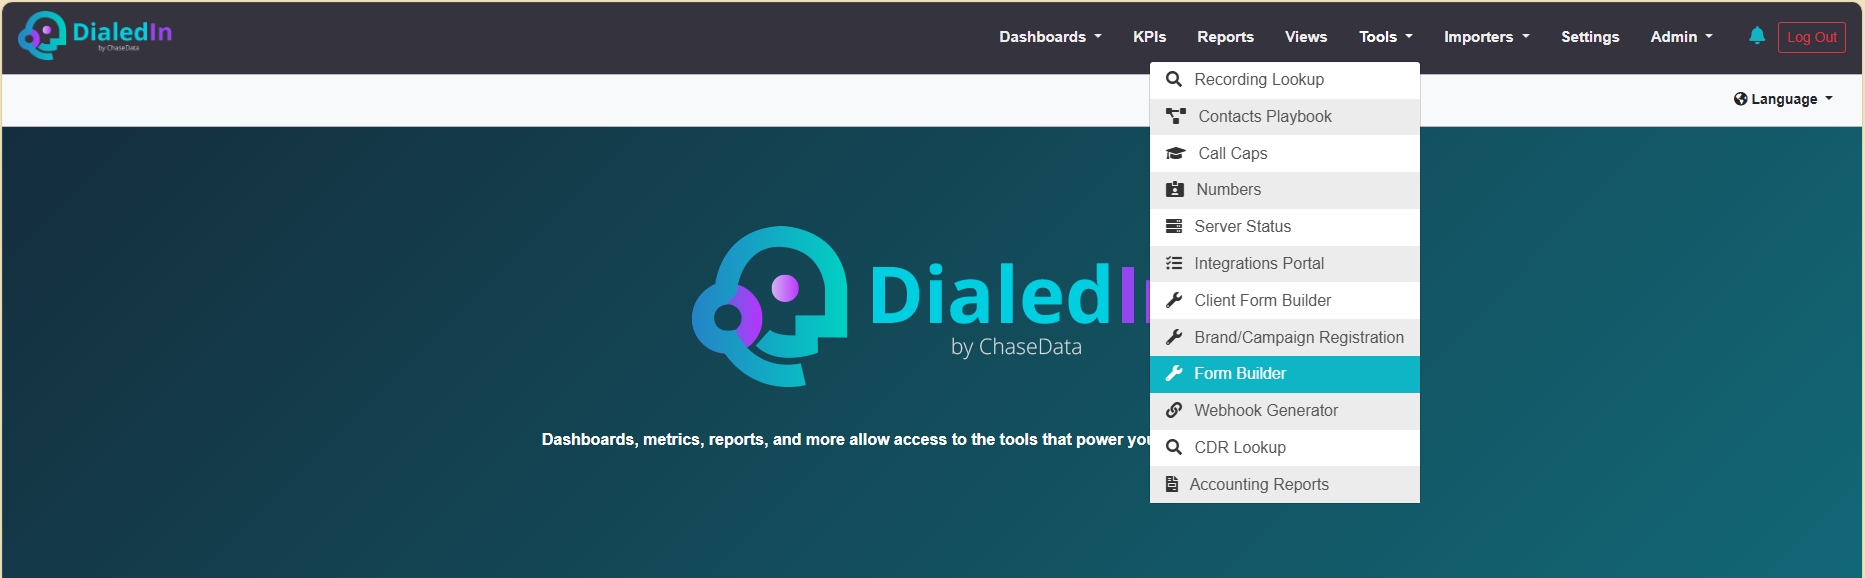
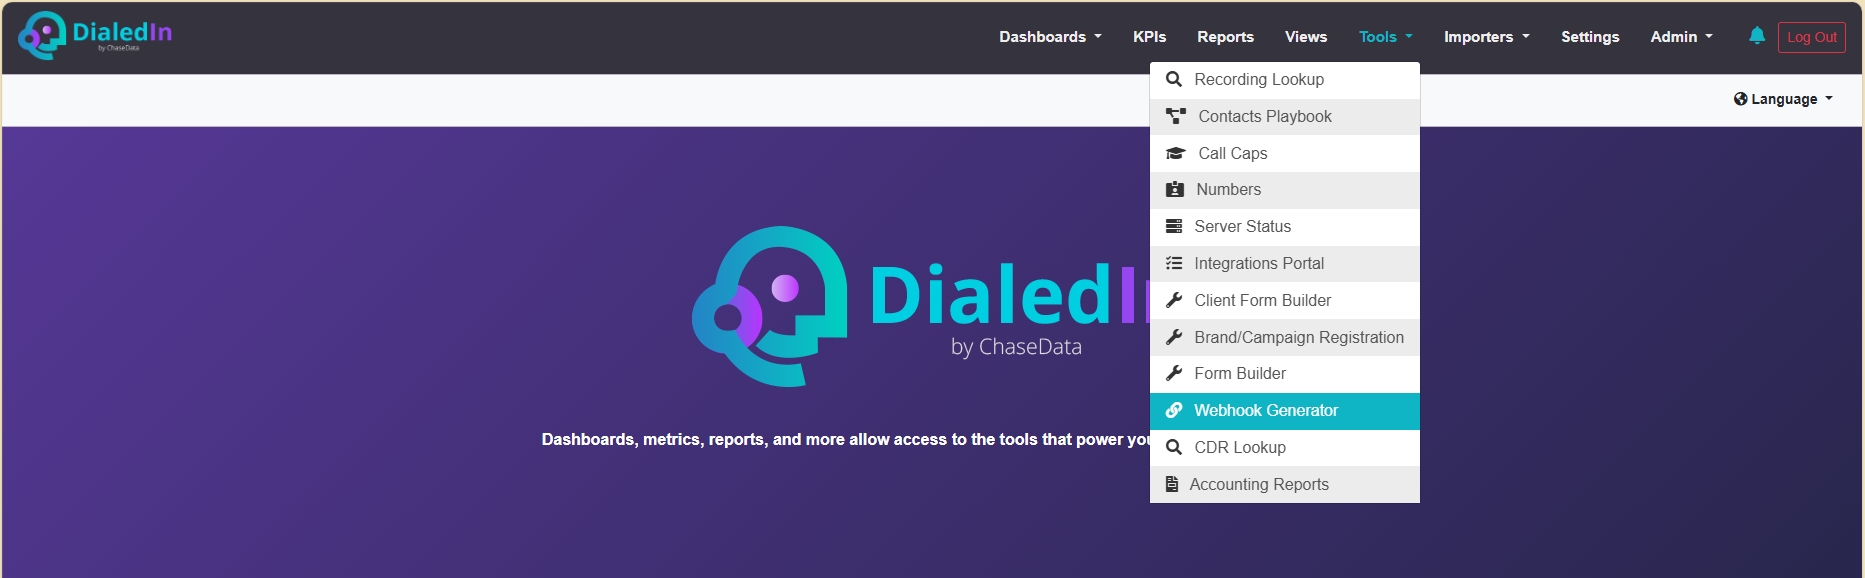
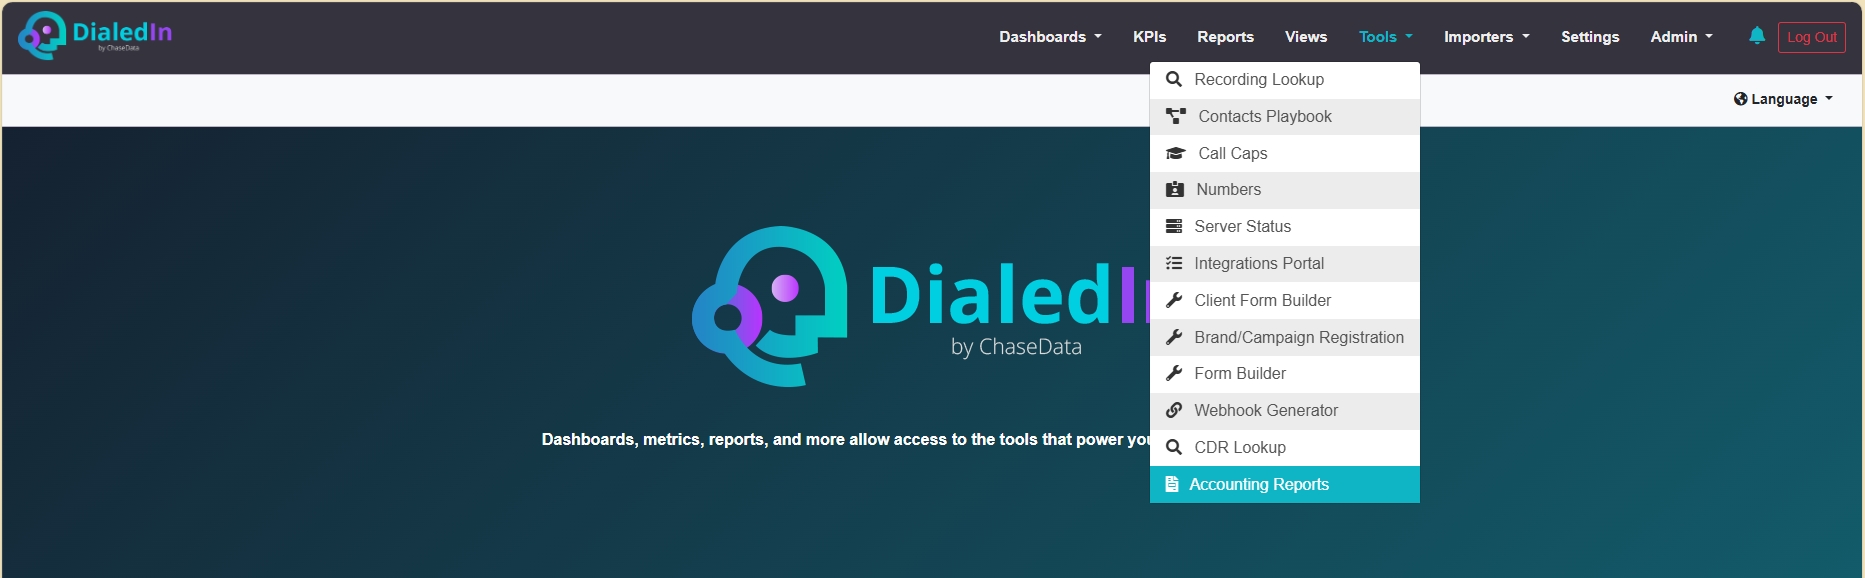
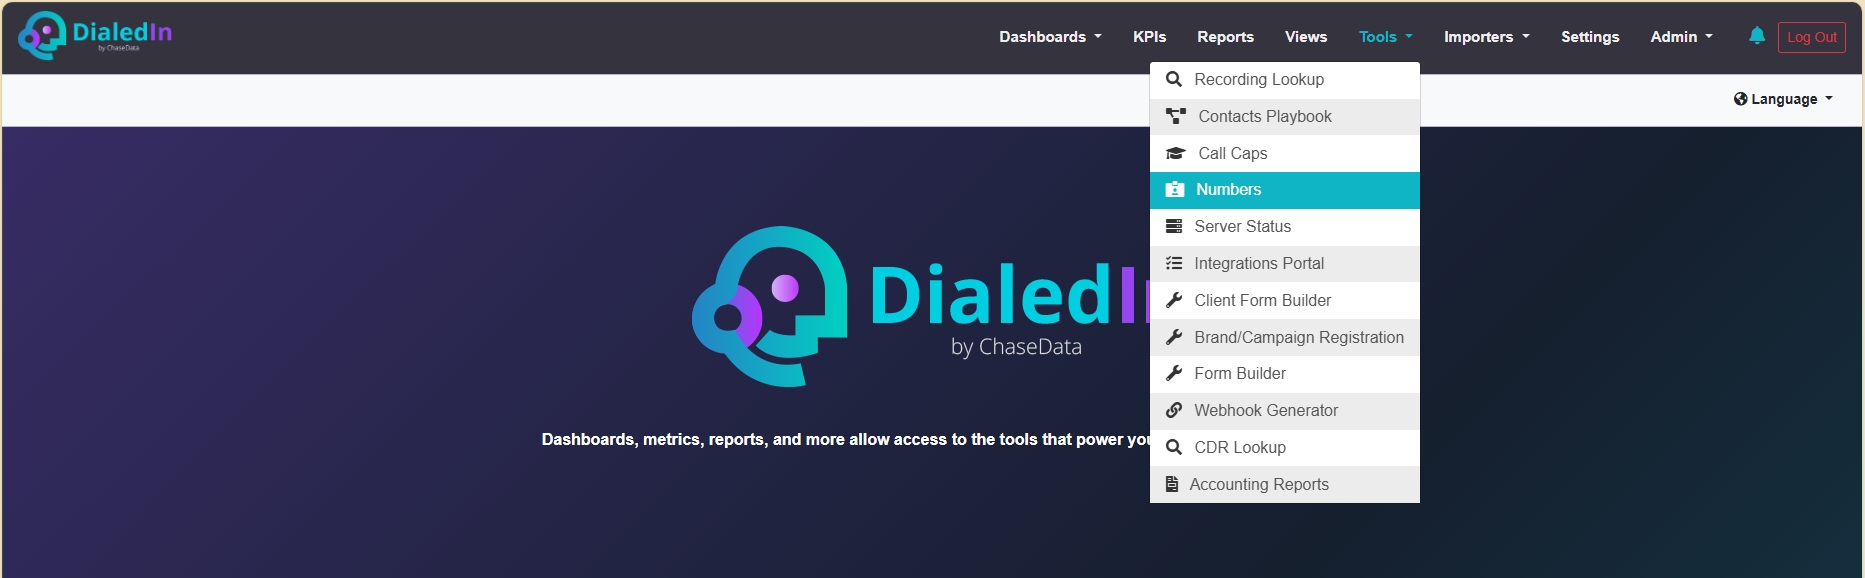
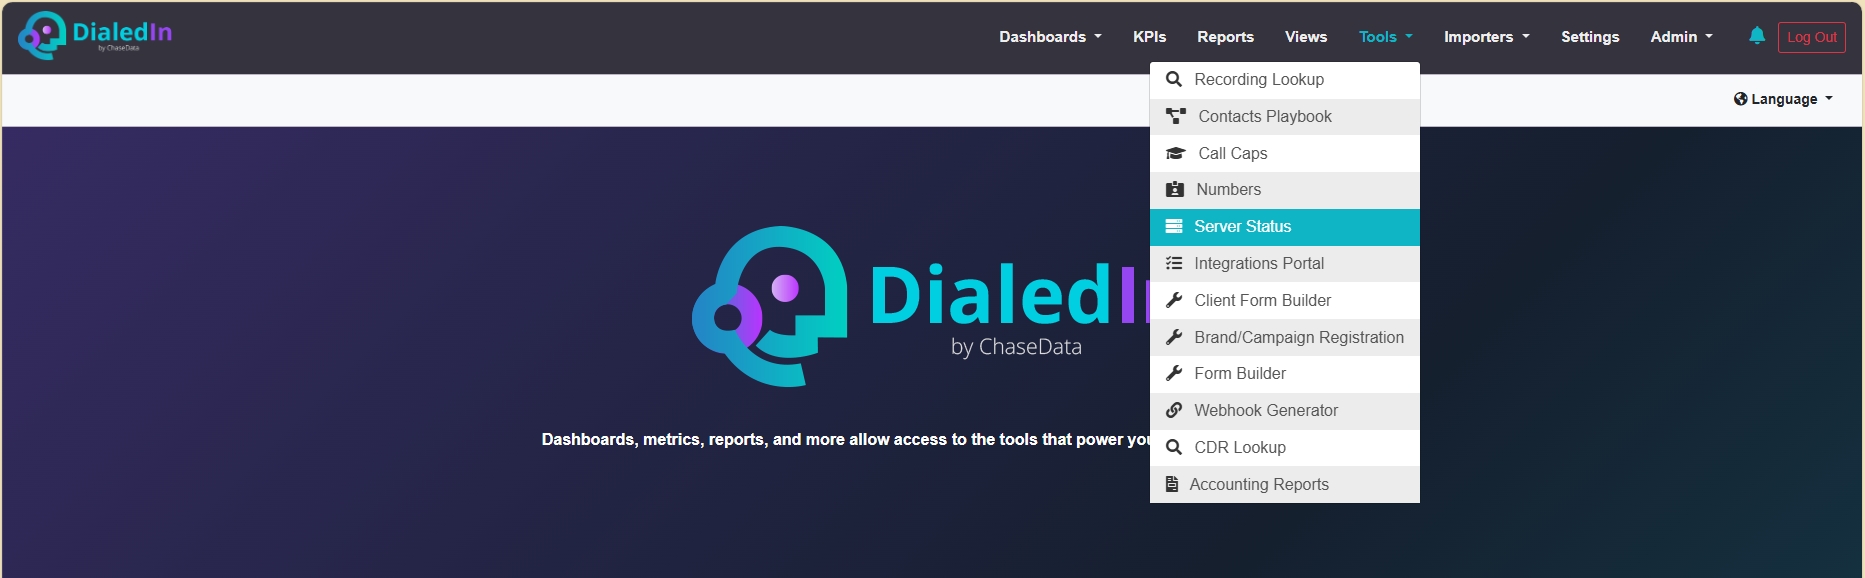
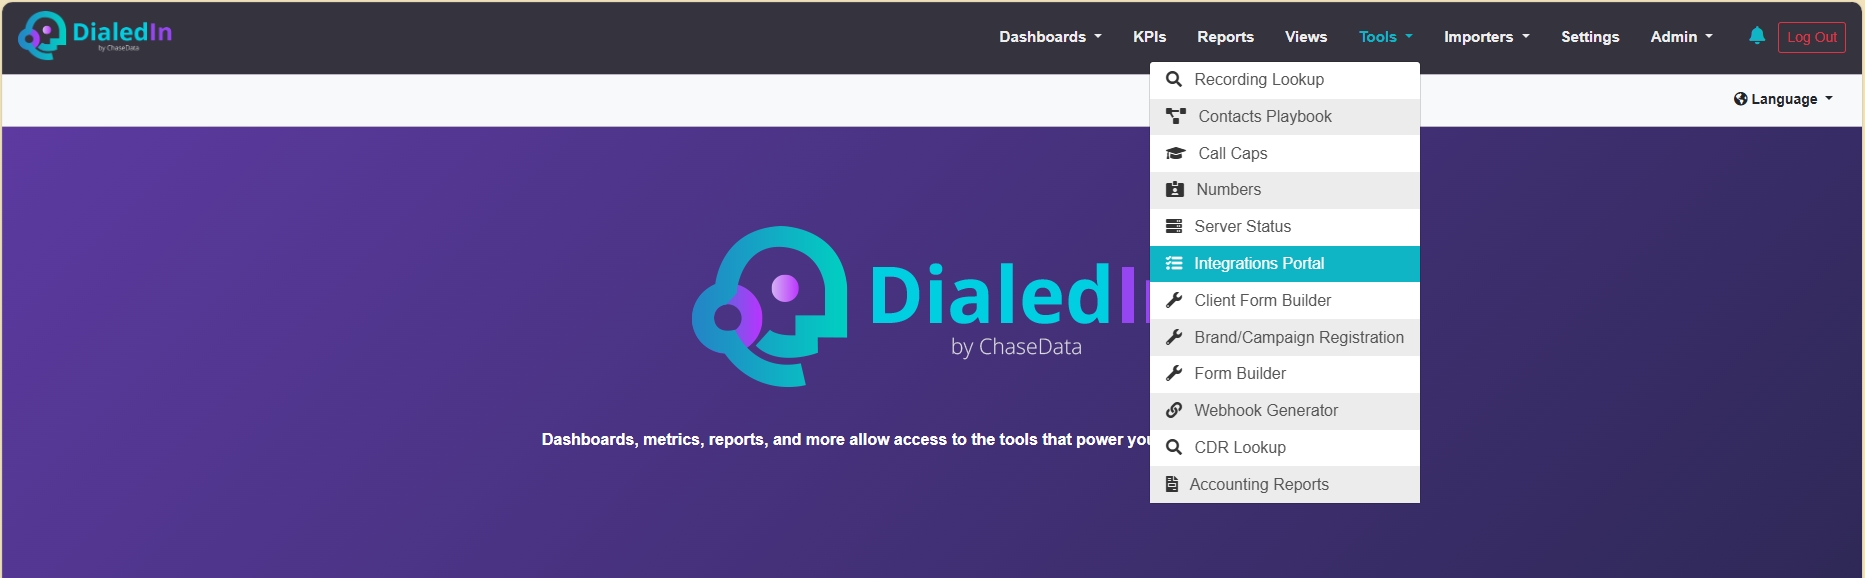
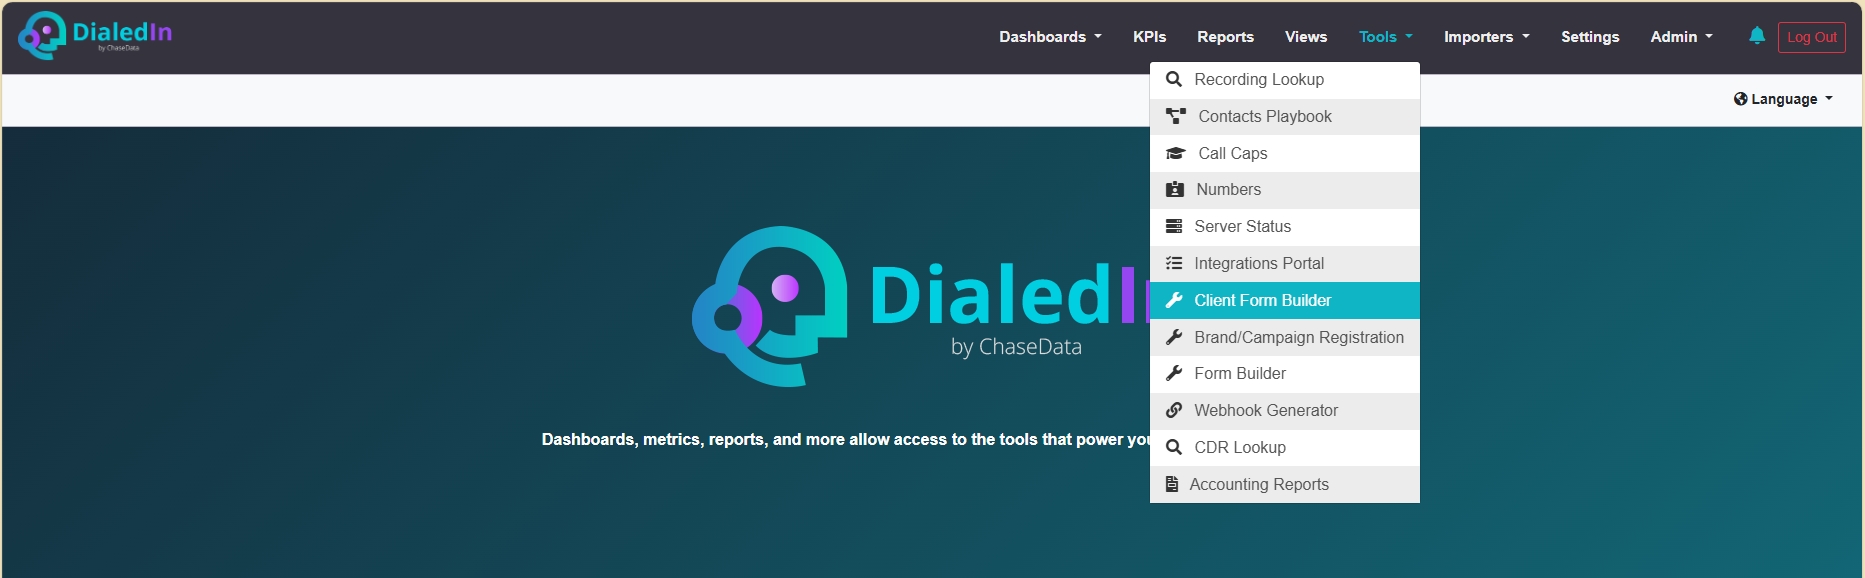
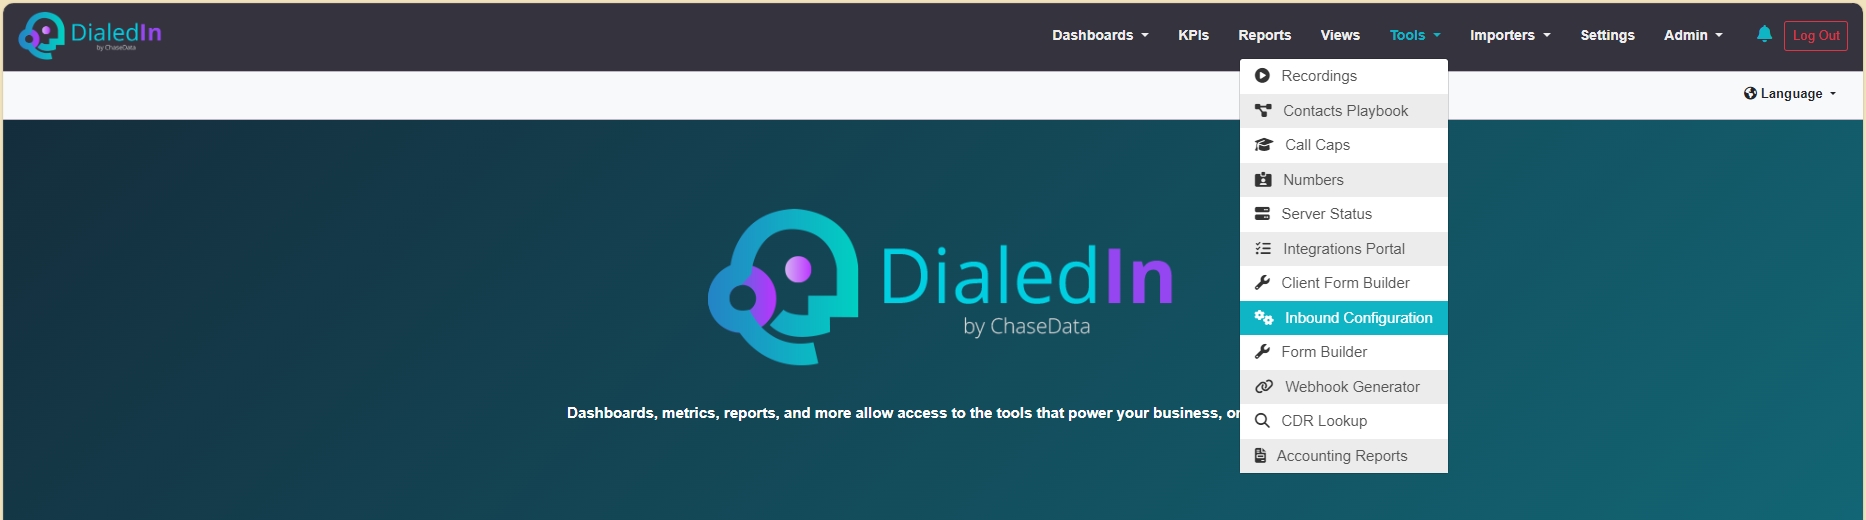
First, we need to access the Tools menu, and from there select one of the available tools. Refer to the following picture.

Next, we will explain each of these tools.
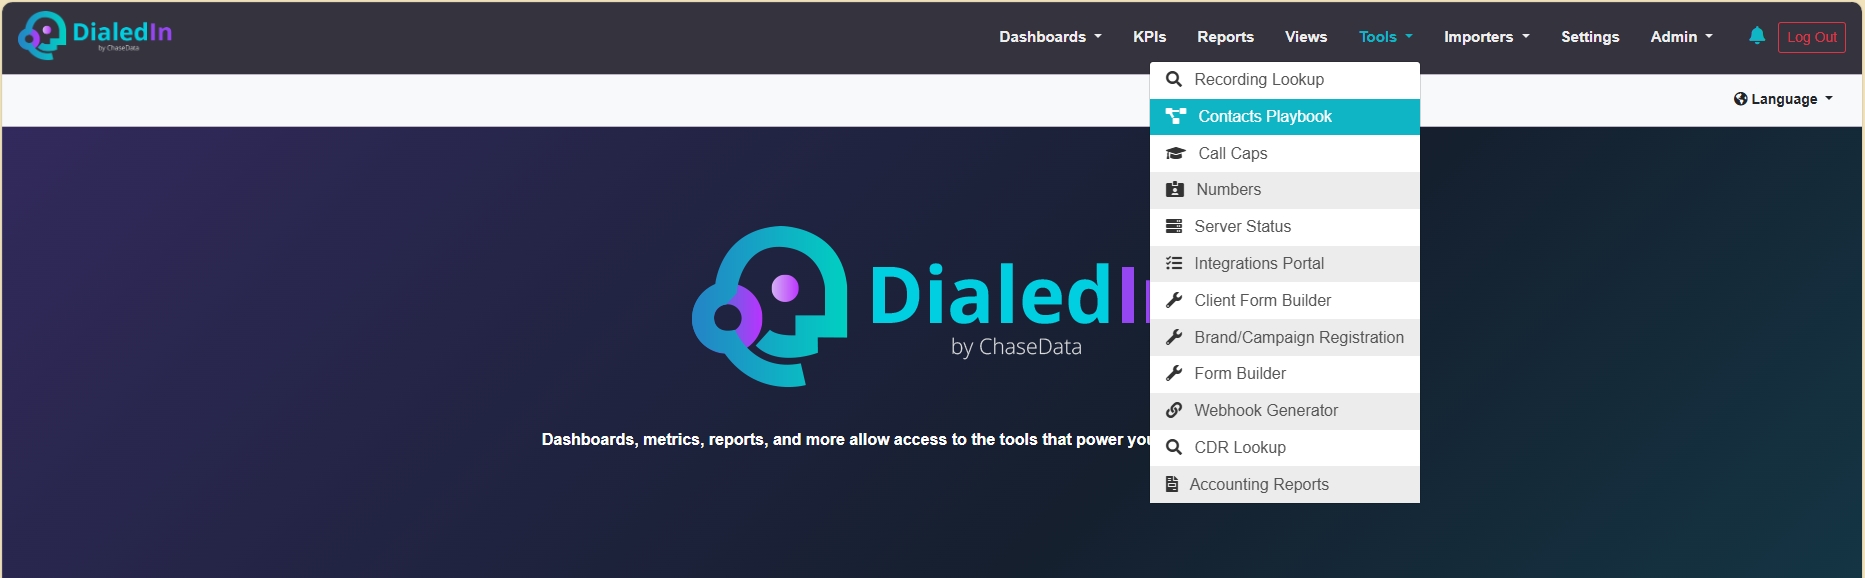
The Contacts Playbook is a workflow engine that reacts to triggers, checks conditions, and executes actions if those conditions are met. A Playbook includes Touches, where each Touch combines one or more Filters, which, if evaluated to True, executes Actions. A Filter is a condition to be evaluated.
Both Playbook Filters and Playbook Actions are defined previous to creating a Playbook, hence can be used by multiple Playbooks. You can also pre-define Email Providers and SMS Numbers, as they are often used in communication Playbook Actions.
Playbooks that are enabled are executed in the background according to a schedule determined by the Trigger Type. Each triggered execution is of one of two types, Lead or Dial, where Lead focuses on Contact records, while Dial focuses on Call history. The Playbook provides the ability to review execution History for both types.
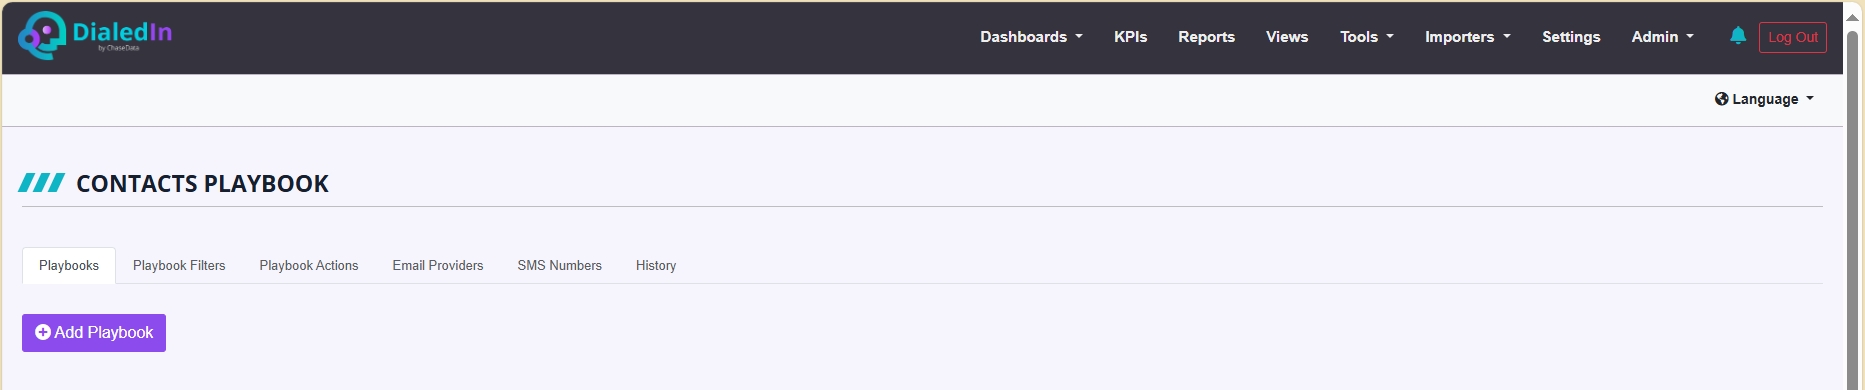
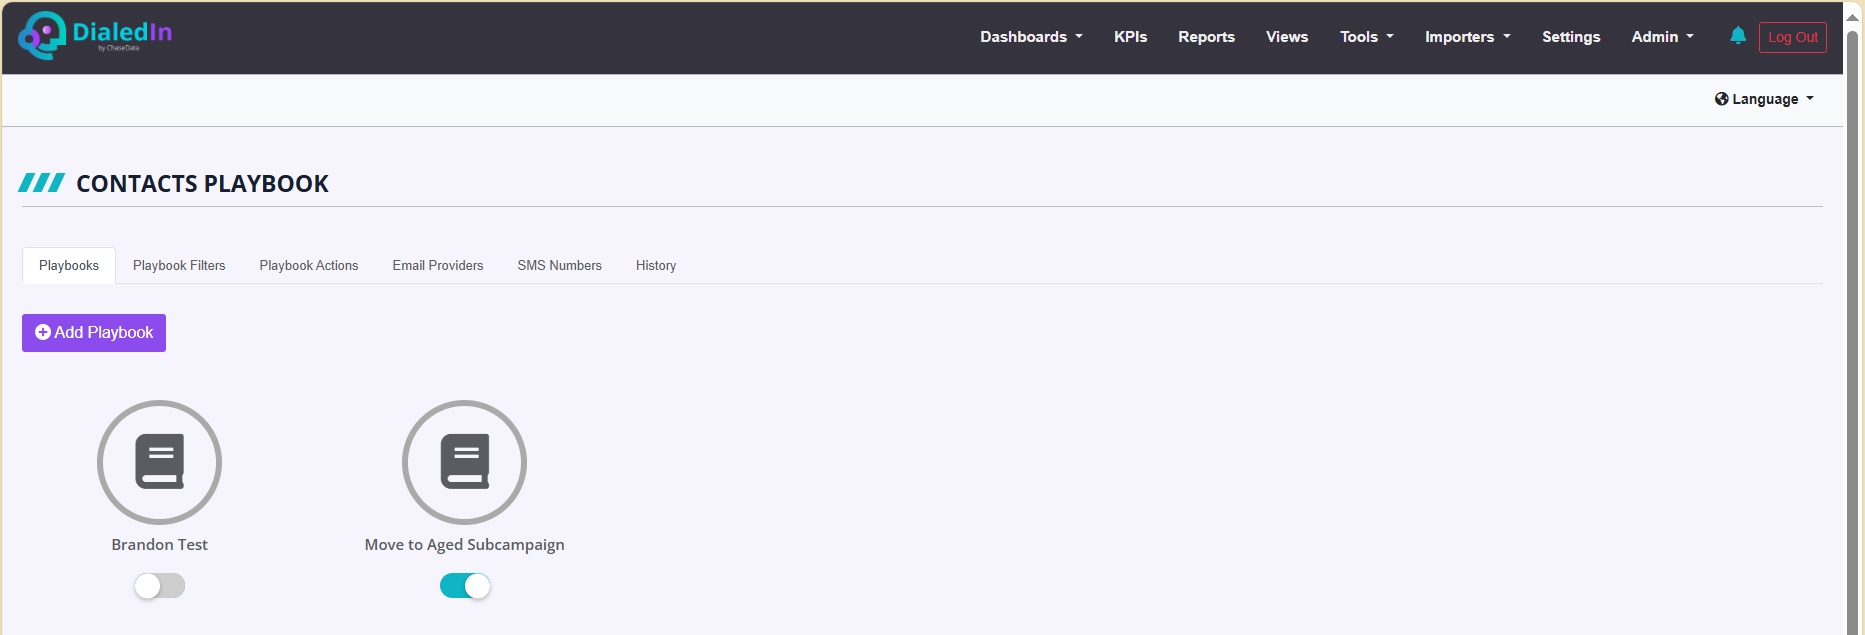
By selecting the Playbooks tab, you can review and edit existing Playbooks, enable or disable them, or add new ones.
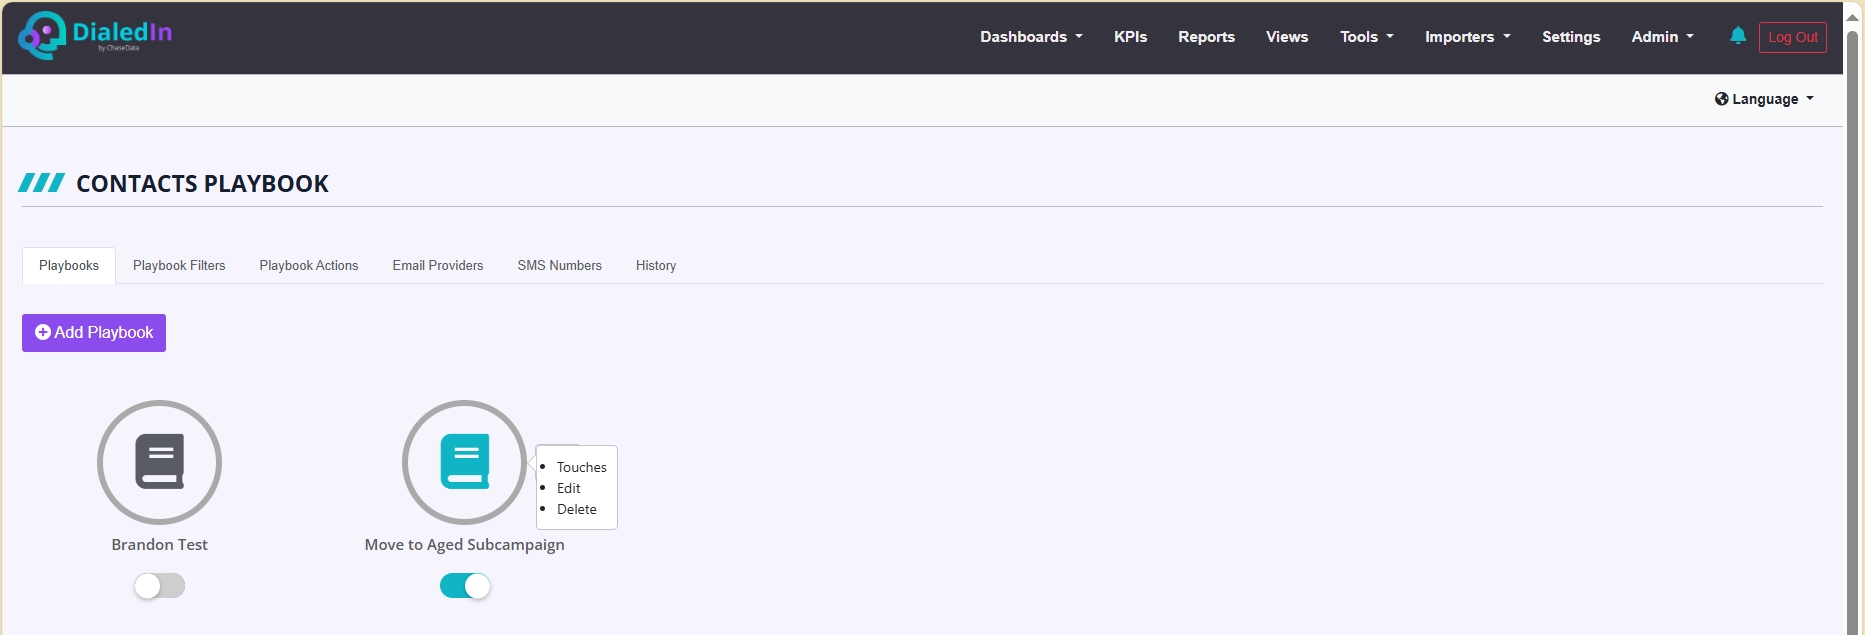
When you select and click on an existing Playbook, a context menu provides you with three options: Touches, Edit, and Delete. Please note that some changes are only allowed when the Playbook is not active/enabled.
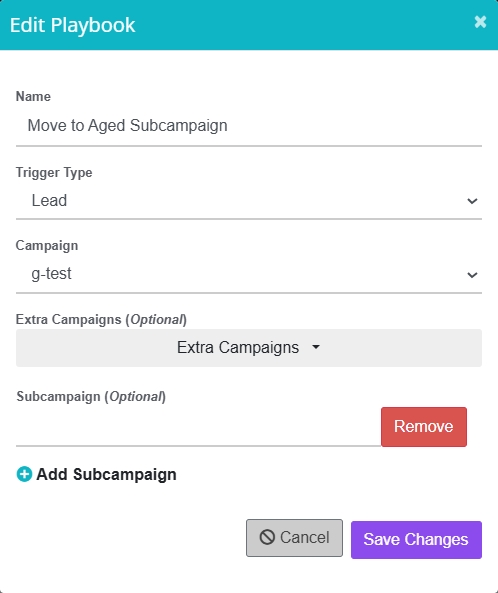
If you select Edit, the Edit Playbook window pops up, where you specify a name for this Playbook, whether the Trigger Type is Lead or Dial, and the Campaign associated with it. Optionally, you can add additional Campaigns or Sub-Campaigns to execute this Playbook against. Notice that Edit Playbook is also the first thing peresented when creating a new Playbook.
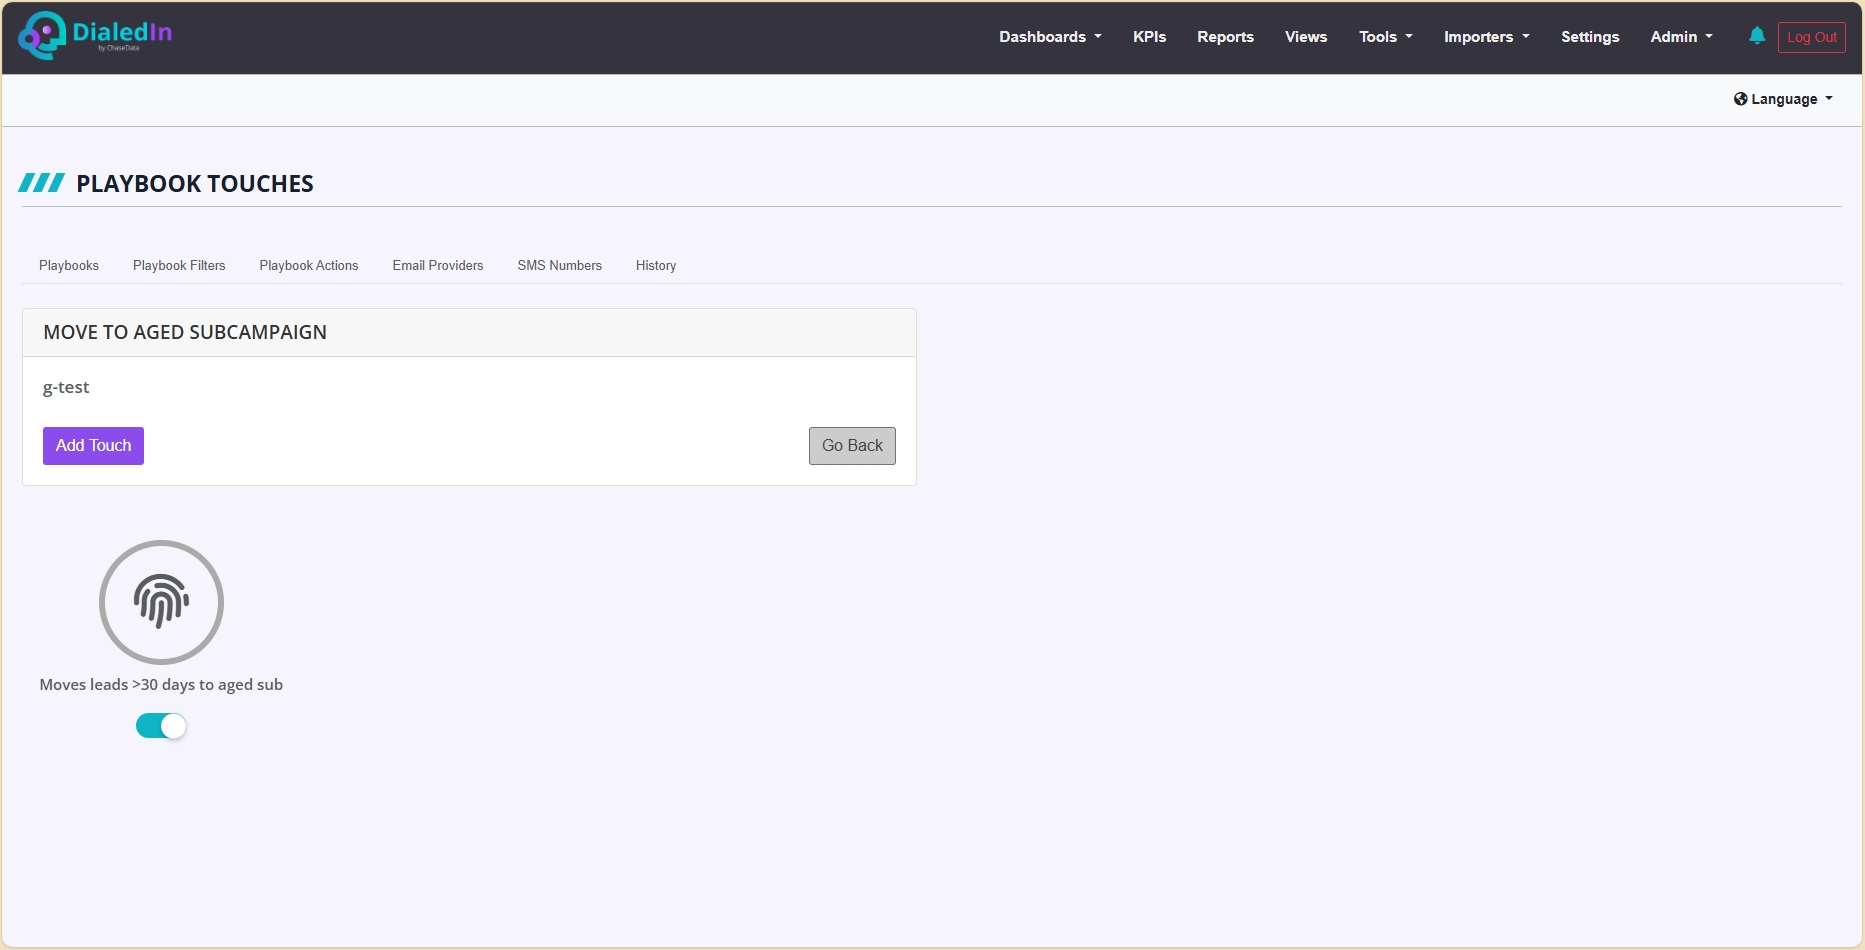
Select Touches from the Playbook context menu, instead, to review, edit, or add additional ones. A Touch is a rule that evaluates one or more Filters (conditions) and, if it evaluates True, performs the Action(s) that follow.
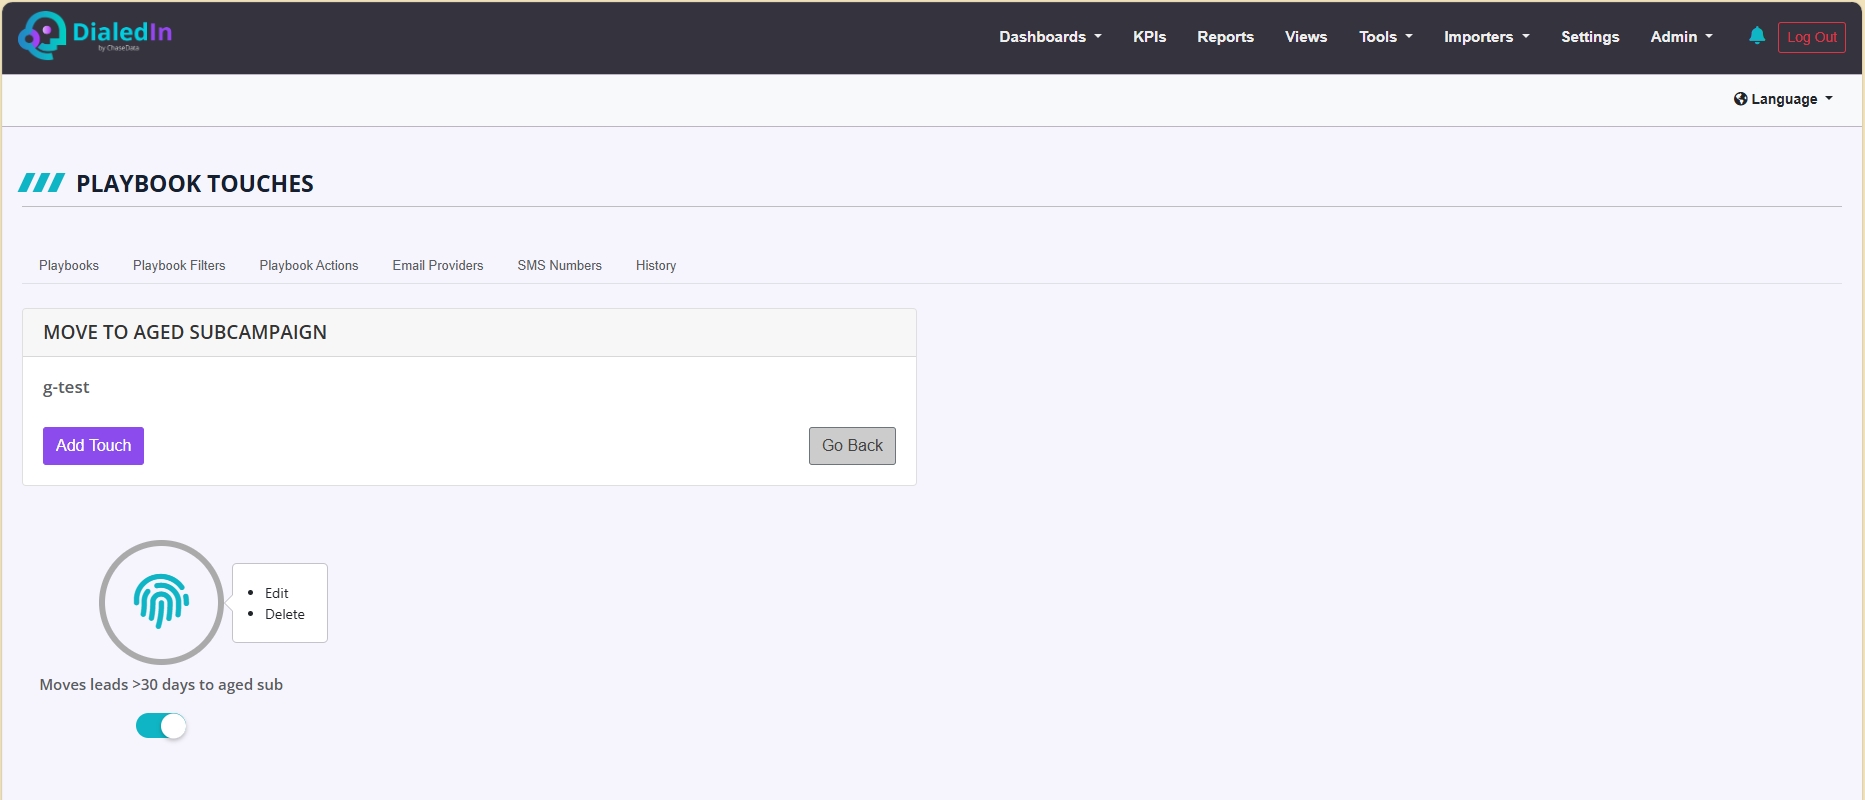
When you select and click on an existing Touch, a context menu provides you with two options: Edit and Delete.
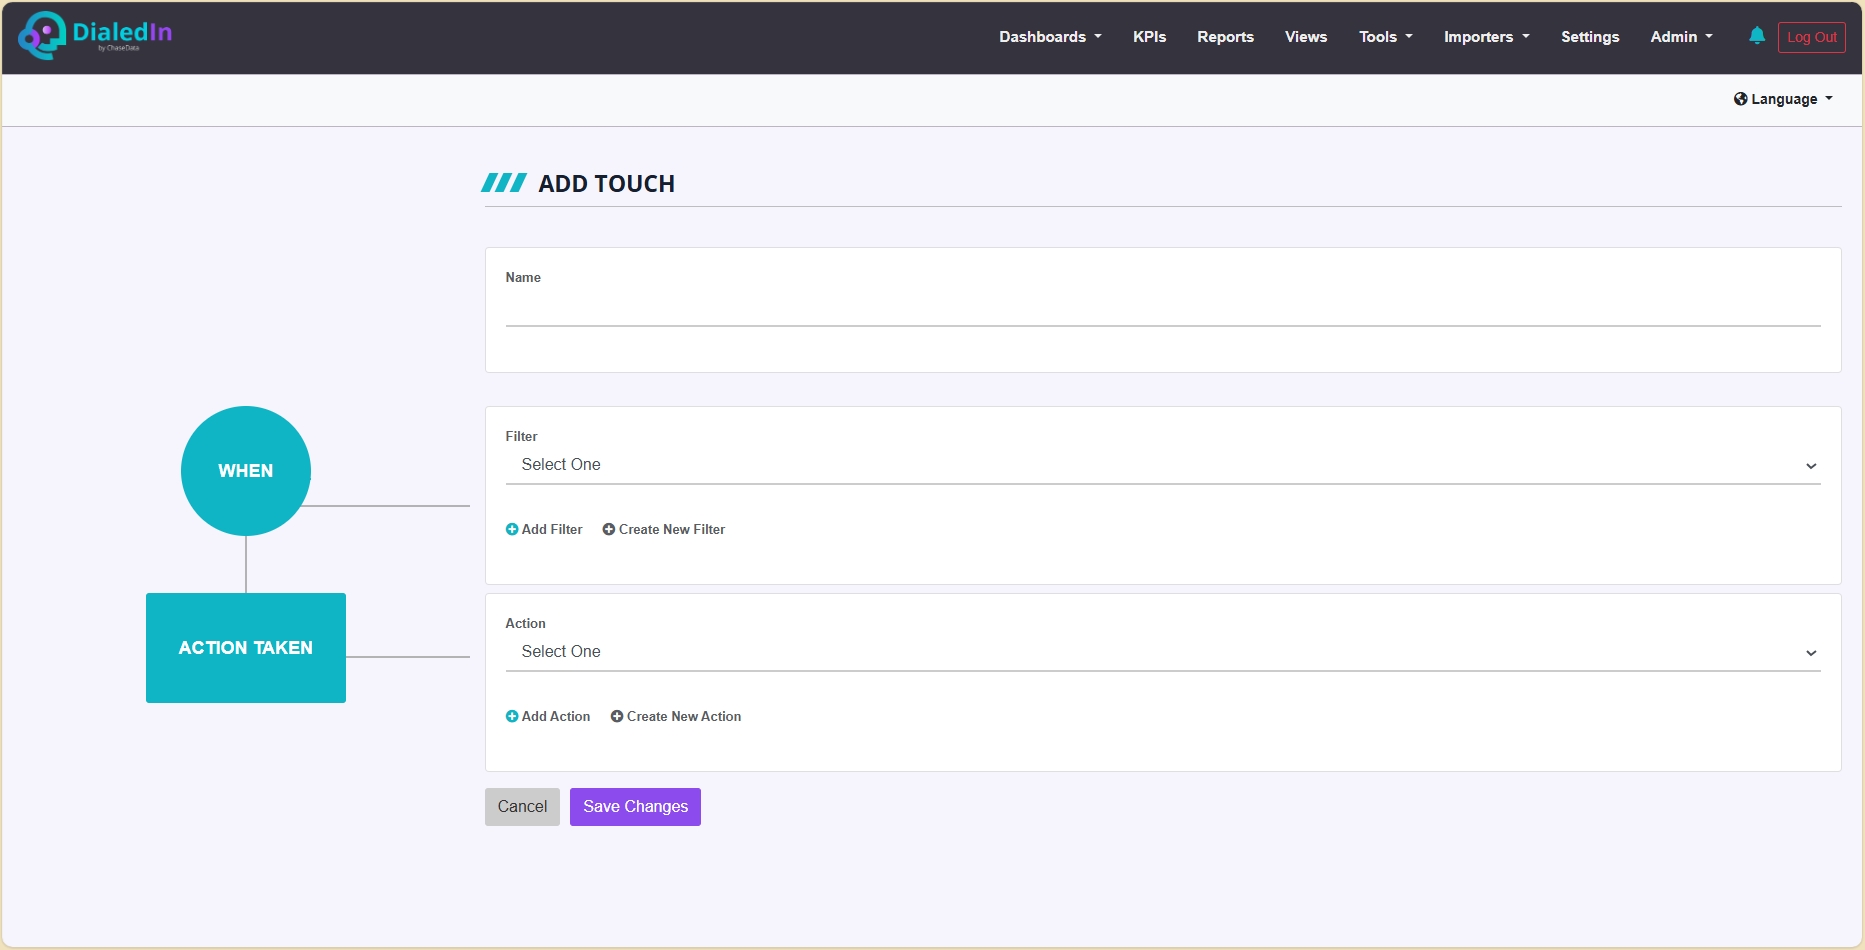
Whether you create or edit a Touch, you must have at least one Filter (condition) and one Action. Choose pre-defined ones through the corresponding pull-down menus. The logic is simple: WHEN Filter(s) evaluate to True, the given ACTION(s) is/are TAKEN.

Most Playbook Filters and Playbook Actions are pre-defined separately so they can be used by multiple Playbooks. However, you can create new ones on the fly using the corresponding Create New Filter and Create New Action buttons.
A Filter uses Operator to evaluate a Field against a Value.
An Action can modify an element in the database, generate communications (e.g., eMail, SMS), etc.

Similarly, when you choose to Add Touch to the Playlist, you're presented with a configuration window where you must select at least one Filter, or create a new one, AND at least one Action, or create a new one.
Only after you Select One Filter can you Add Filter,as an additional condition. Similarly, only after you Select One Action can you Add Action,as an additional operation.
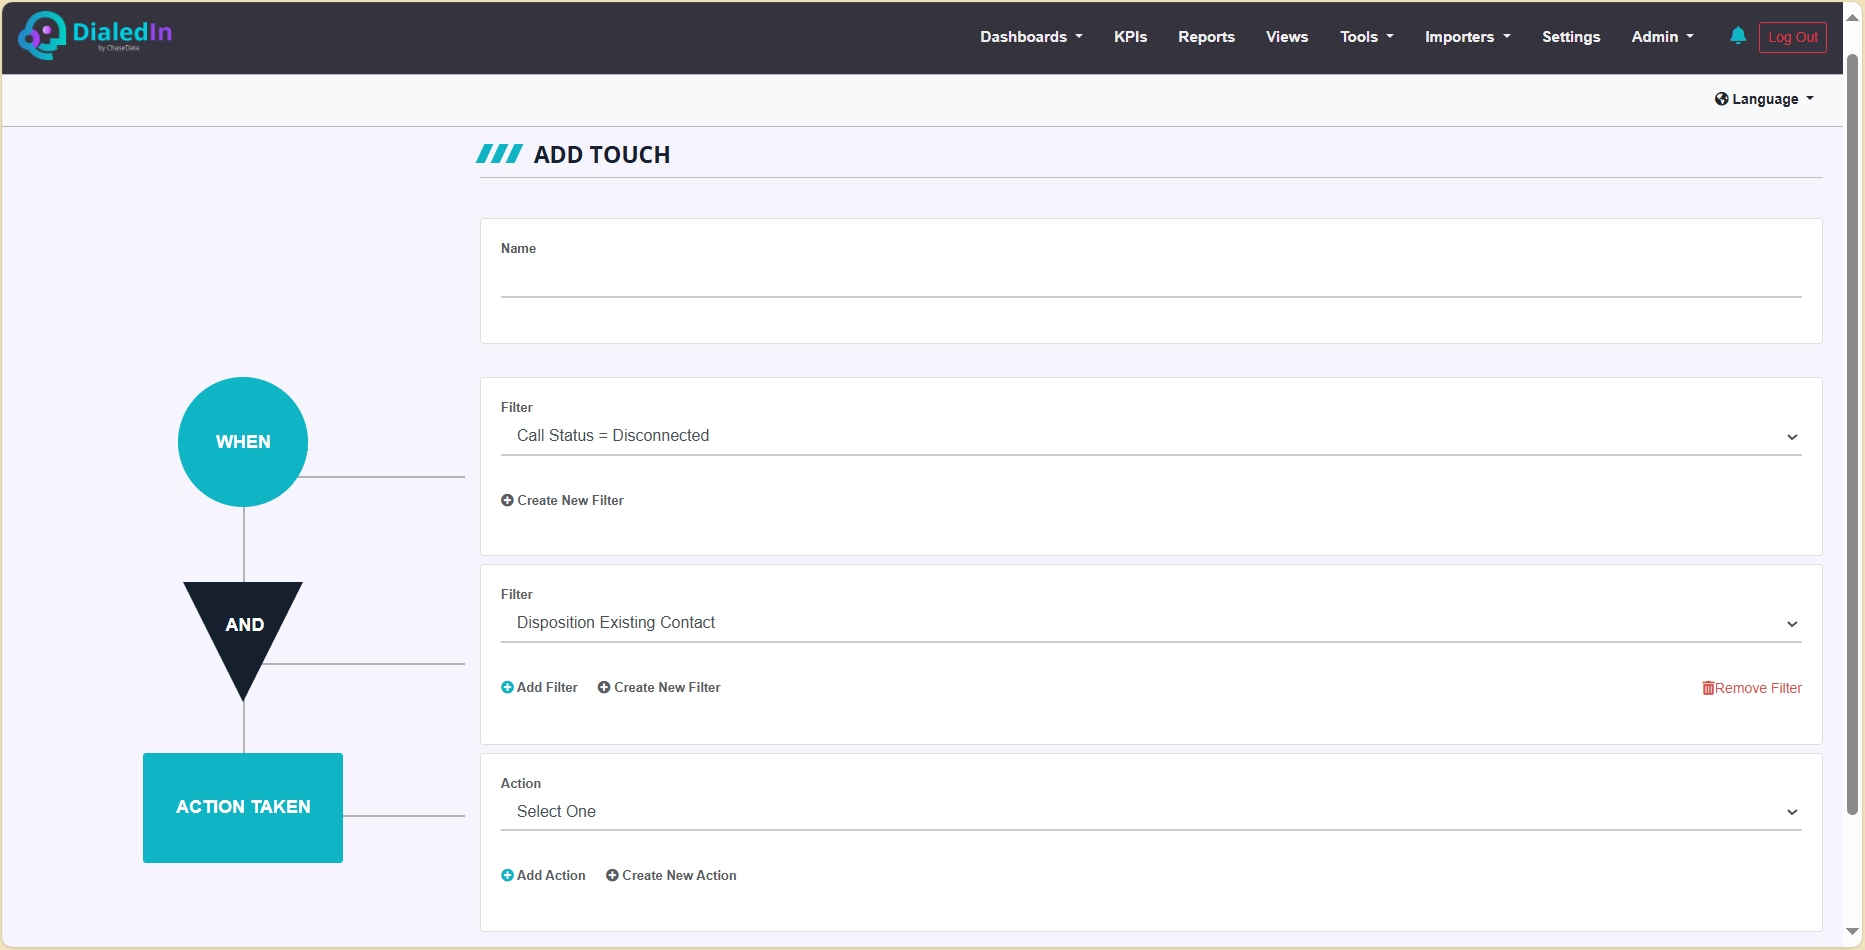
Add Filter and Add Action are only available for Playbooks that are not active/enabled.
After you Select One Filter, you may add additional ones; they will be combined using the logical AND operator.
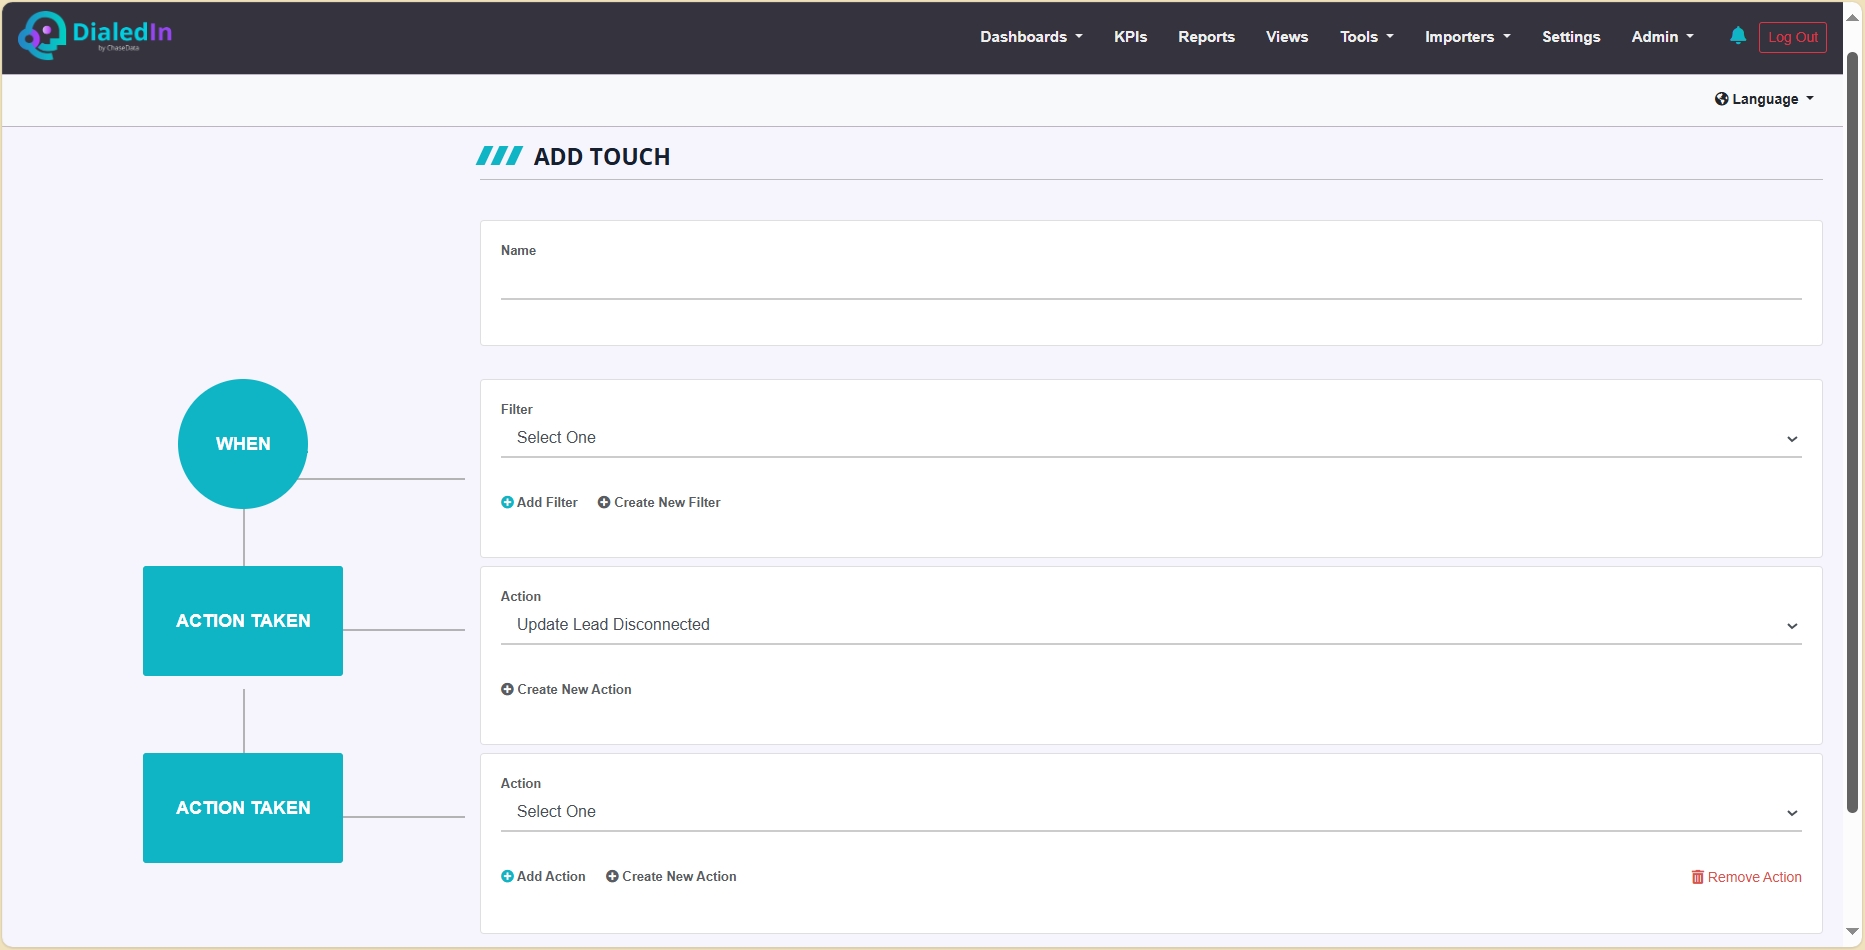
Similarly, after you Select One Action, you may add additional ones; they will be excuted sequentially.
As we previously indicated, Playbook Filters are pre-defined. By selecting the Playbook Filters tab, you can review and edit those Filters, delete them, or add new ones.
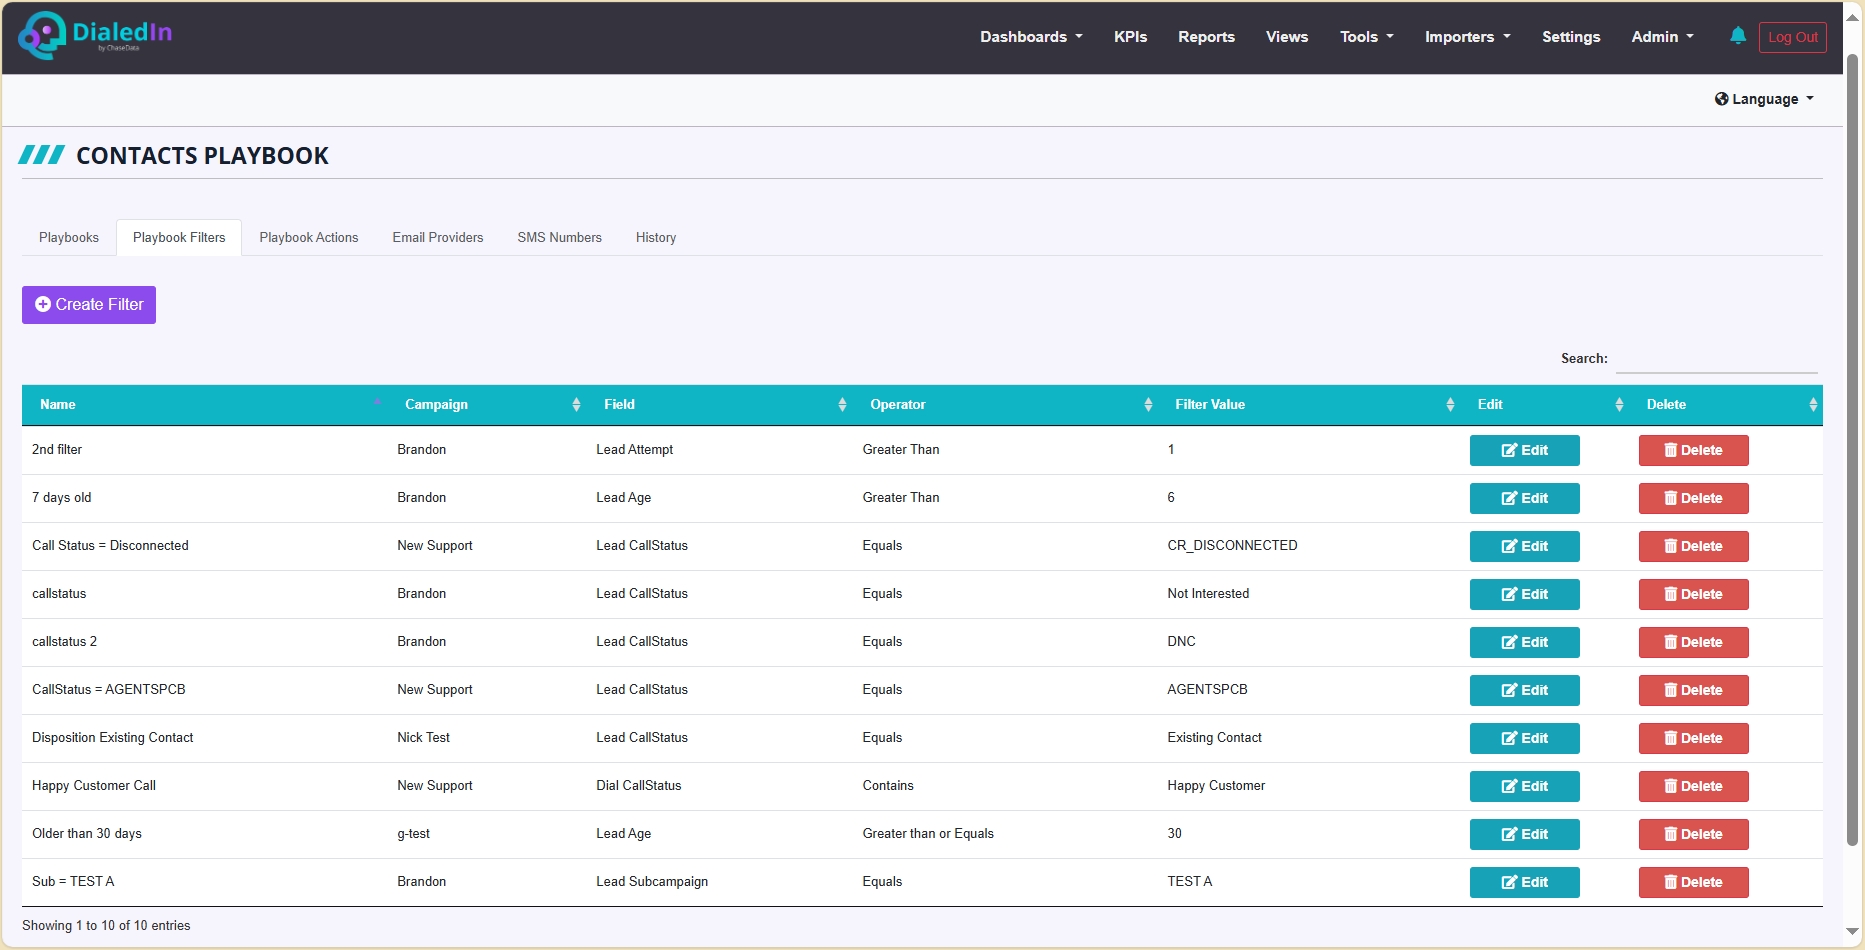
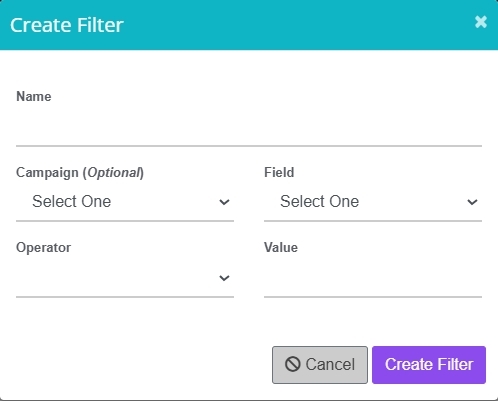
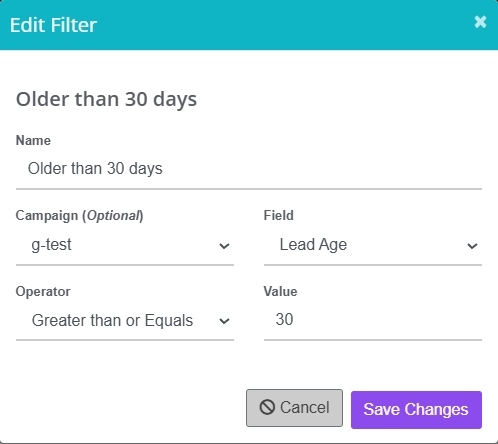
When you add a new one, as well as when you edit an existing one, the Create Filter or Edit Filter windows pop up (they're the same, just different labels). A Filter uses Operator to evaluate a Field against a Value. You have the option to associate the Filter with a particular Campaign.
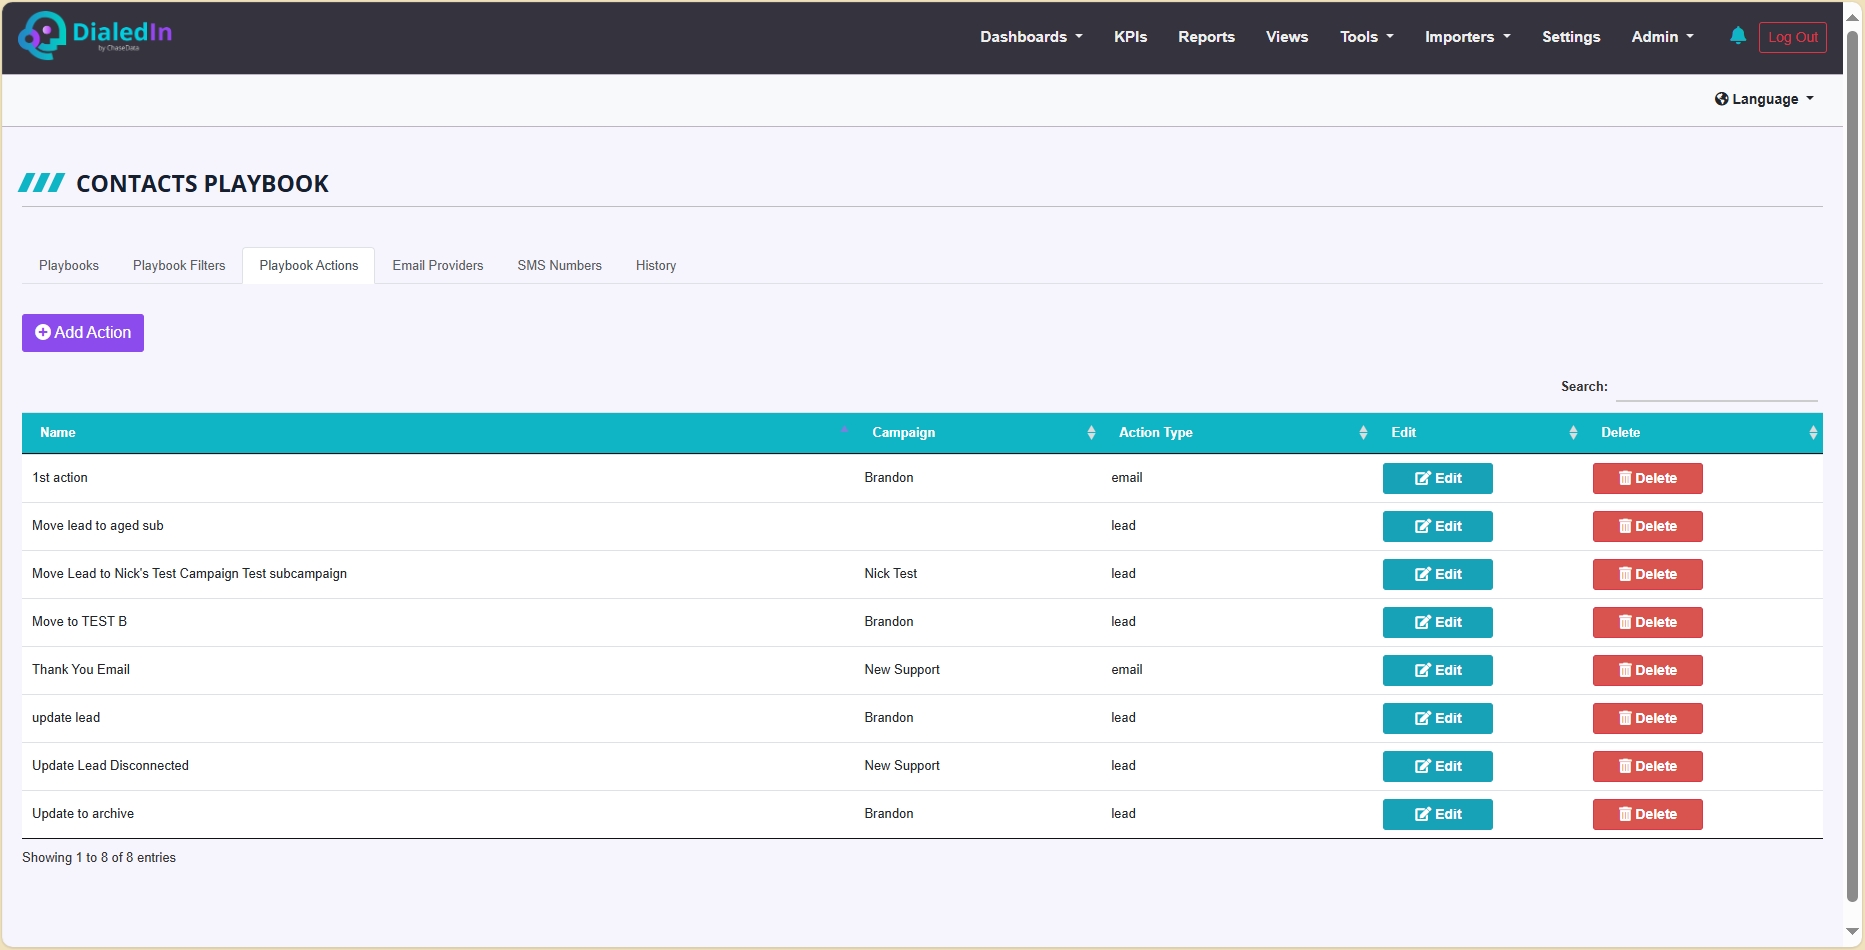
As we also previously indicated, Playbook Actions are pre-defined, as well. By selecting the Playbook Actions tab, you can review and edit those Actions, delete them, or add new ones.
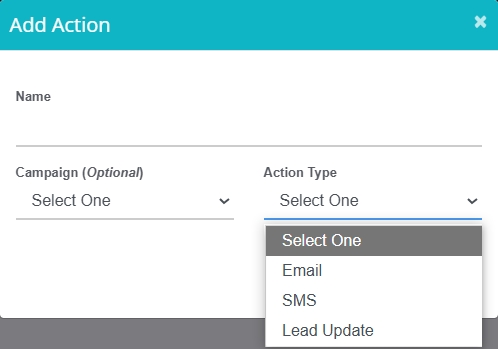
Currently, there are three type of Actions possible. The Email action is used to generate an email message to be sent. The SMS action is used to generate a text message to be sent. And the Lead Update action is used to modify the value of one or more Lead/Contact fields.
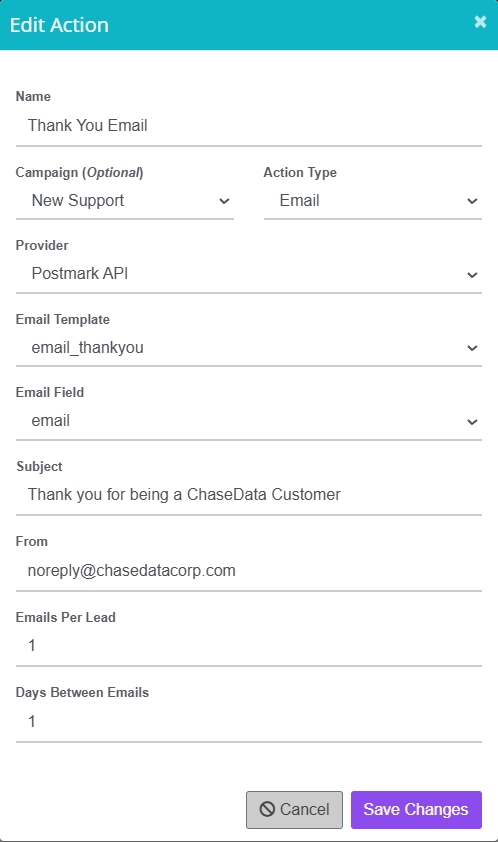
With the Email action you send one or more emails to leads/contacts (those filtered through a Filter condition). You specify an Email Template, the text for the Subject line, the sending email address, and the Email Field, which is the contact/lead record field that contains the email address.
The email server information is defined separately and specified under Provider. And you can specifiy how many times to send an email to each lead/contact (Emails Per Lead), and the time to wait before sending each subsequent email (Days Between Emails).
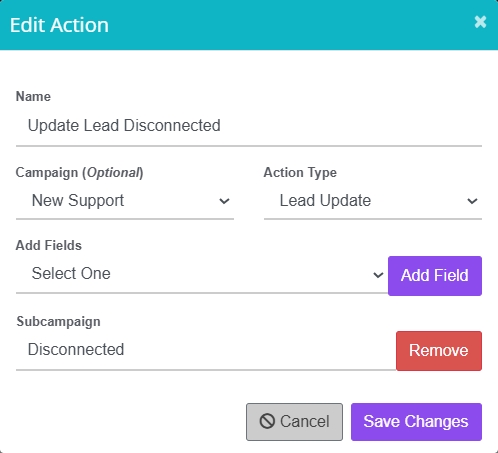
For the Lead Update action you Add Fields; every time you Select One and add it, it displays the field for you to define the value to set it to. For example, Subcampaign will be set to Disconnected in the example below.
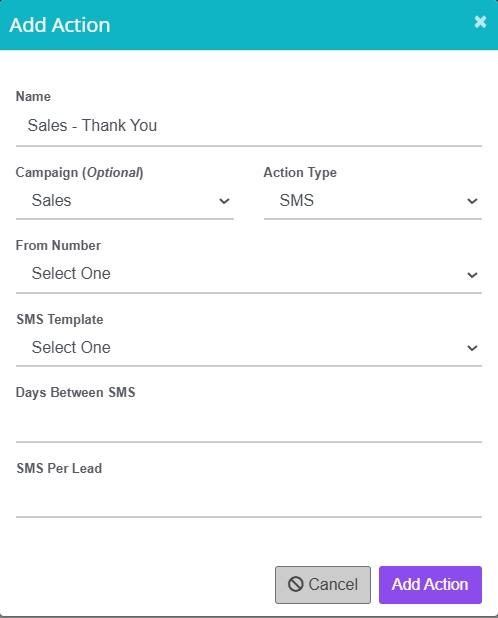
With the SMS action you send one or more text messages to leads/contacts (those filtered through a Filter condition). You specify an SMS Template and the From Number that is sending it. The SMS message is sent from the DialedIn telephony sub-system.
You can specifiy how many times to send a text to each lead/contact (SMS Per Lead), and the time to wait before sending each subsequent text (Days Between SMS).
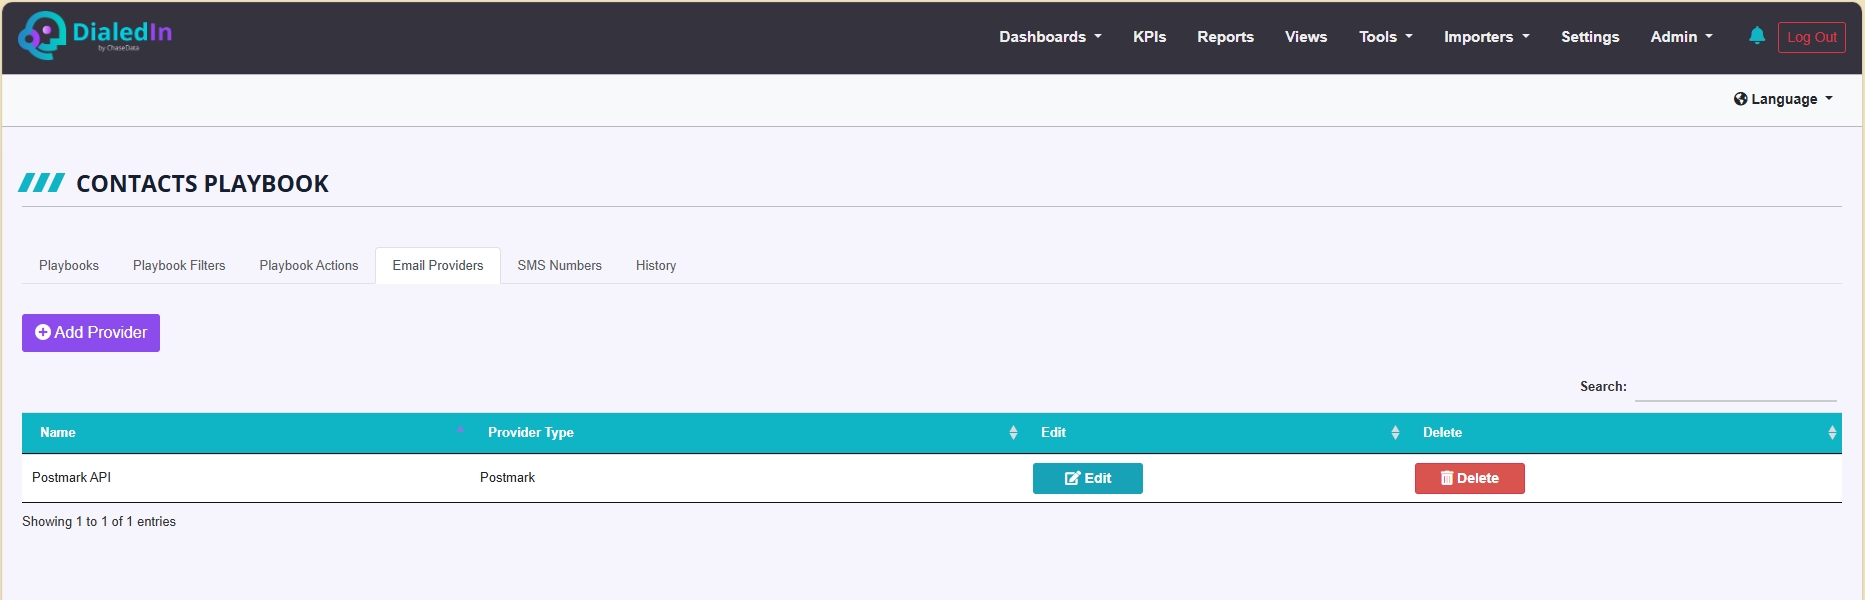
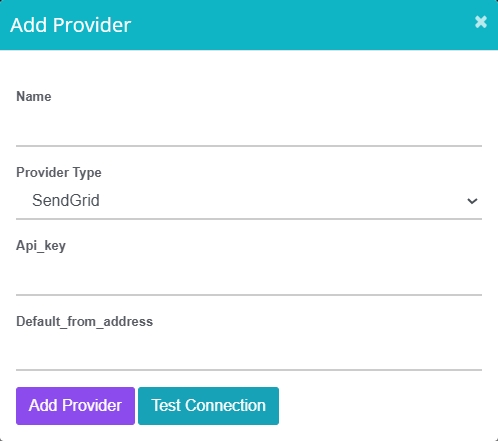
By selecting the Email Providers tab, you can set up the connection parameters to an email server, which will be needed for Email Actions. You can Add Provider or Edit existing ones.
DialedIn has pre-integrated with a few Email Providers, in which case you just need to provide an API token or key.
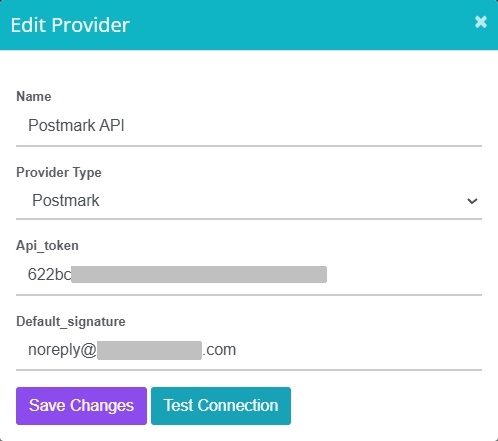
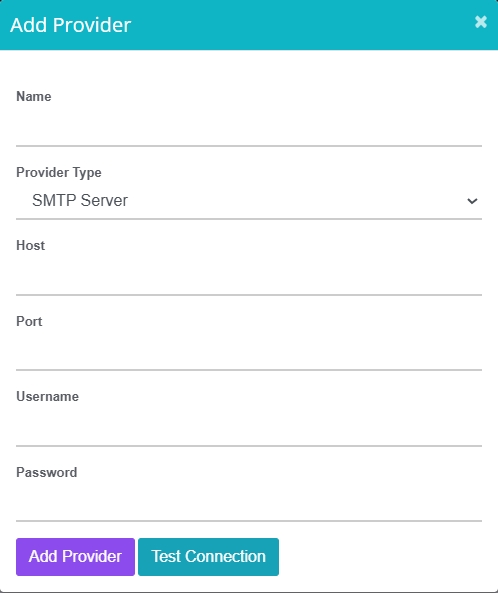
Otherwise, configure the SMTP Server outgoing connectivity parameters for your provider.
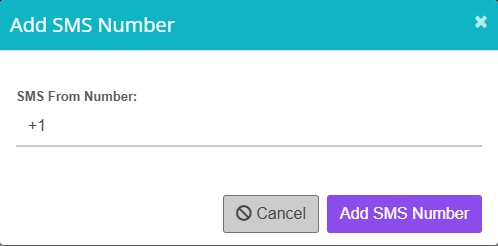
By selecting the SMS Numbers tab, you can set numbers that can be used for SMS Actions.
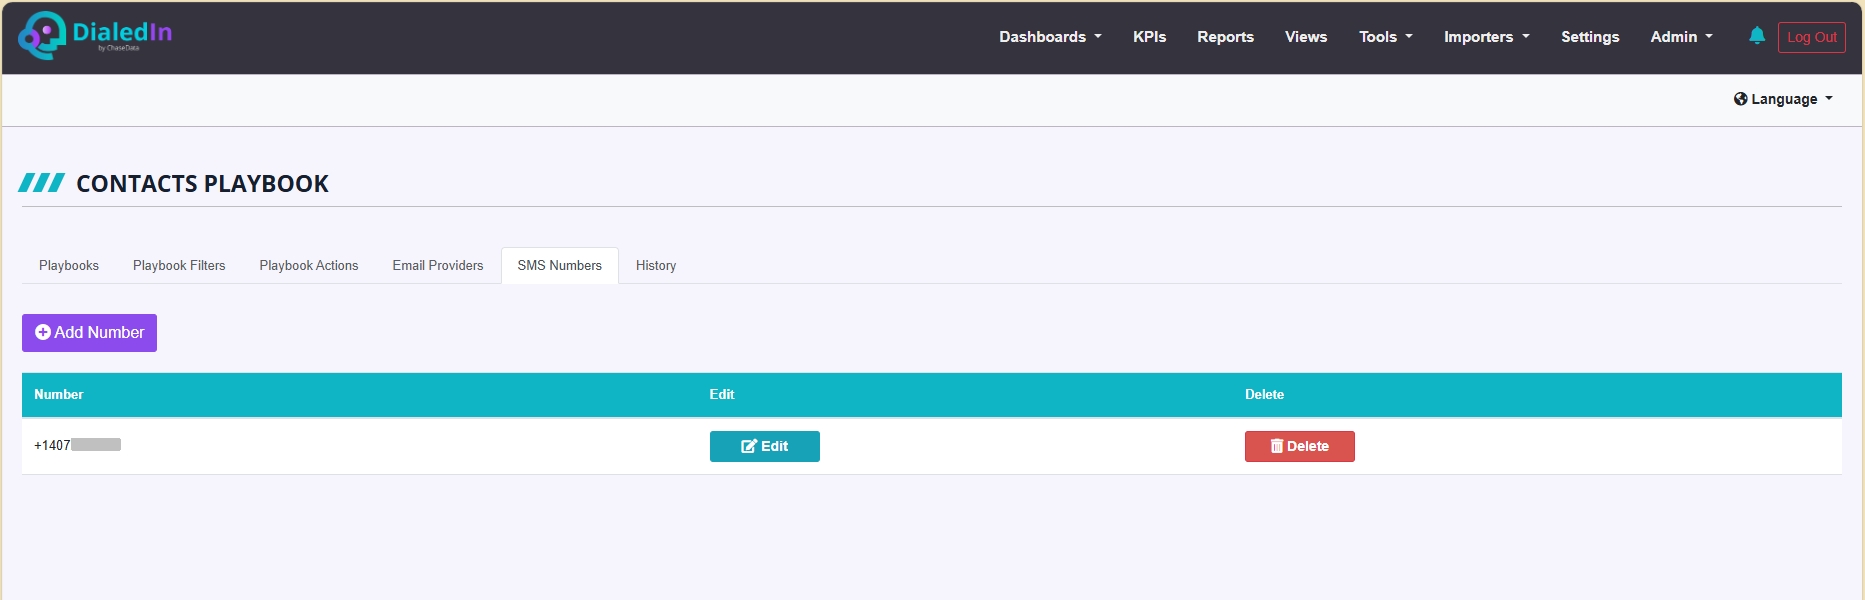
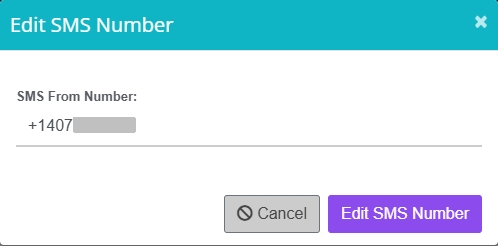
Edit an existing number, or Add Number from where SMS text messages will be sent.
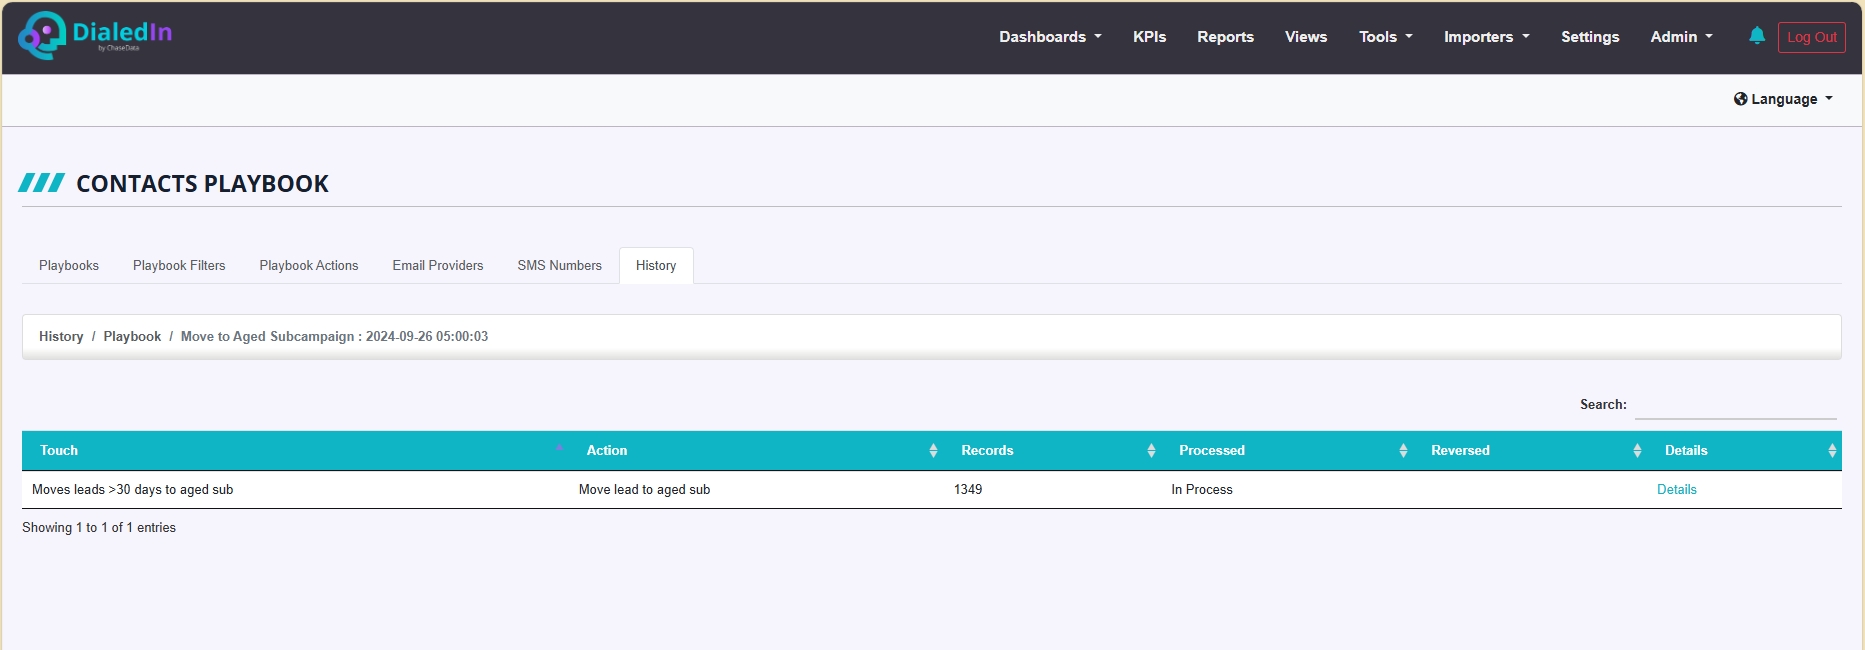
By selecting the History tab, you can see a log of Playbook executions, showing a row for every time a Playbook has ran. It includes the Playbook name or identifier, the date and time of that execution, and the number of Touches performed.
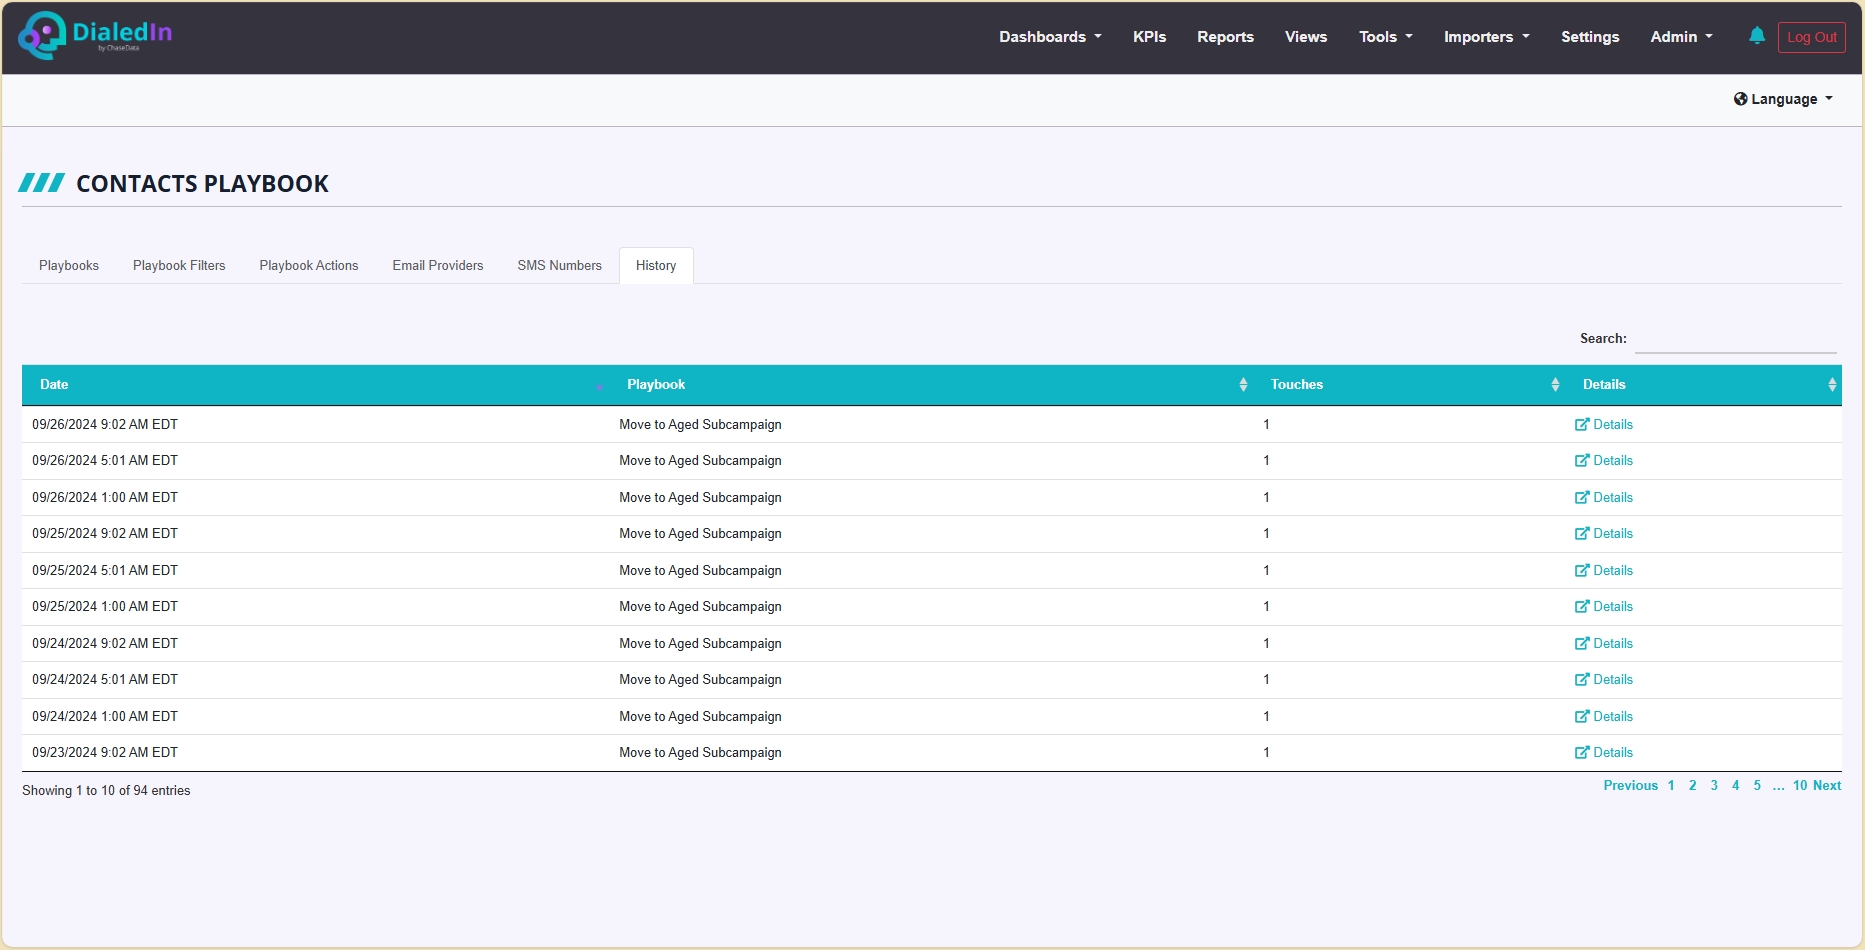
By clicking on Details for a particular line item, you can get more information on that particular run. It includes a row for every of Action every Touch performed, which includes the Touch name or identifier, the Action performed, the number of records upon which the Action took place, and whether the Action has been reversed.
Going deeper into the log, by clicking on Details for a particular Touch/Action line, you can get a list of all the records that the Action was applied to.

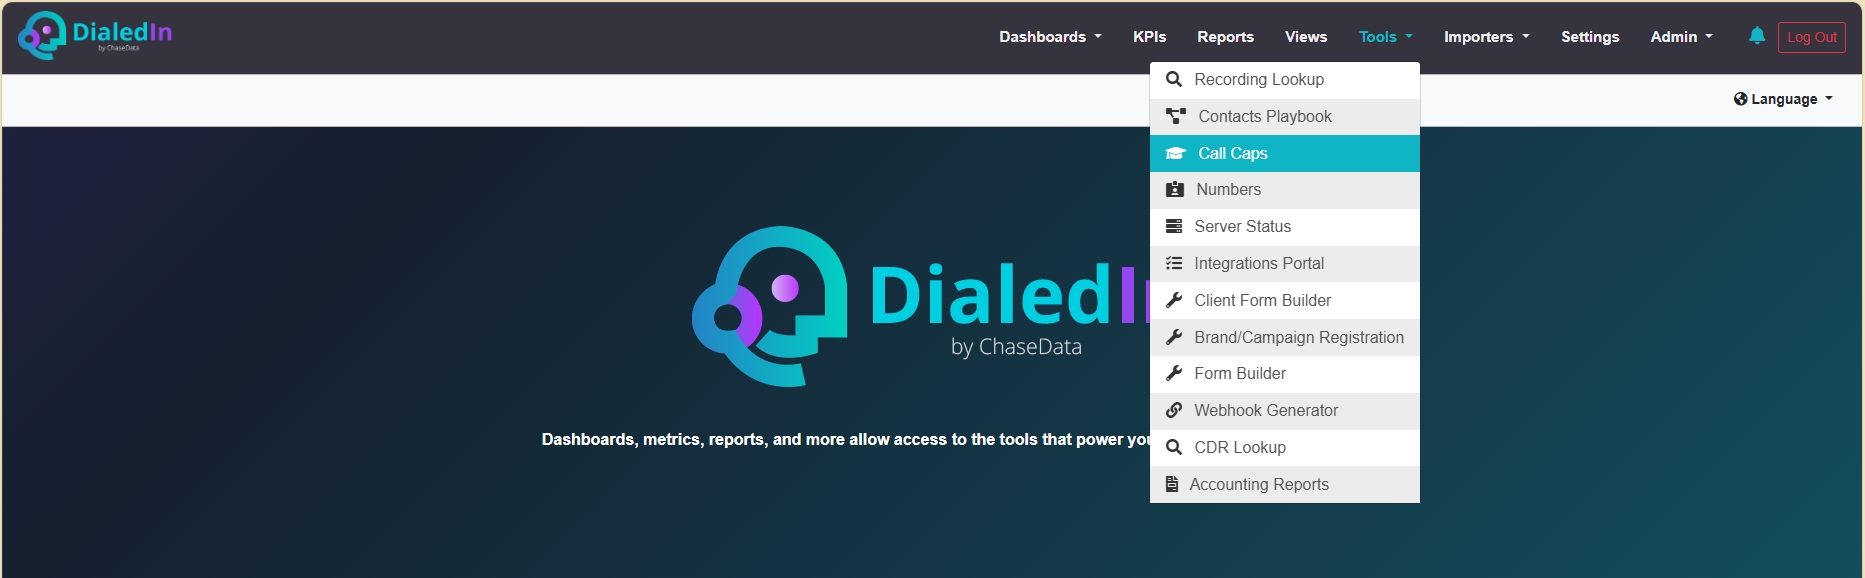
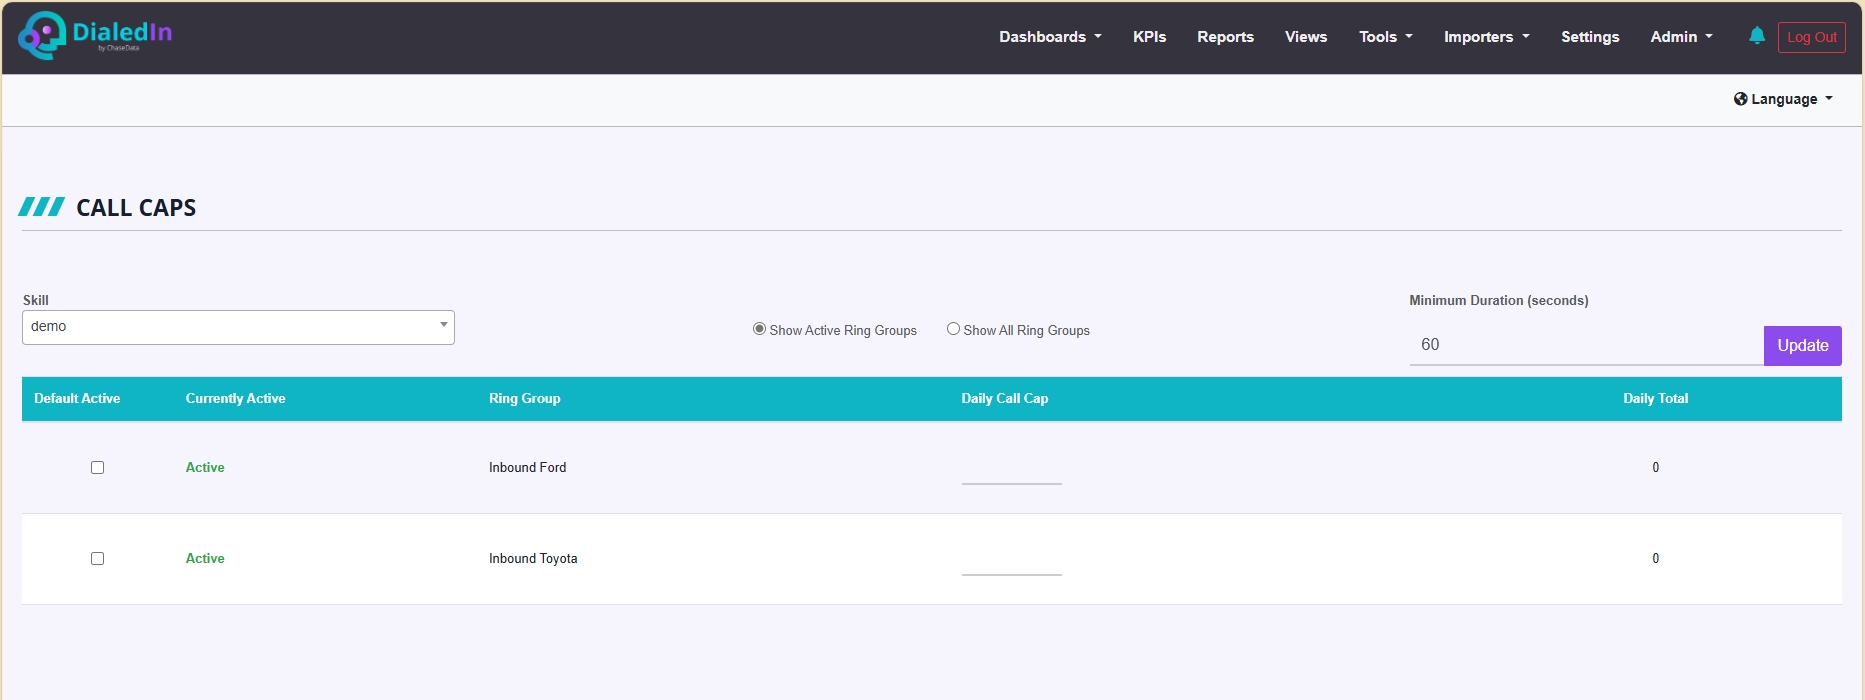
The Call Caps tool allows you to set daily limits on Inbound calls handled by agents.
This is done based on the combination of Skill and Ring Group. This is particularly useful when you have an environment where there are many agents or buyers waiting to be assigned a call, your business model may require you to put a cap on how many calls you give to those that represent less value. The basic concept of agent caps on inbound calls is to offer an additional mechanism to include in the decision of assigning calls to the most appropriate agent.
To review or configure Call Caps, first select the relevant Skill, so you can see a row for each Ring Group where that skill is active.
Then just configure the Daily Call Cap for each Ring Group. The Maximum Duration parameter assures that only meaningful calls are counted.
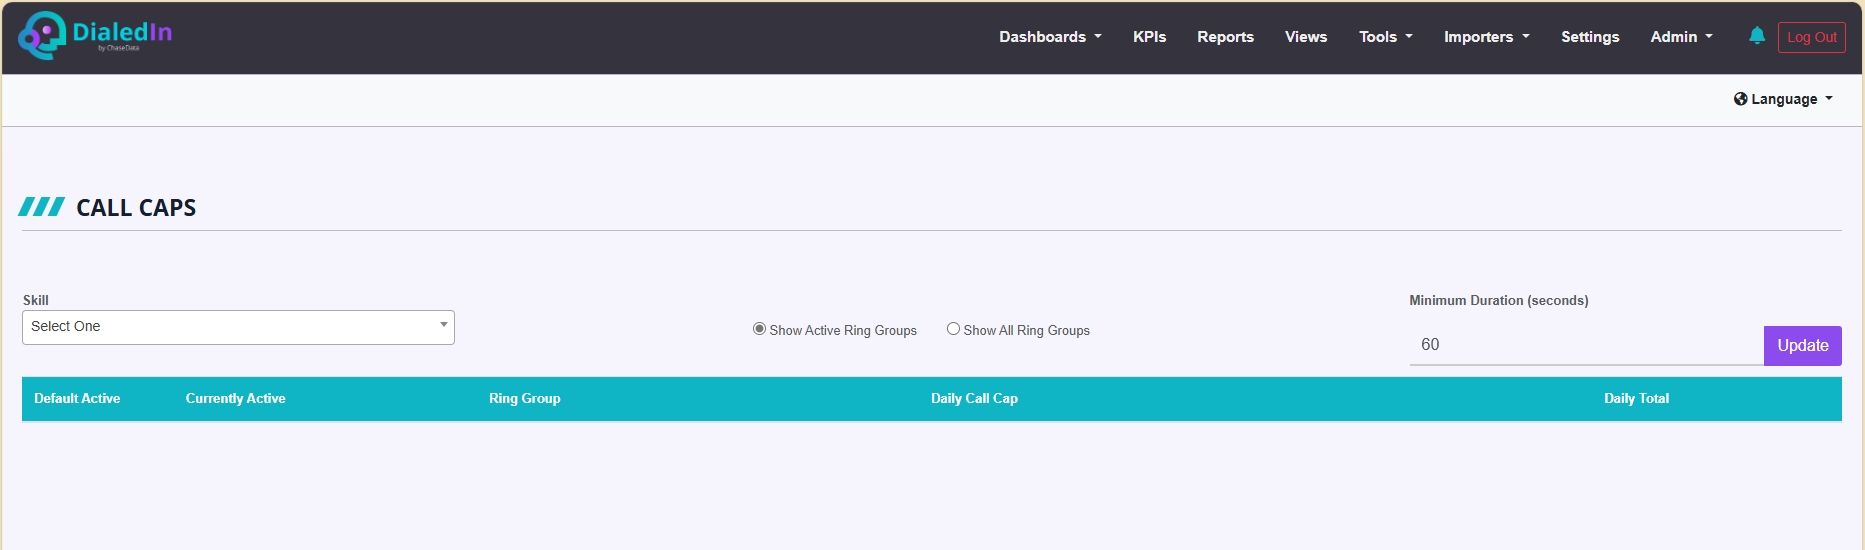
You can Update any time to see real time Daily Total calls for each instance.
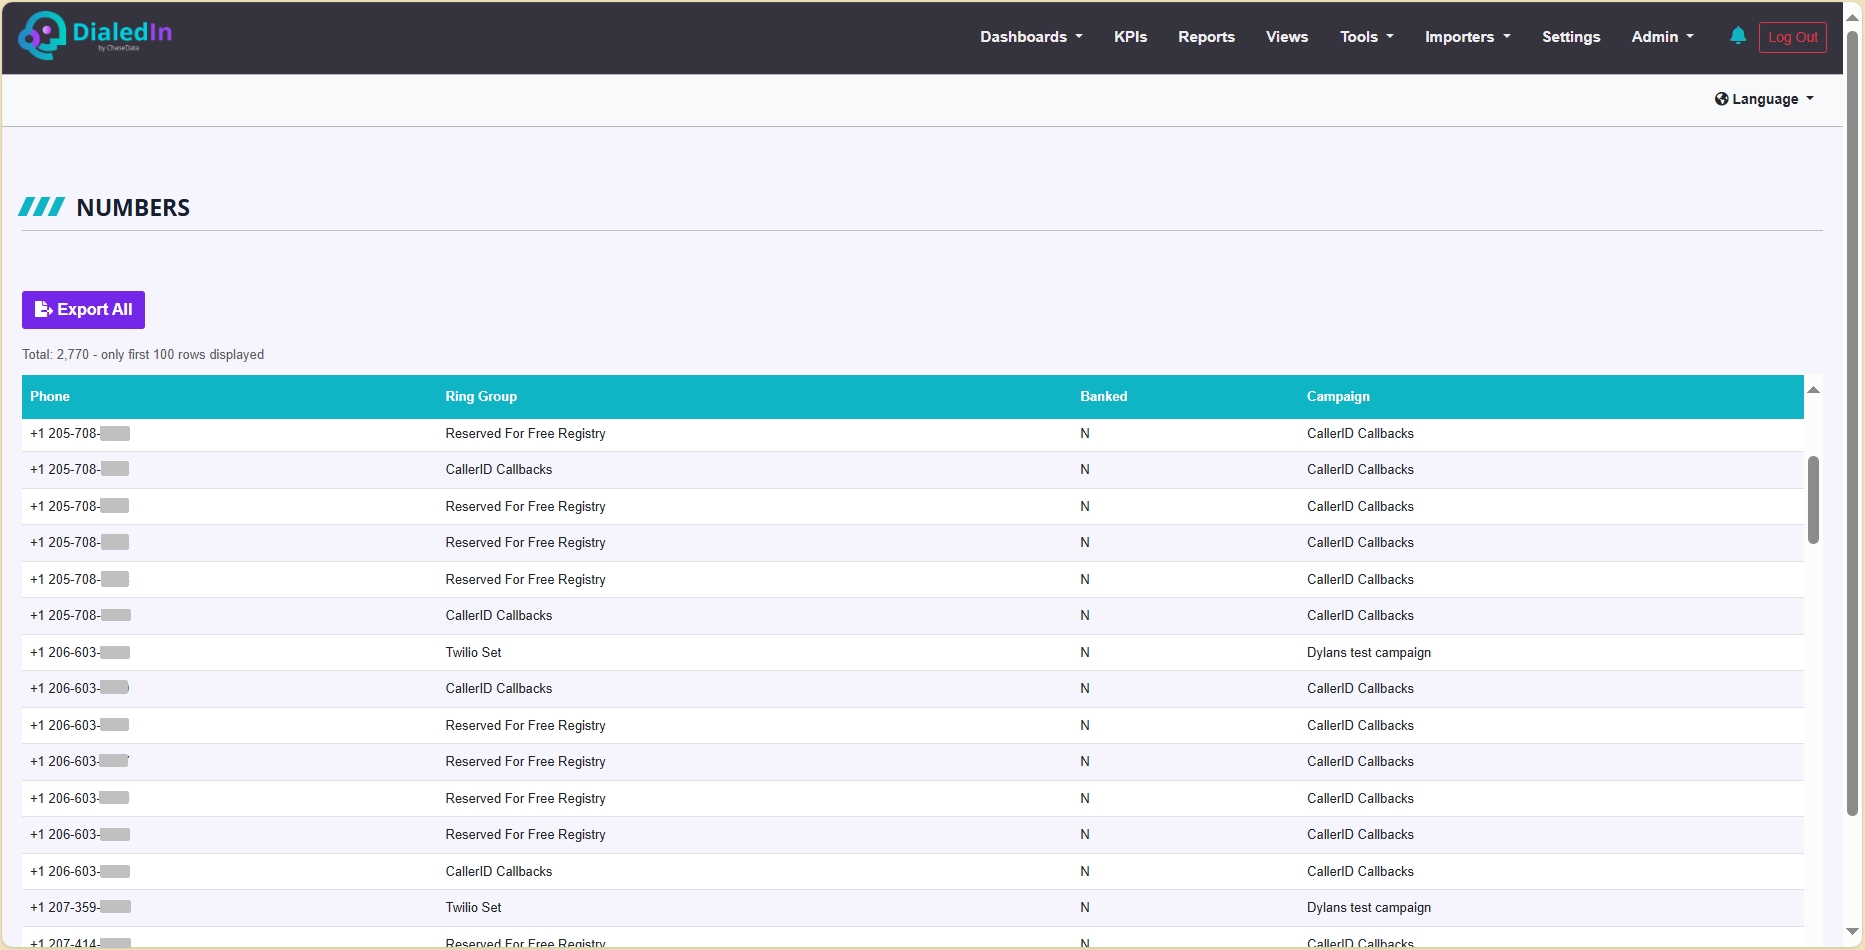
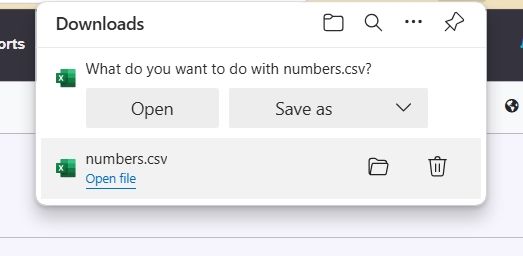
The Numbers tool allows you to review and export your set of Caller ID numbers into a CSV file (Comma-Separated-Values files can be viewed with MS Excel and similar programs).
When you access this tool, it will only list up to 100 rows; in order to see review the rest, you must export the full set into a CSV file.
This tool displays real time operational status of key system components.
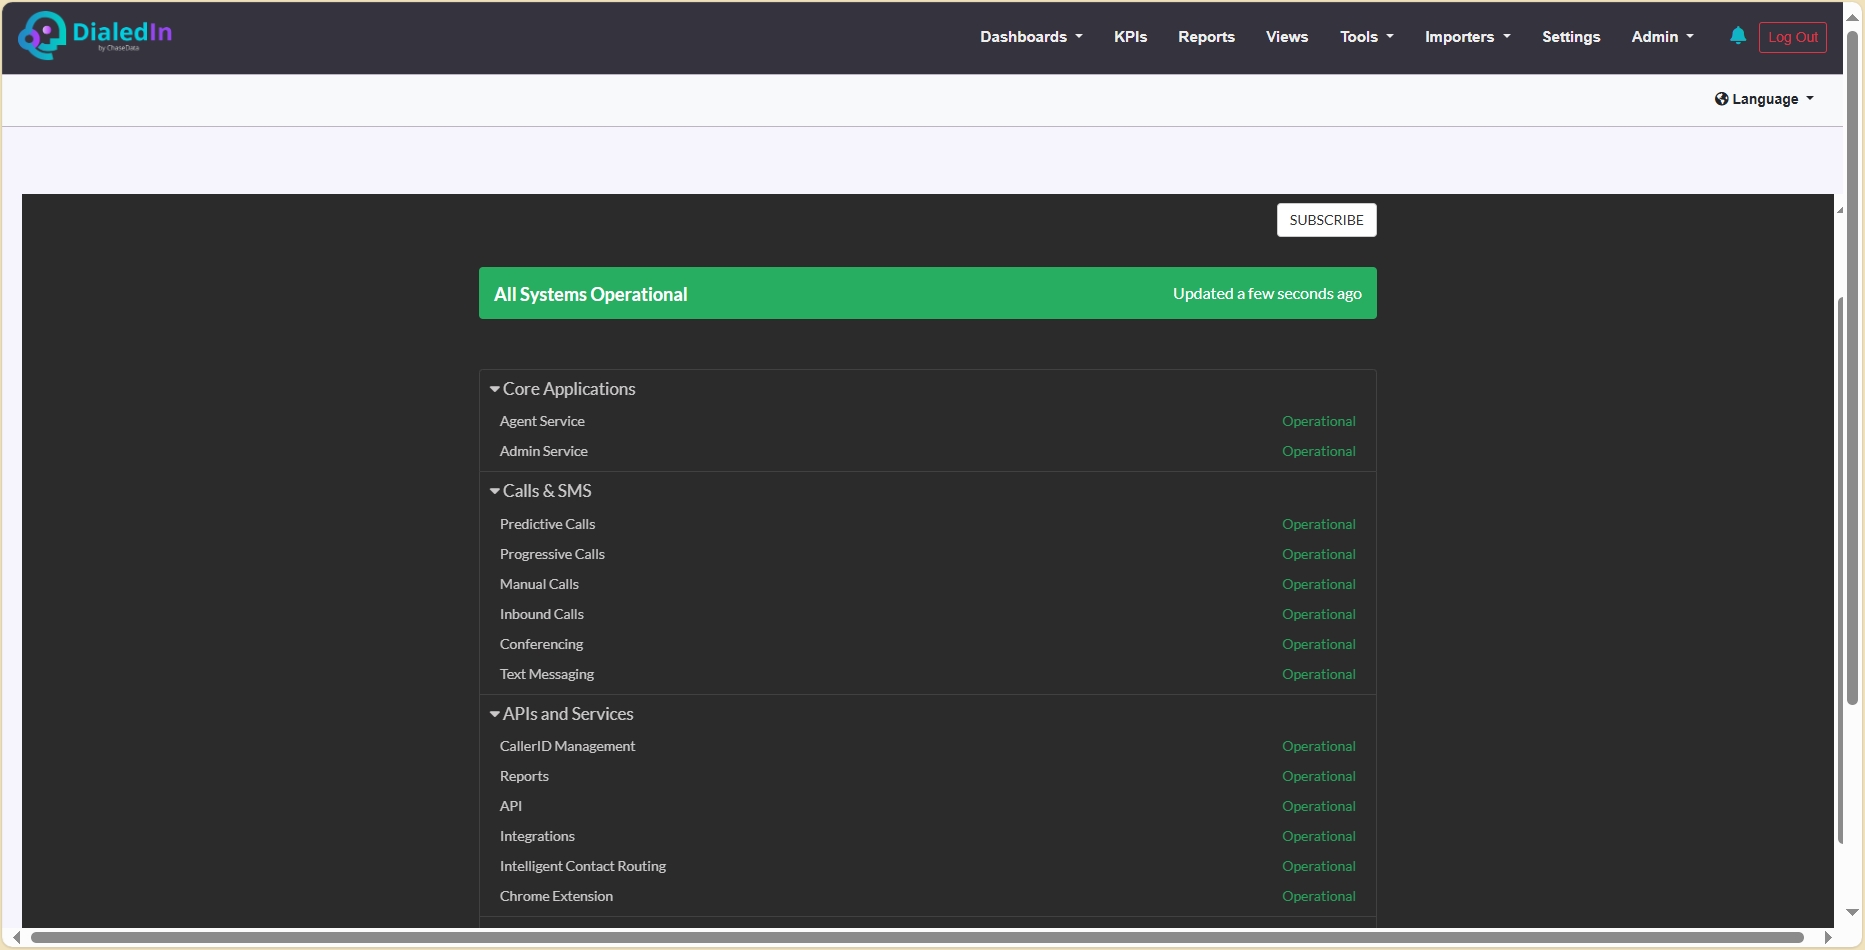
It's possible to SUBSCRIBE> to receive updates through a choice of channels, with e-mail being the default option presented. You can also Manage Existing Subscription.
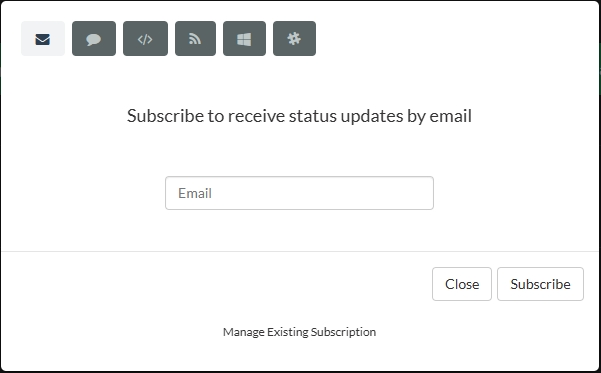
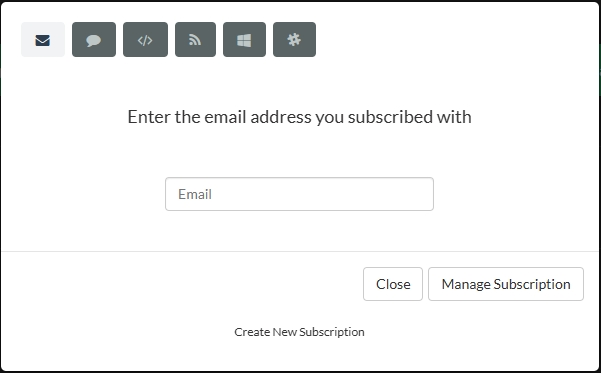
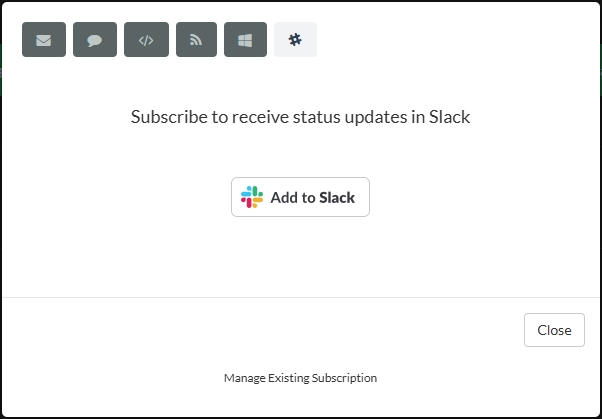
If you prefer, you can subscribe through other available channels.

This is the same as the standalone Integration Portal.
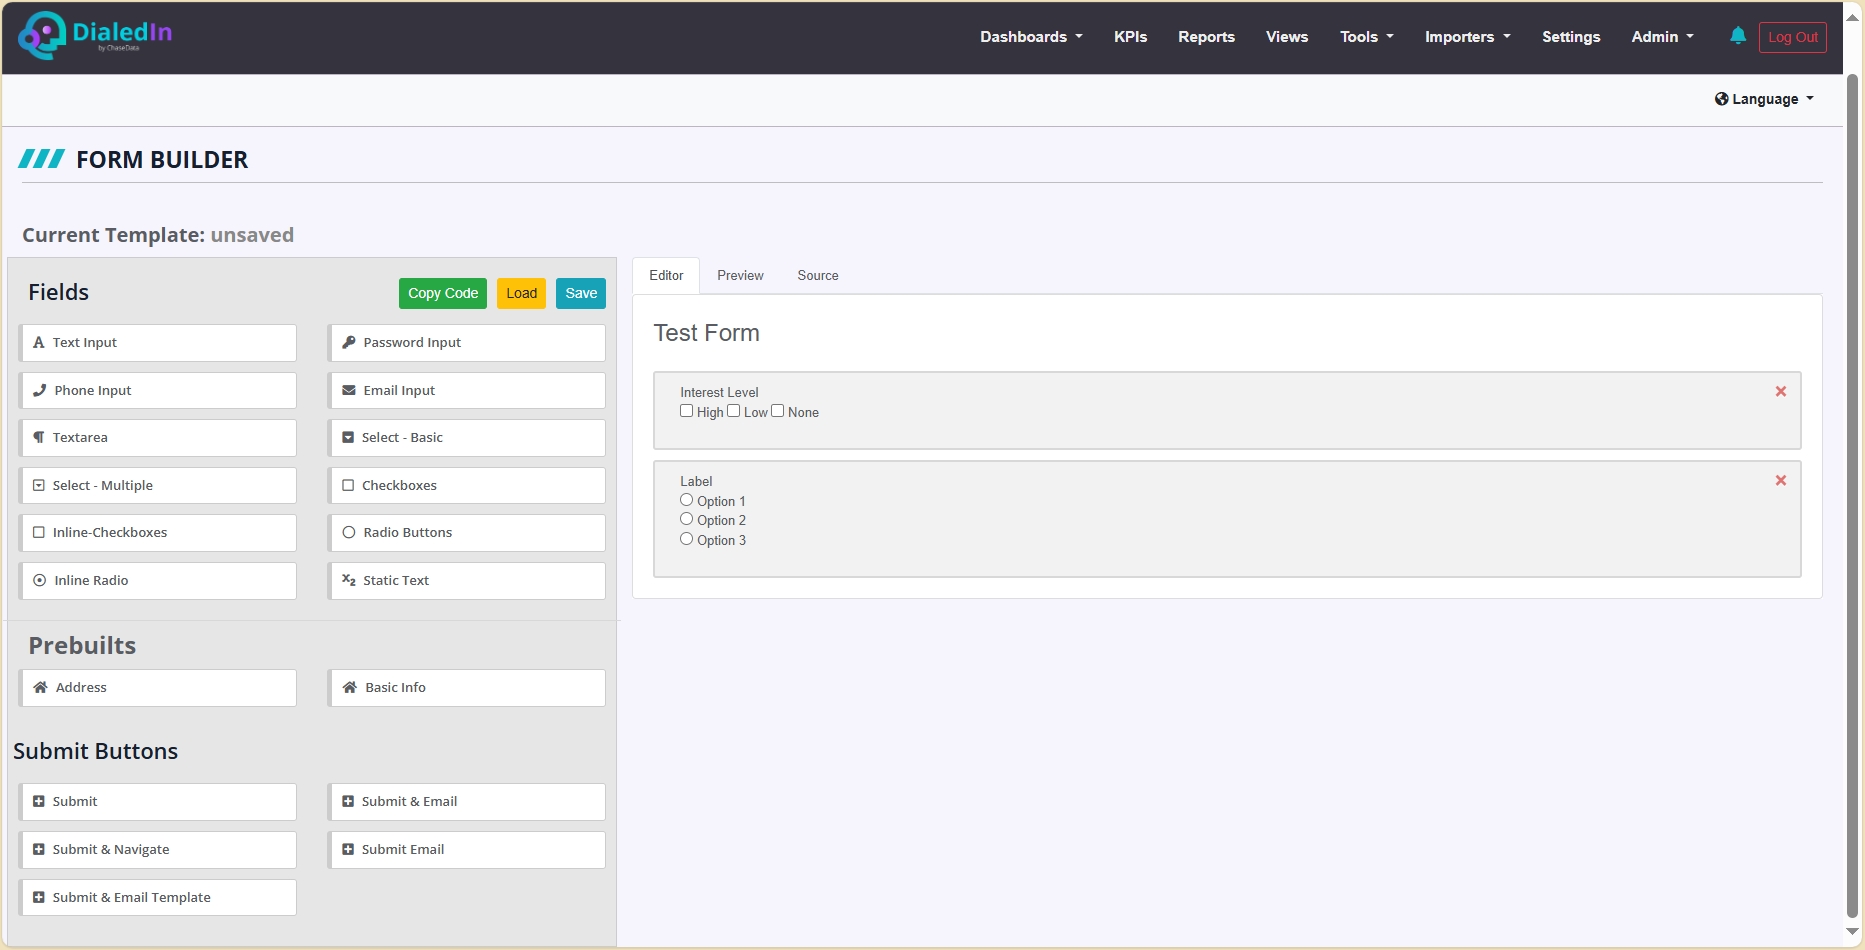
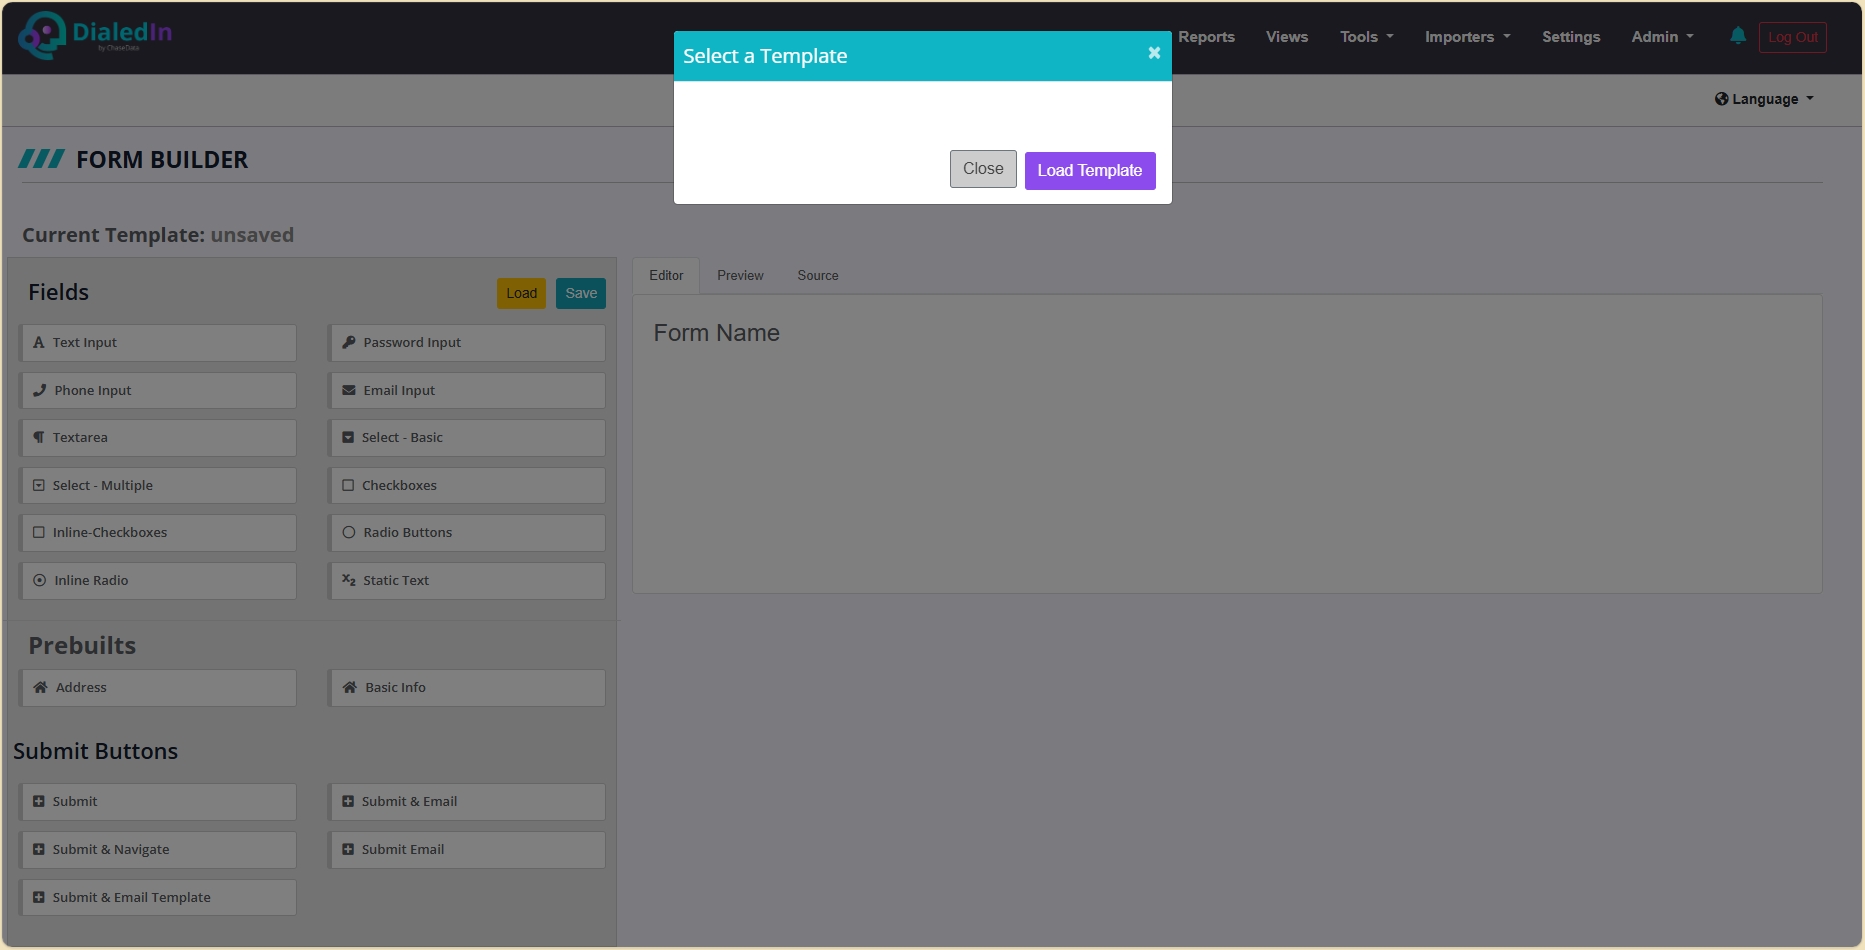
This is a graphical tool for defining forms. It provides most constructs needed to build a custom form, as well as pre-built sets commonly used. Behind the scenes it generates the corresponding HTML Source so the form can be properly used. A Preview shows how it will be presented on a page.
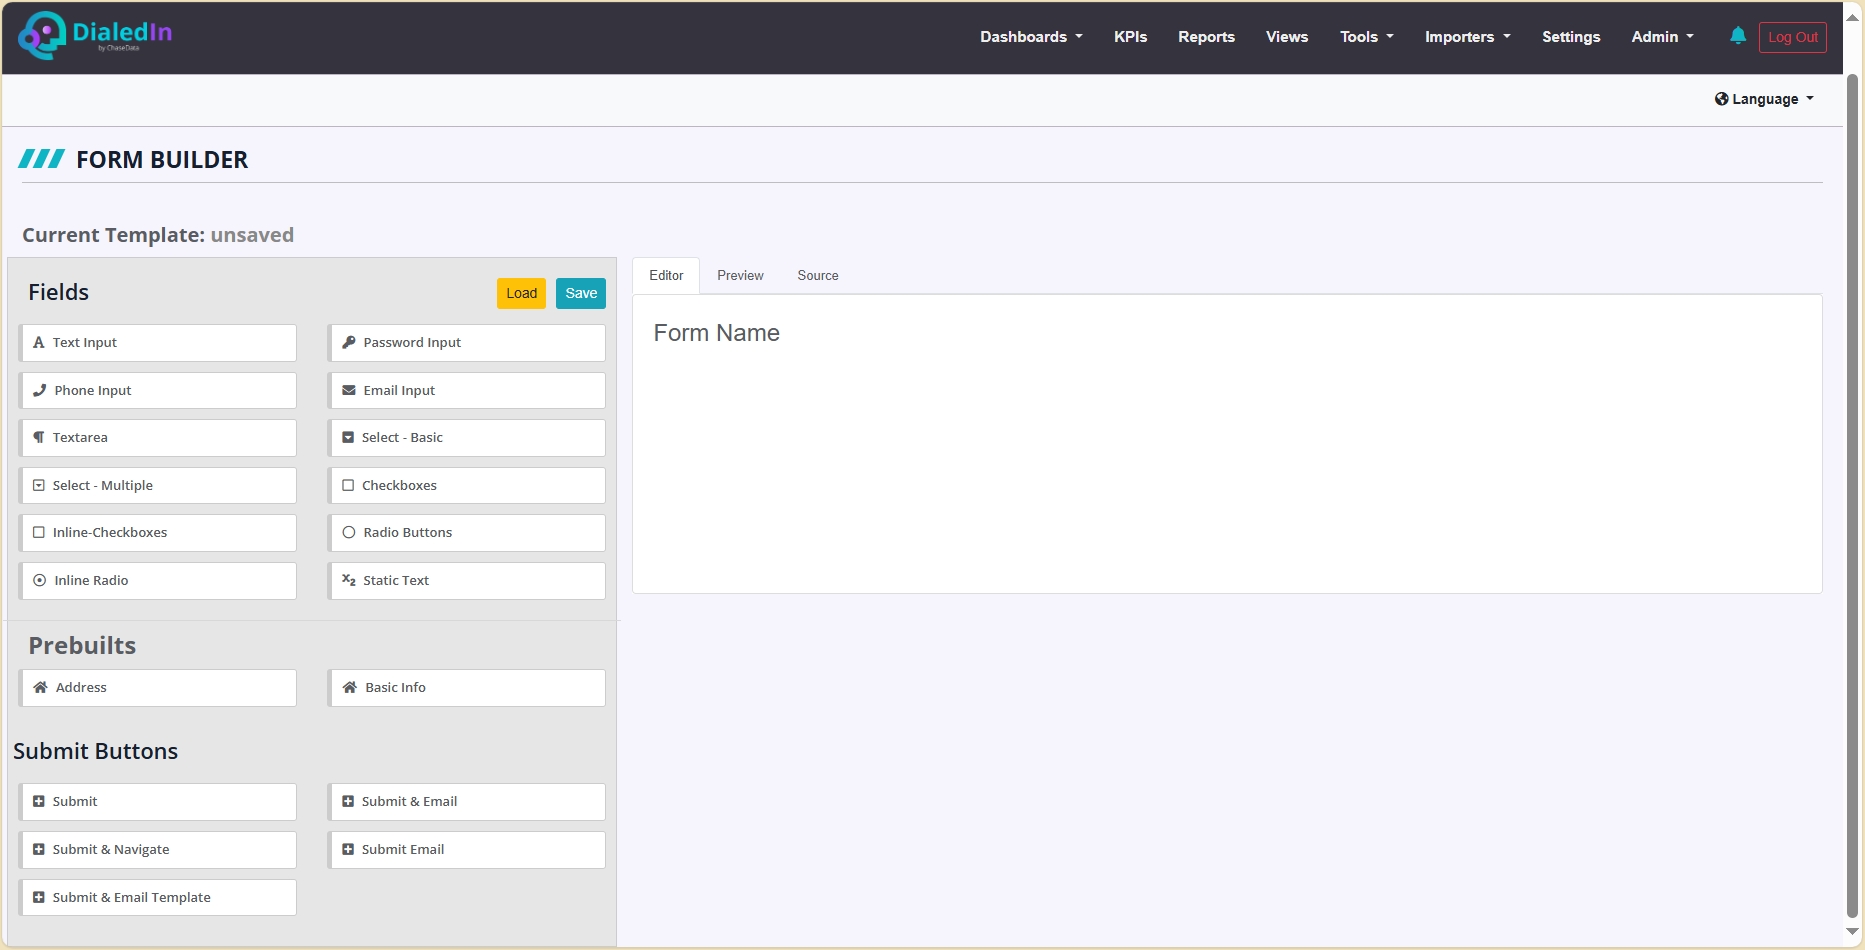
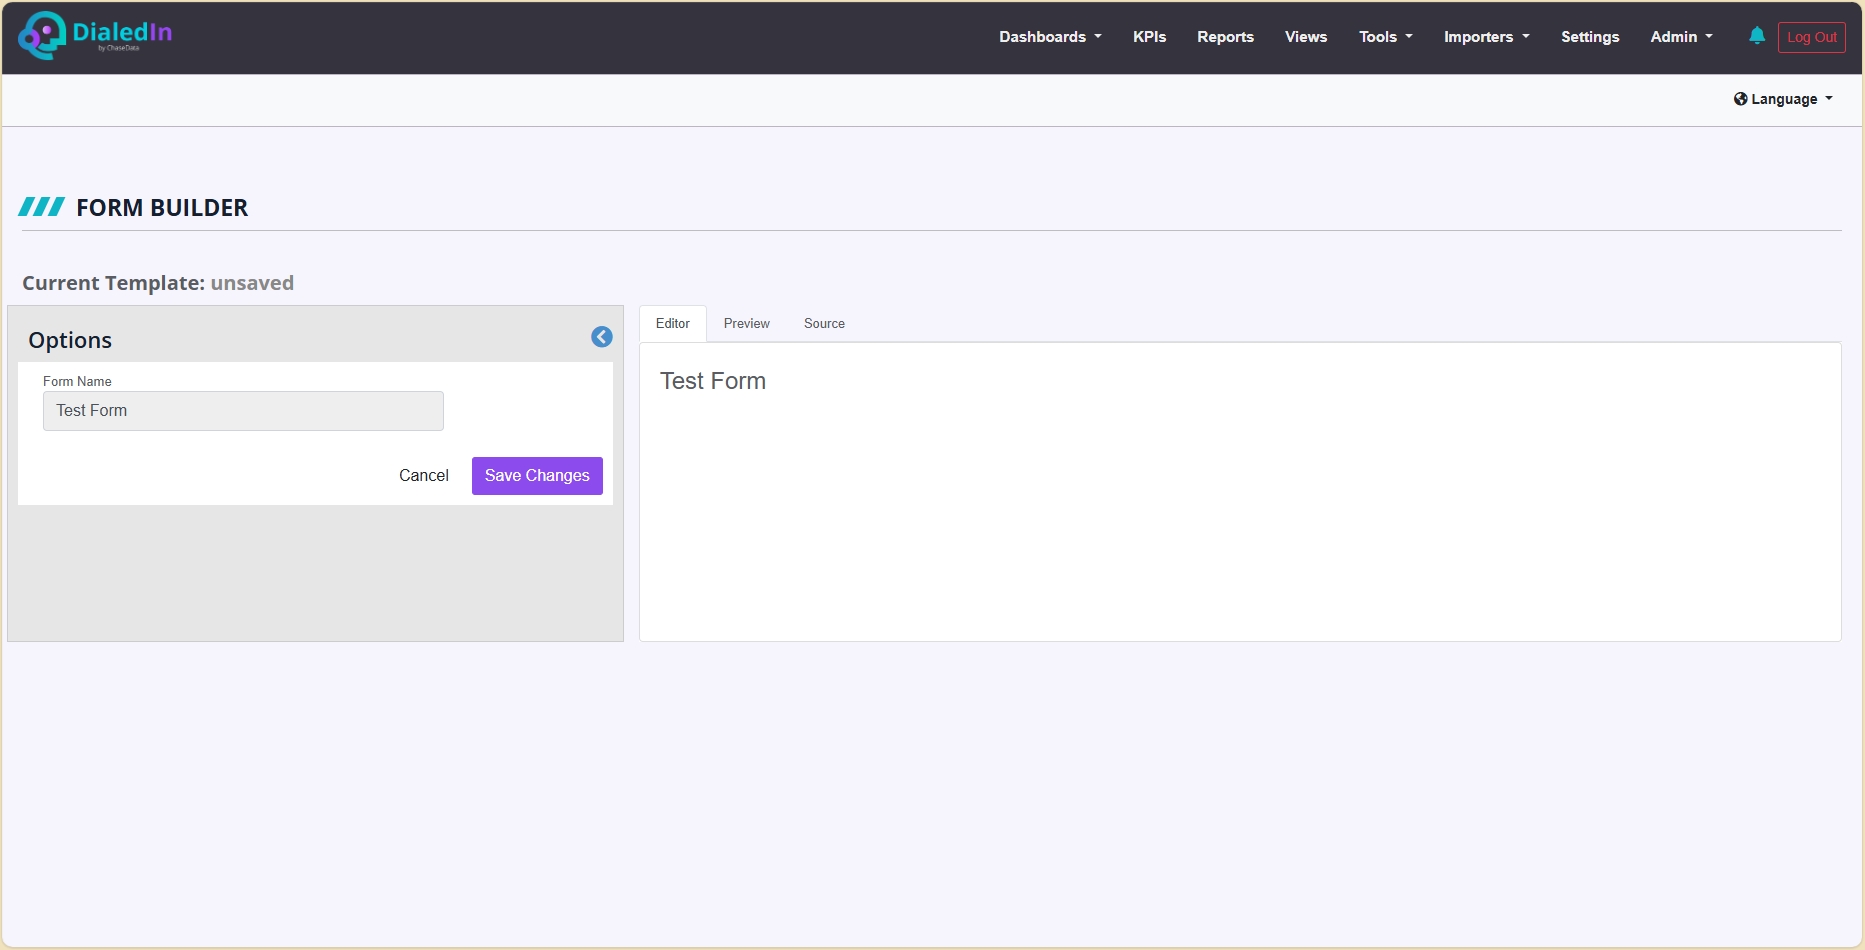
You can start by clicking on the Form Name to change it to someething meaningful.
Let's go through a few of the building blocks to get you started; most of it is self-explanatory so you can play around to get familiar.
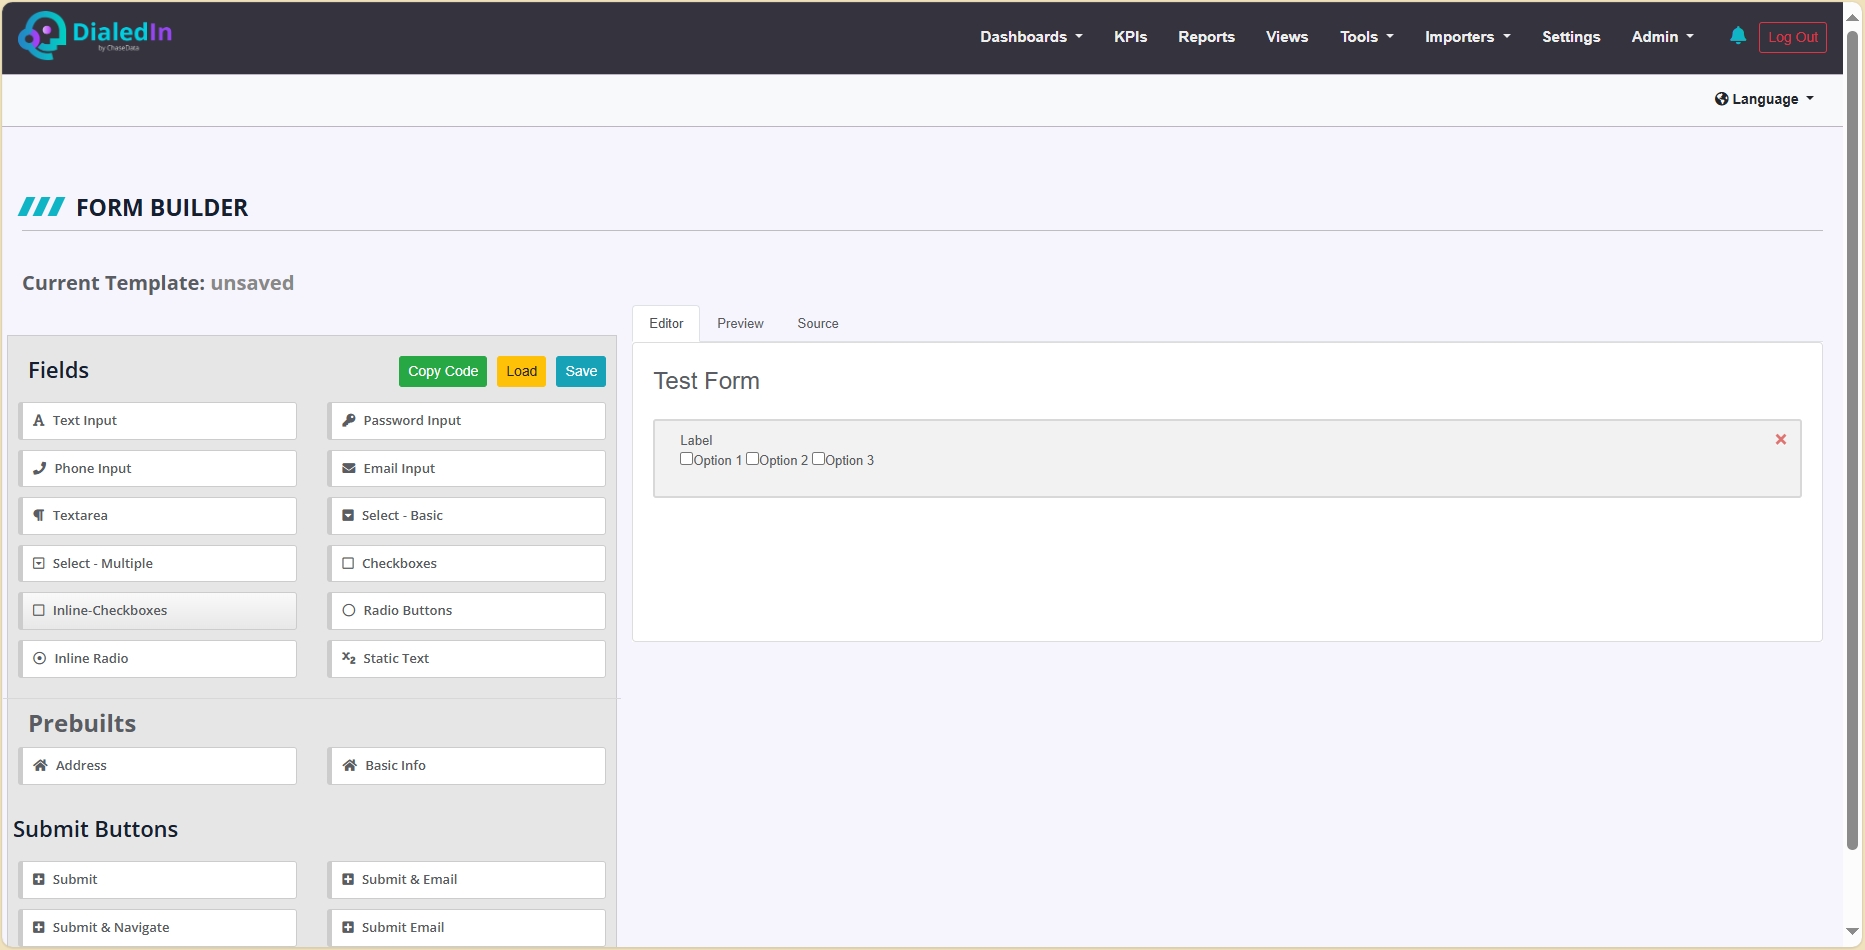
Inline Checkboxes, for example, let you add one or more checkbox items that you can add to your form. Click and drag to your Editor area; if you already have other items, you can choose where to place it.
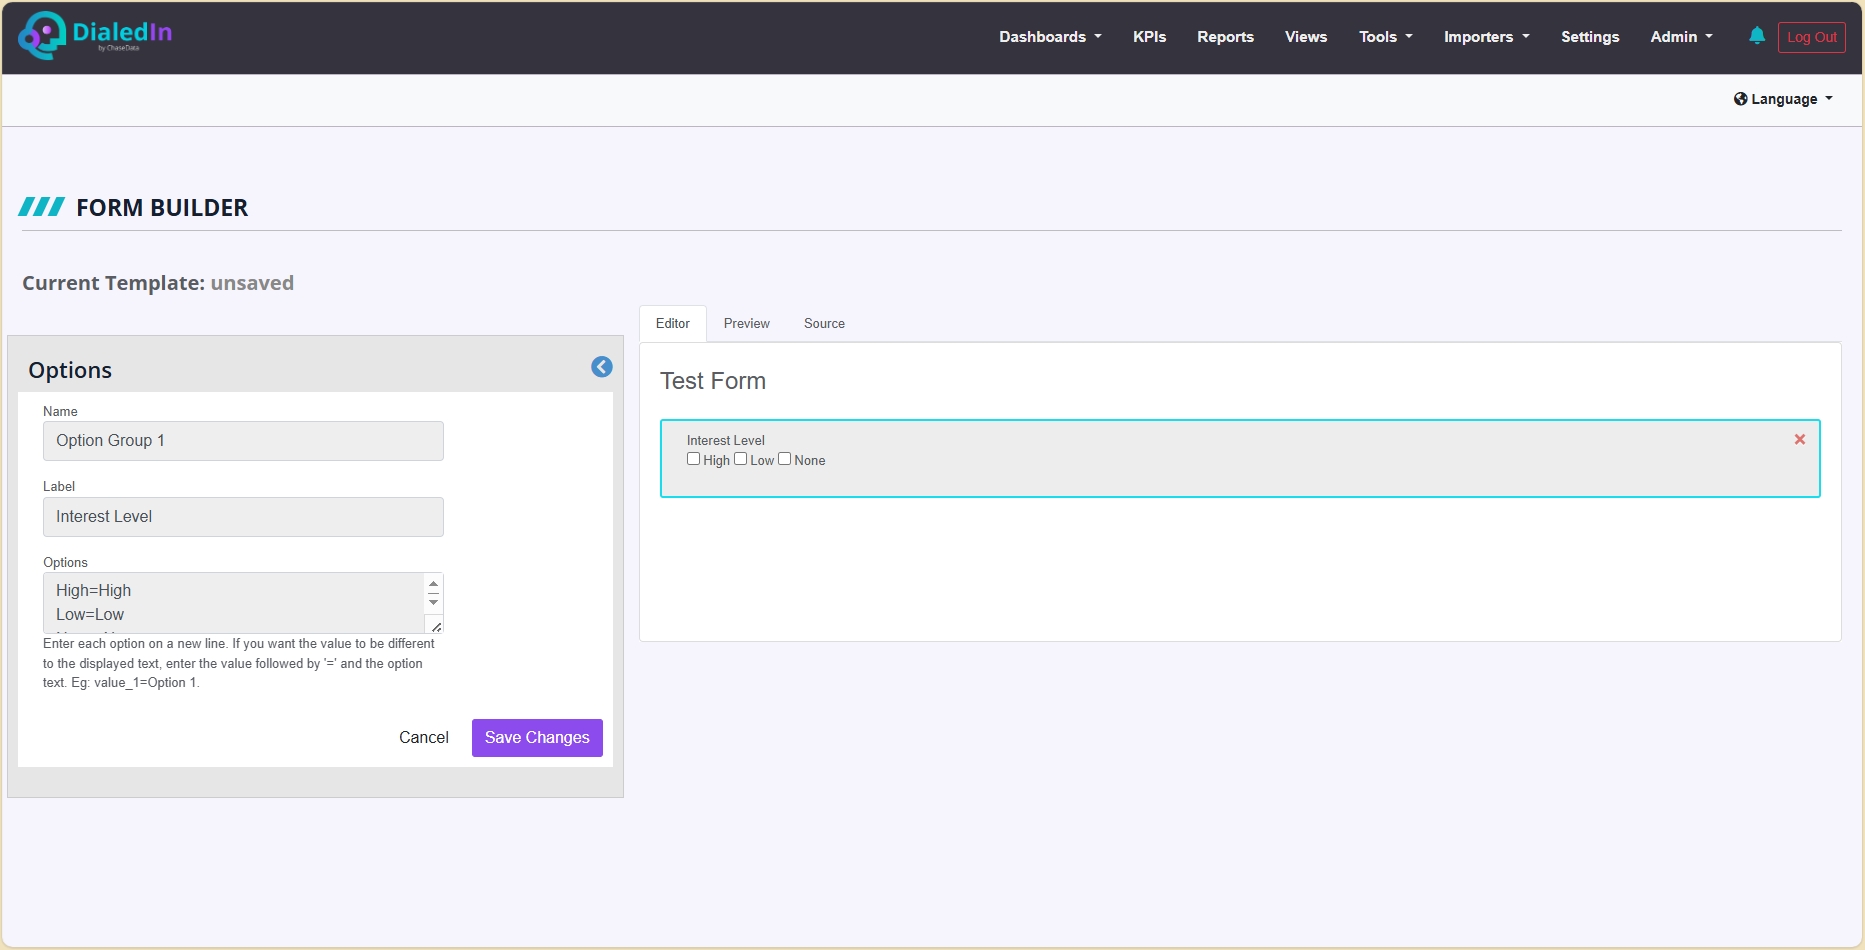
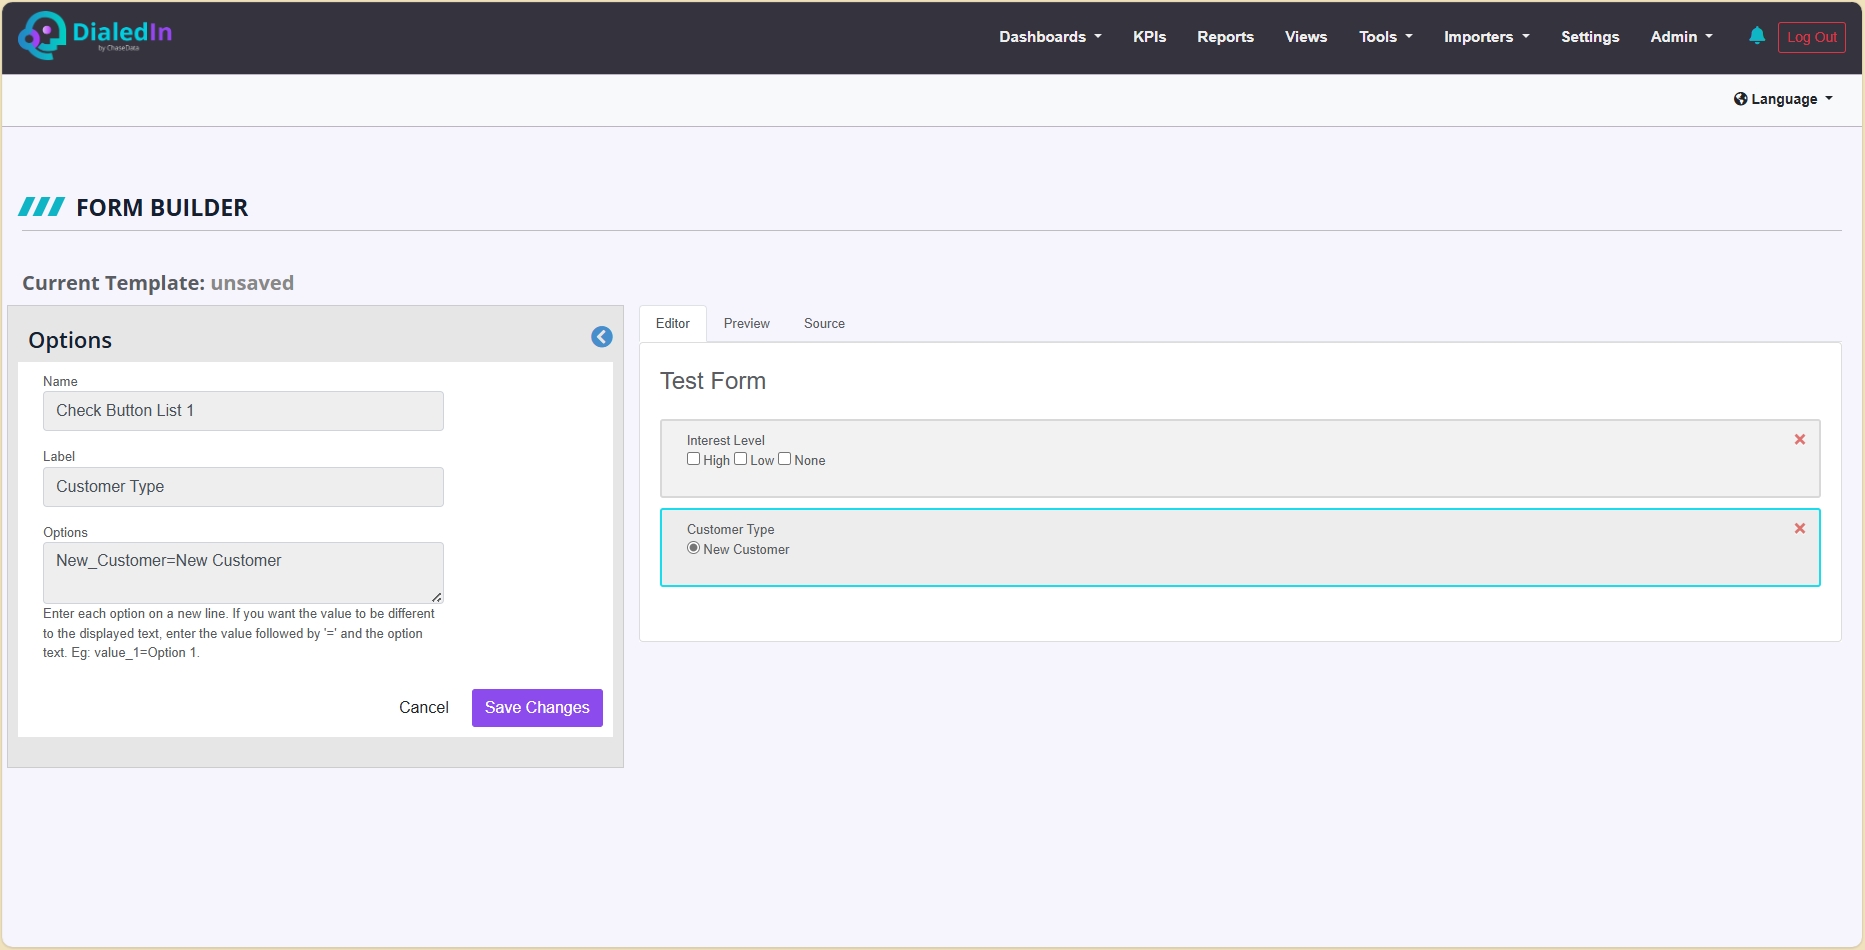
Click on the item, and you're taken to the building block configuration screen. Here you can name your block, add it a Label, and then, in Options you can add and remove checkbox items and their labels.
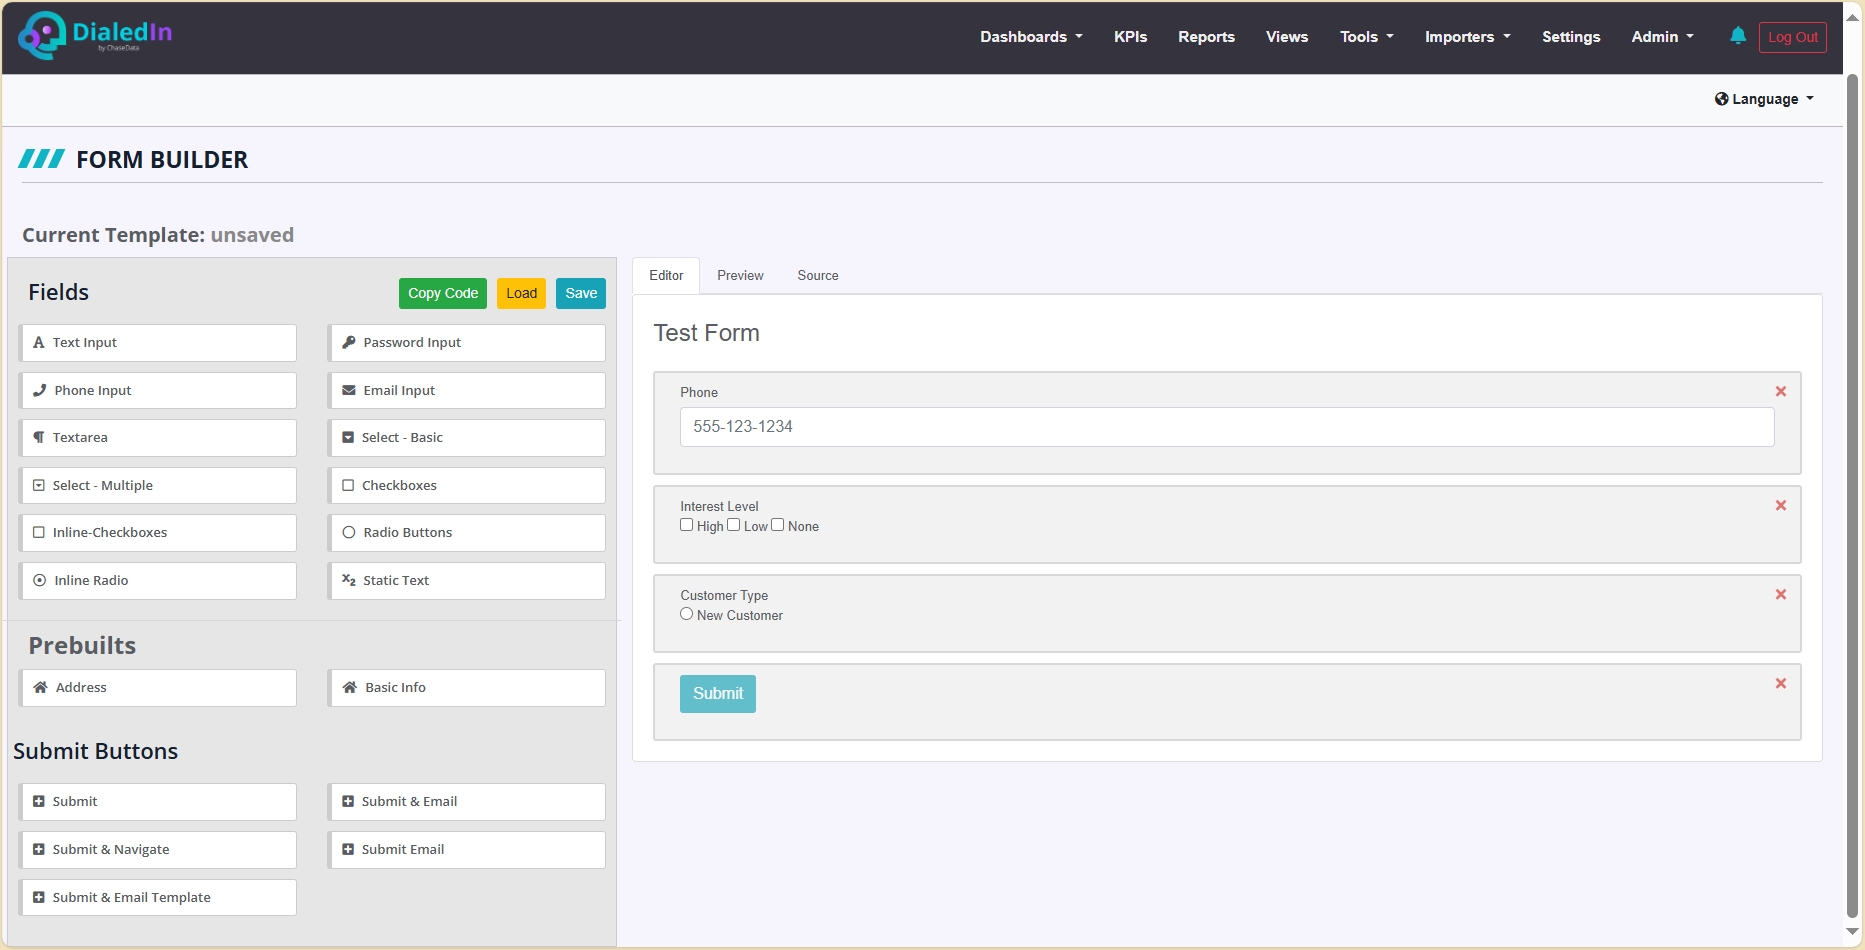
Try Radio Buttons, as well as a Submit Button.
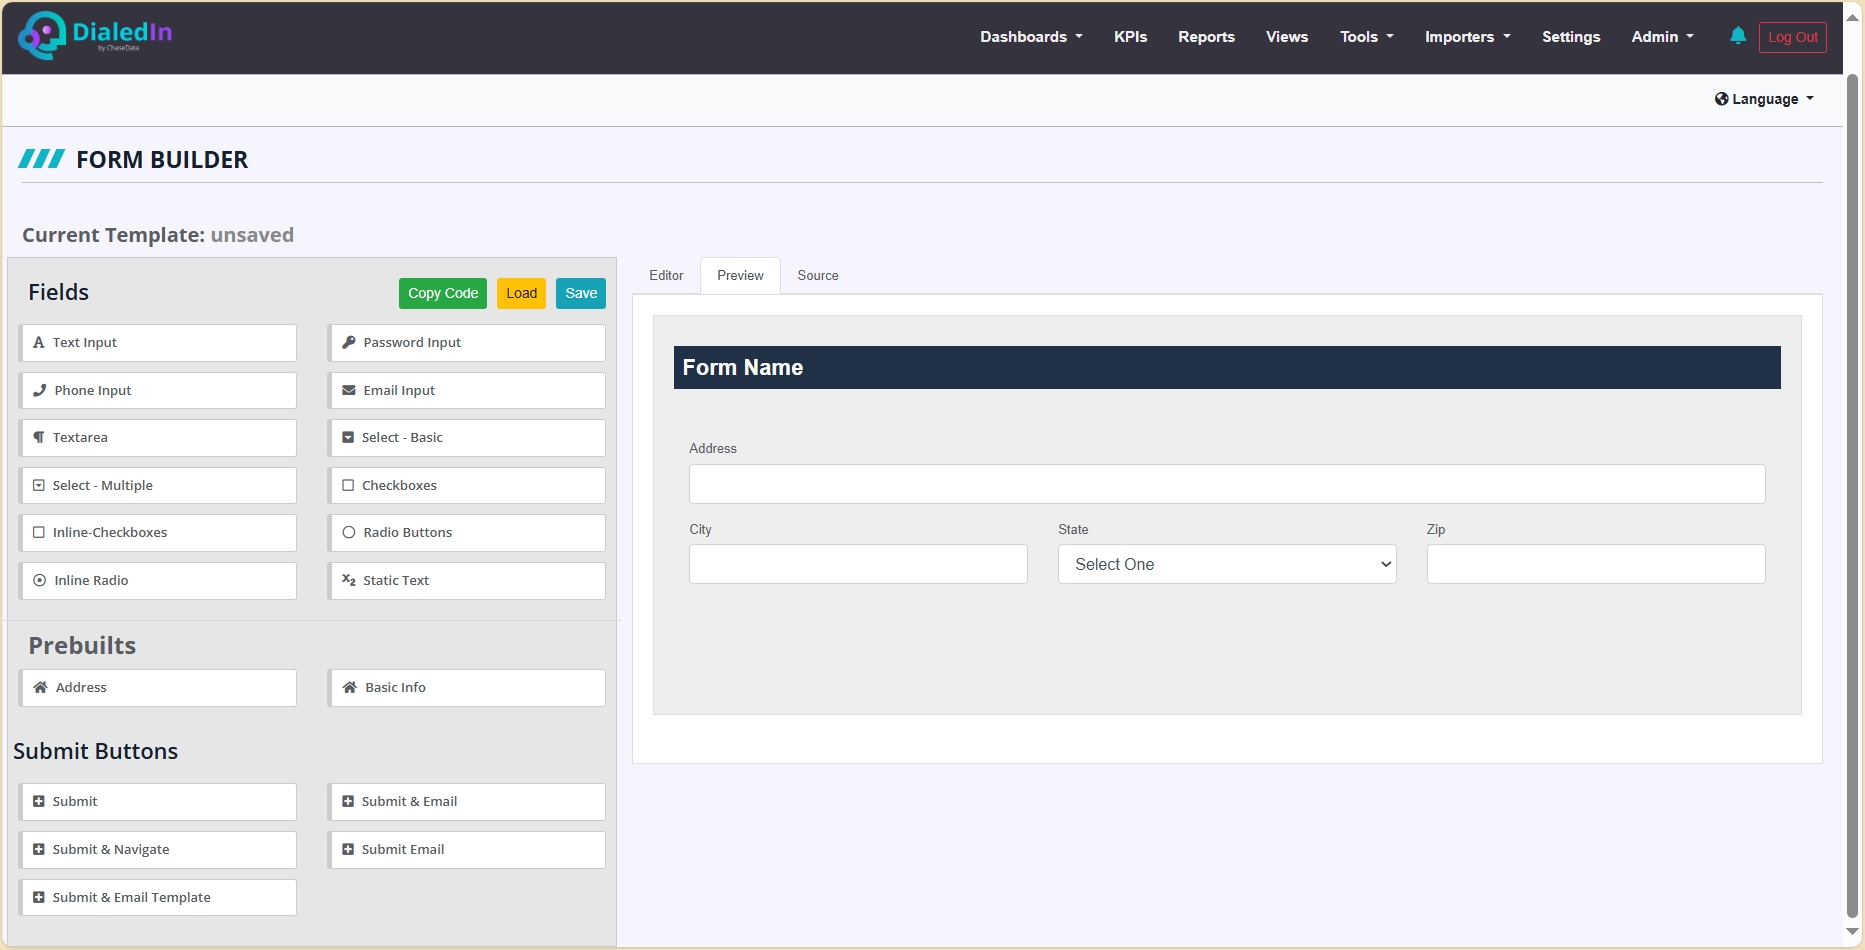
Switching to the Preview tab allows you to see how the form will be presented in a browser.
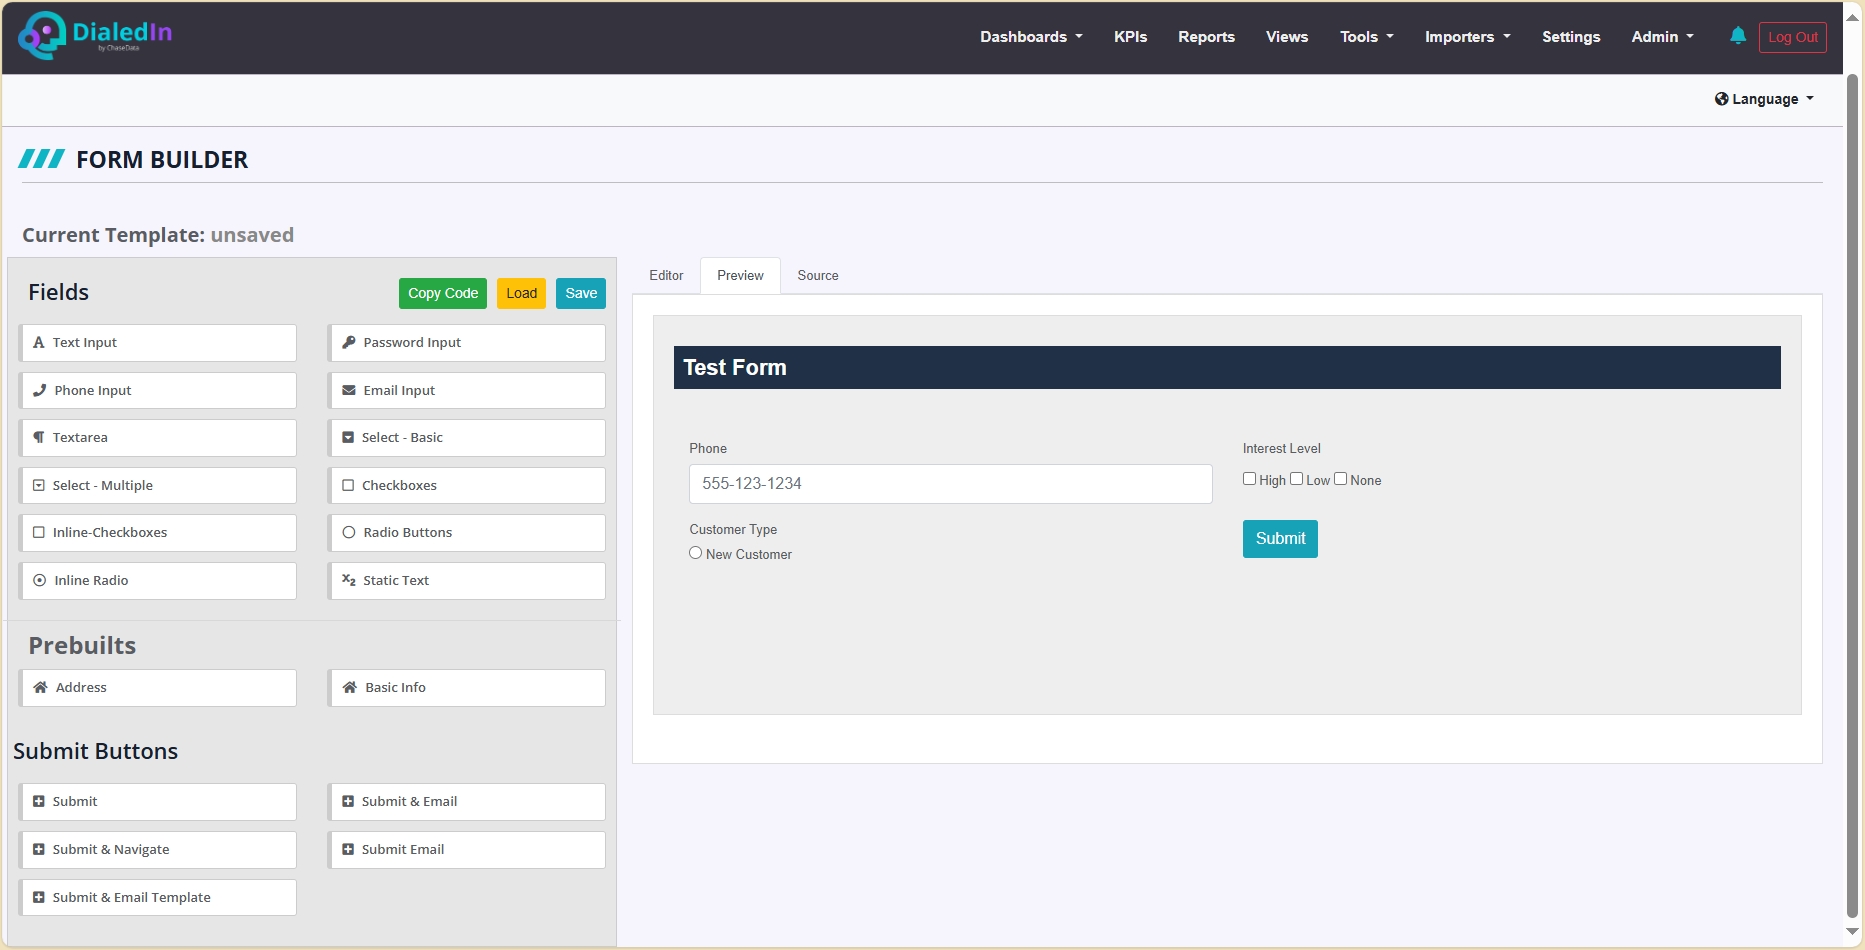
And you can review the generated HTML code by switching to the Source tab.

Alternatively, you could Load a template, if available, as a starting point to build your form. As a matter of fact, it would make sense to build a form that you can use as a base template for all your oerational forms.
There are also building block groups Prebuilt for you to insert into your design.

There's plenty of flexibility provided for you to mix and match and design your own form. Go ahead and try different options and combinations to see what best meets your needs.
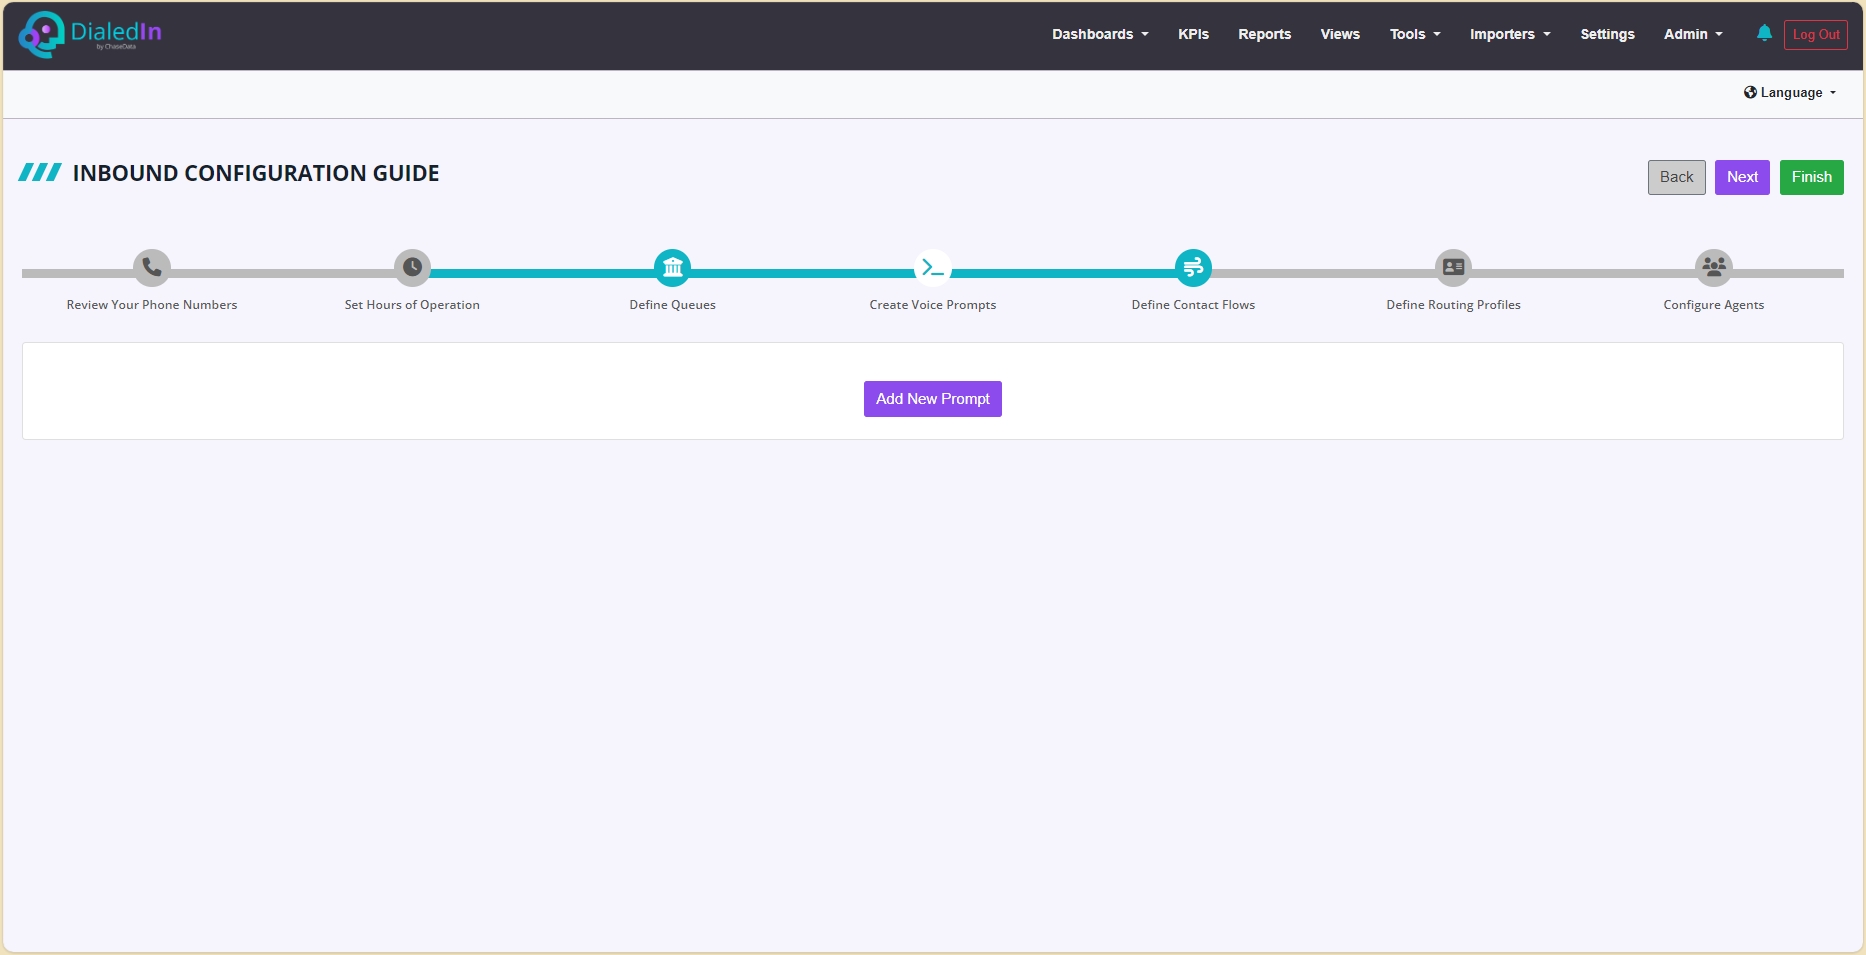
The Inbound Configuration tool provides a way to navigate through the steps to configure an inbound operation. It is an easy-to-understand guided configuration set based on the same inbound capabilities and approach used on the Admin application, but by providing an alternate user interface that walks you through each of the essential components.
The following picture shows the steps through which this configuration guide will take you.
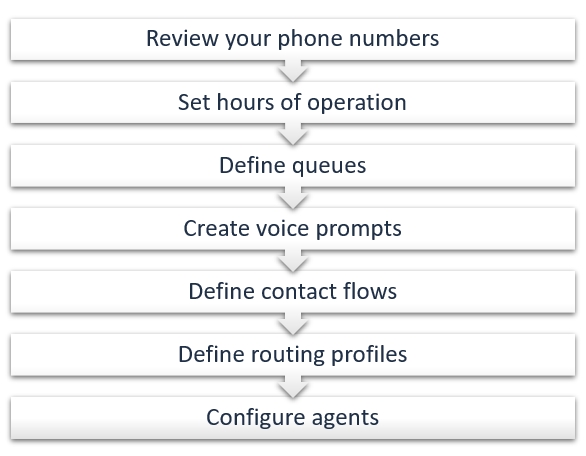
Let’s go through each of them.
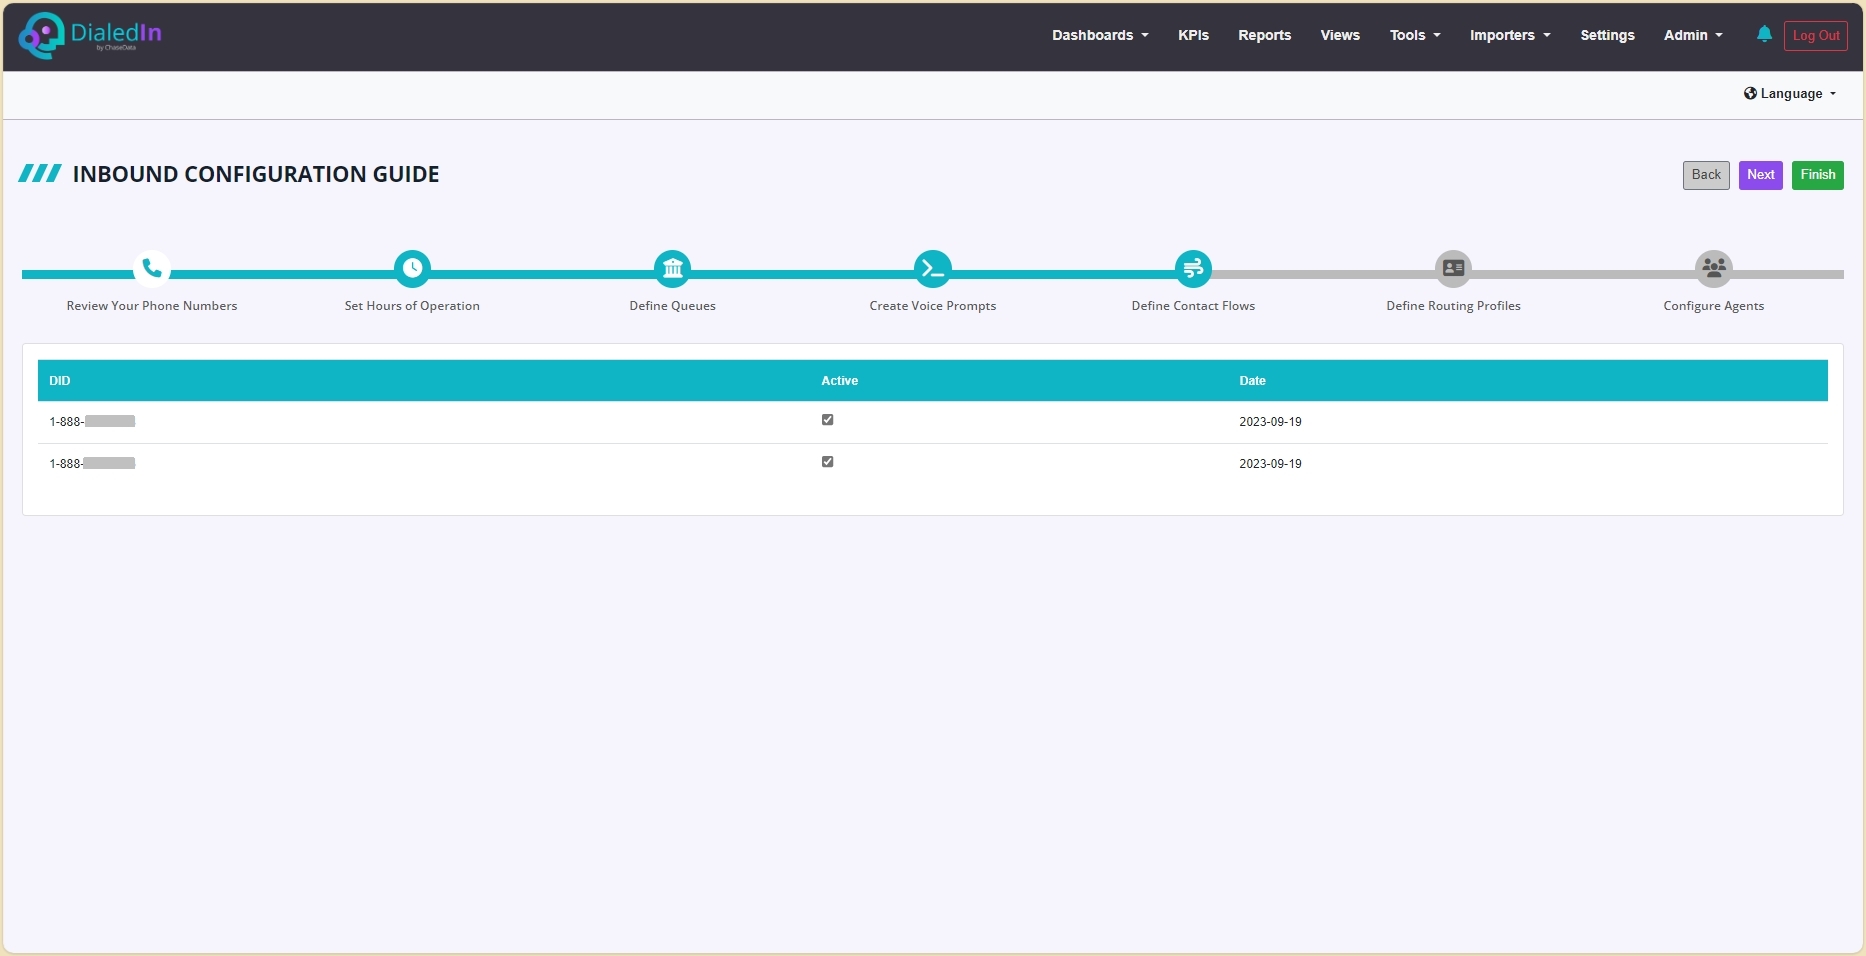
One of the first things needed is to have phone numbers (DIDs) where to receive calls. Which is what this first step is all about. However, these numbers are added here by DialedIn according to your contract and requests; after that, you can review them and activate or deactivate them. See the following picture.
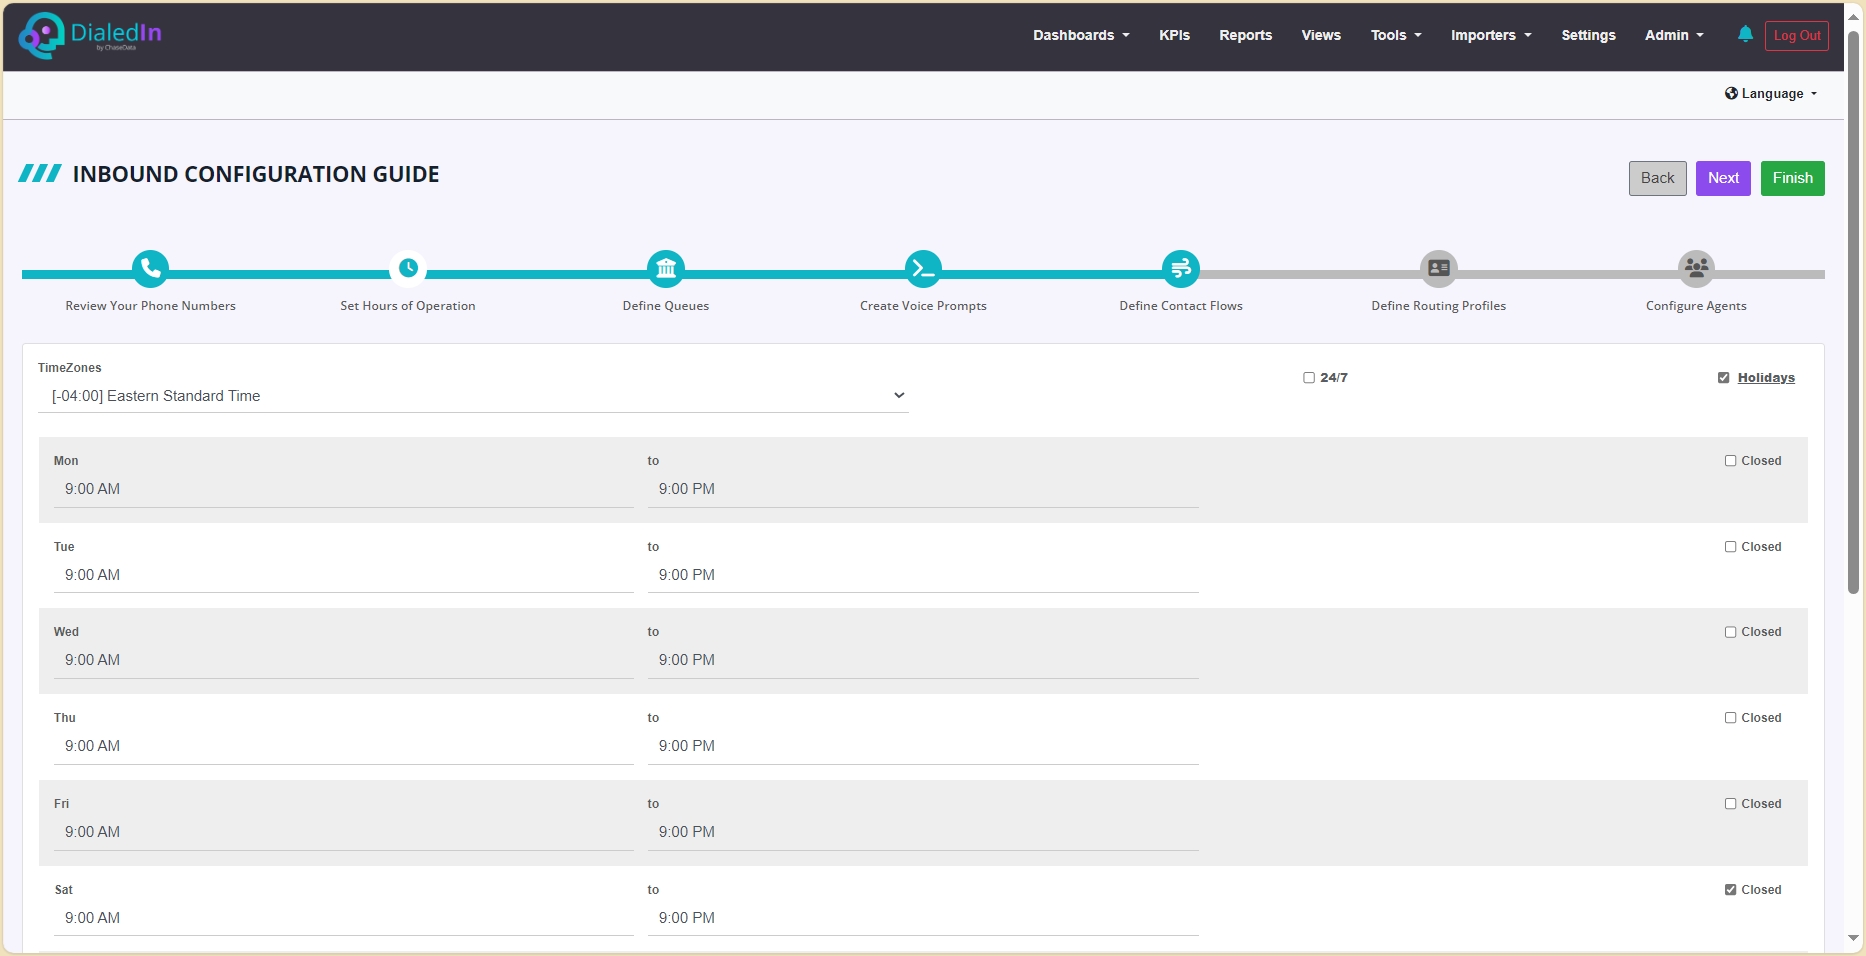
In this step of the Inbound Guide, you define when your agents are going to be taking inbound calls. Outside these days and times, the DialedIn call center engine will play an Outside Working Hours message to the caller, which you can customize elsewhere.
The first option that you need to set is whether your operation is 24/7. If the answer is yes, then the only thing left is to define any applicable Holidays.
If the answer is no, your options include the time zone and each day’s open and close times, on a weekly basis. Refer to the following picture.
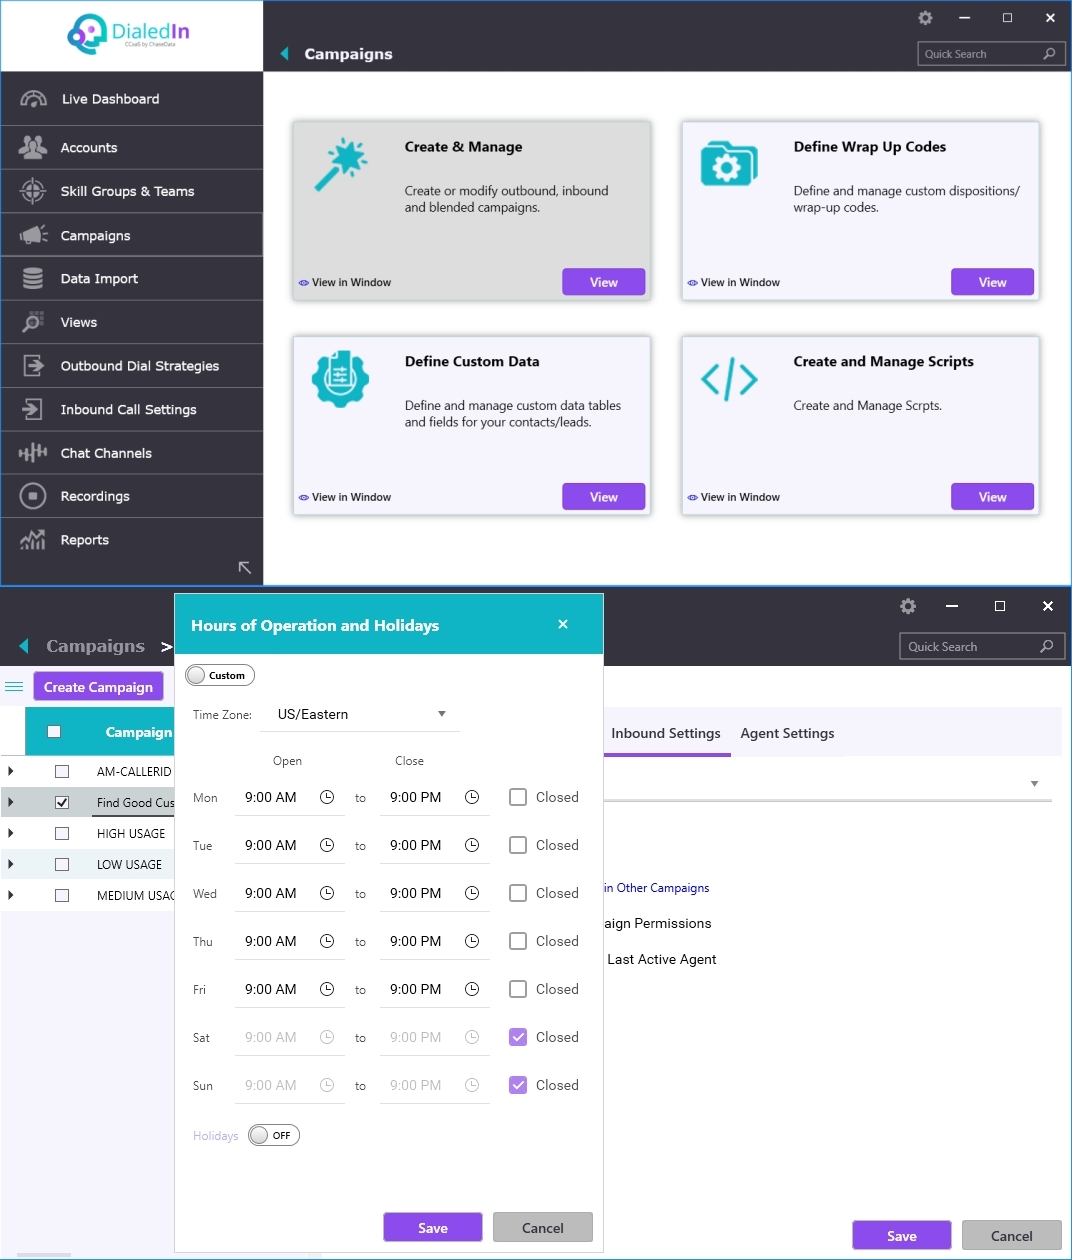
As we have said, the Inbound Configuration Guide takes you through the same steps you would manually go using the Admin GUI. For this step, it corresponds to Hours of Operation within Inbound Settings for a Campaign, as depicted in the following picture.
Your Call Queue ties a phone number (DID) to a ring group, defined by the association with a campaign and agent skillset prioritization, among other things. Refer to the following pictures.
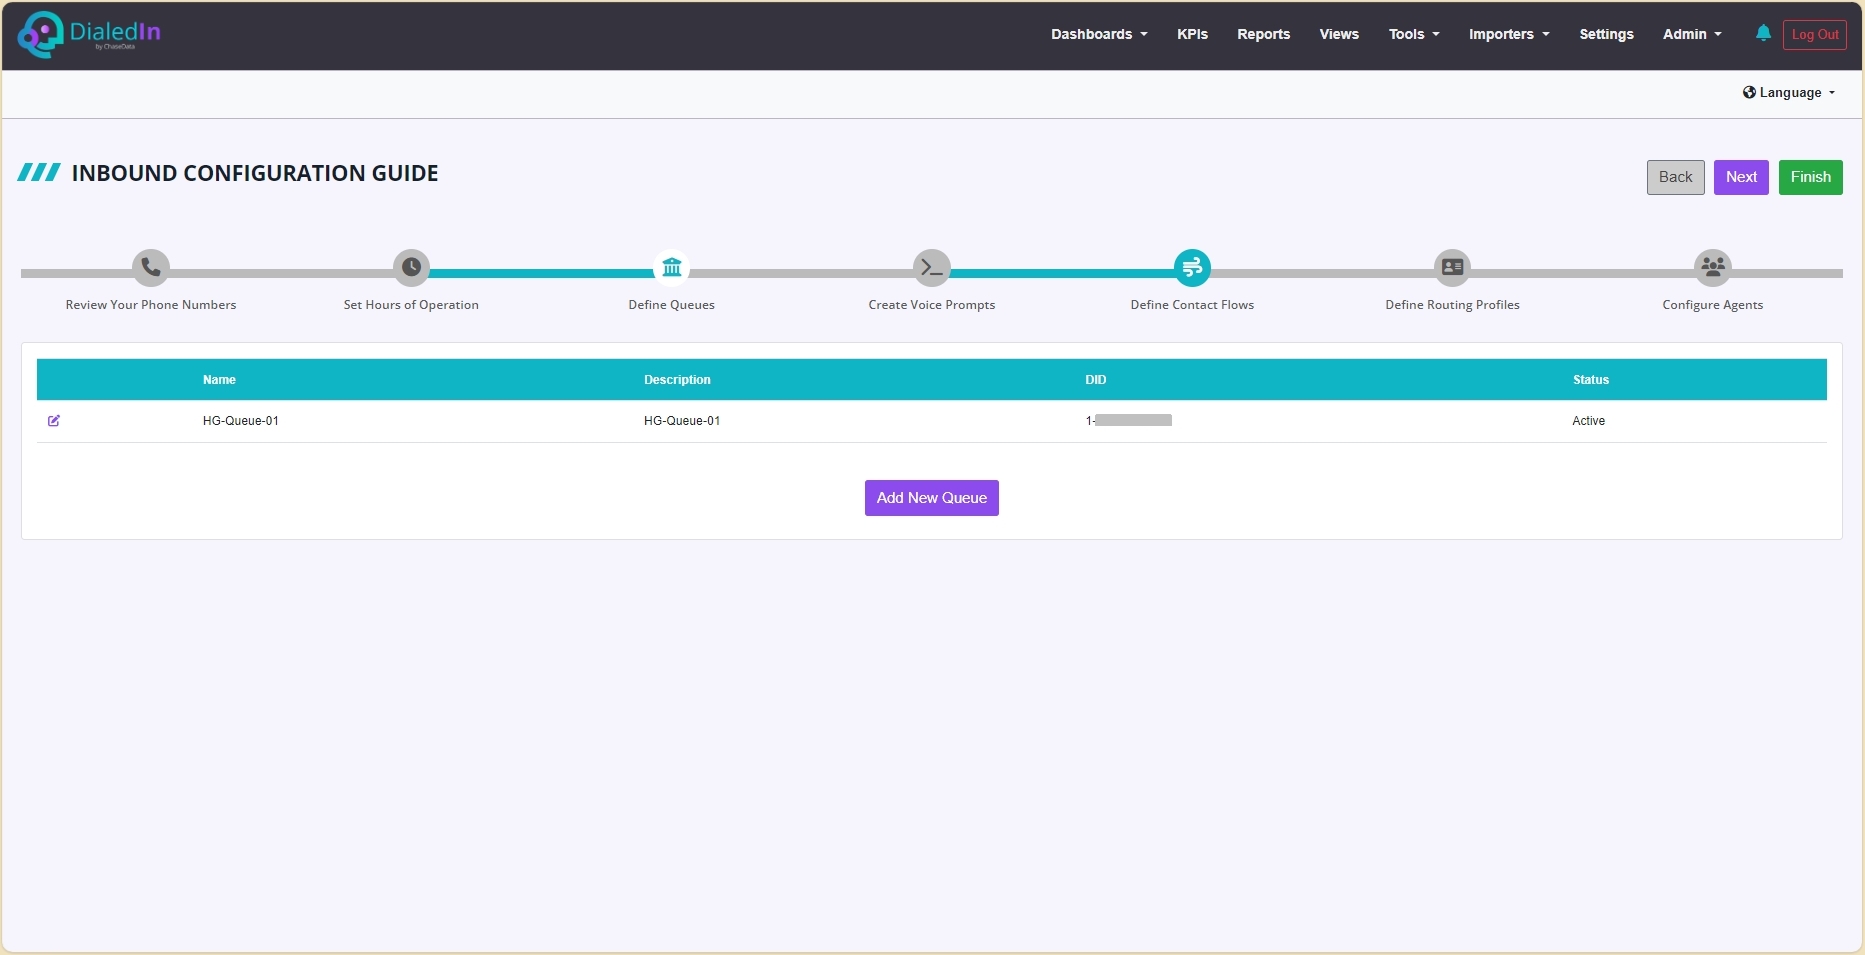
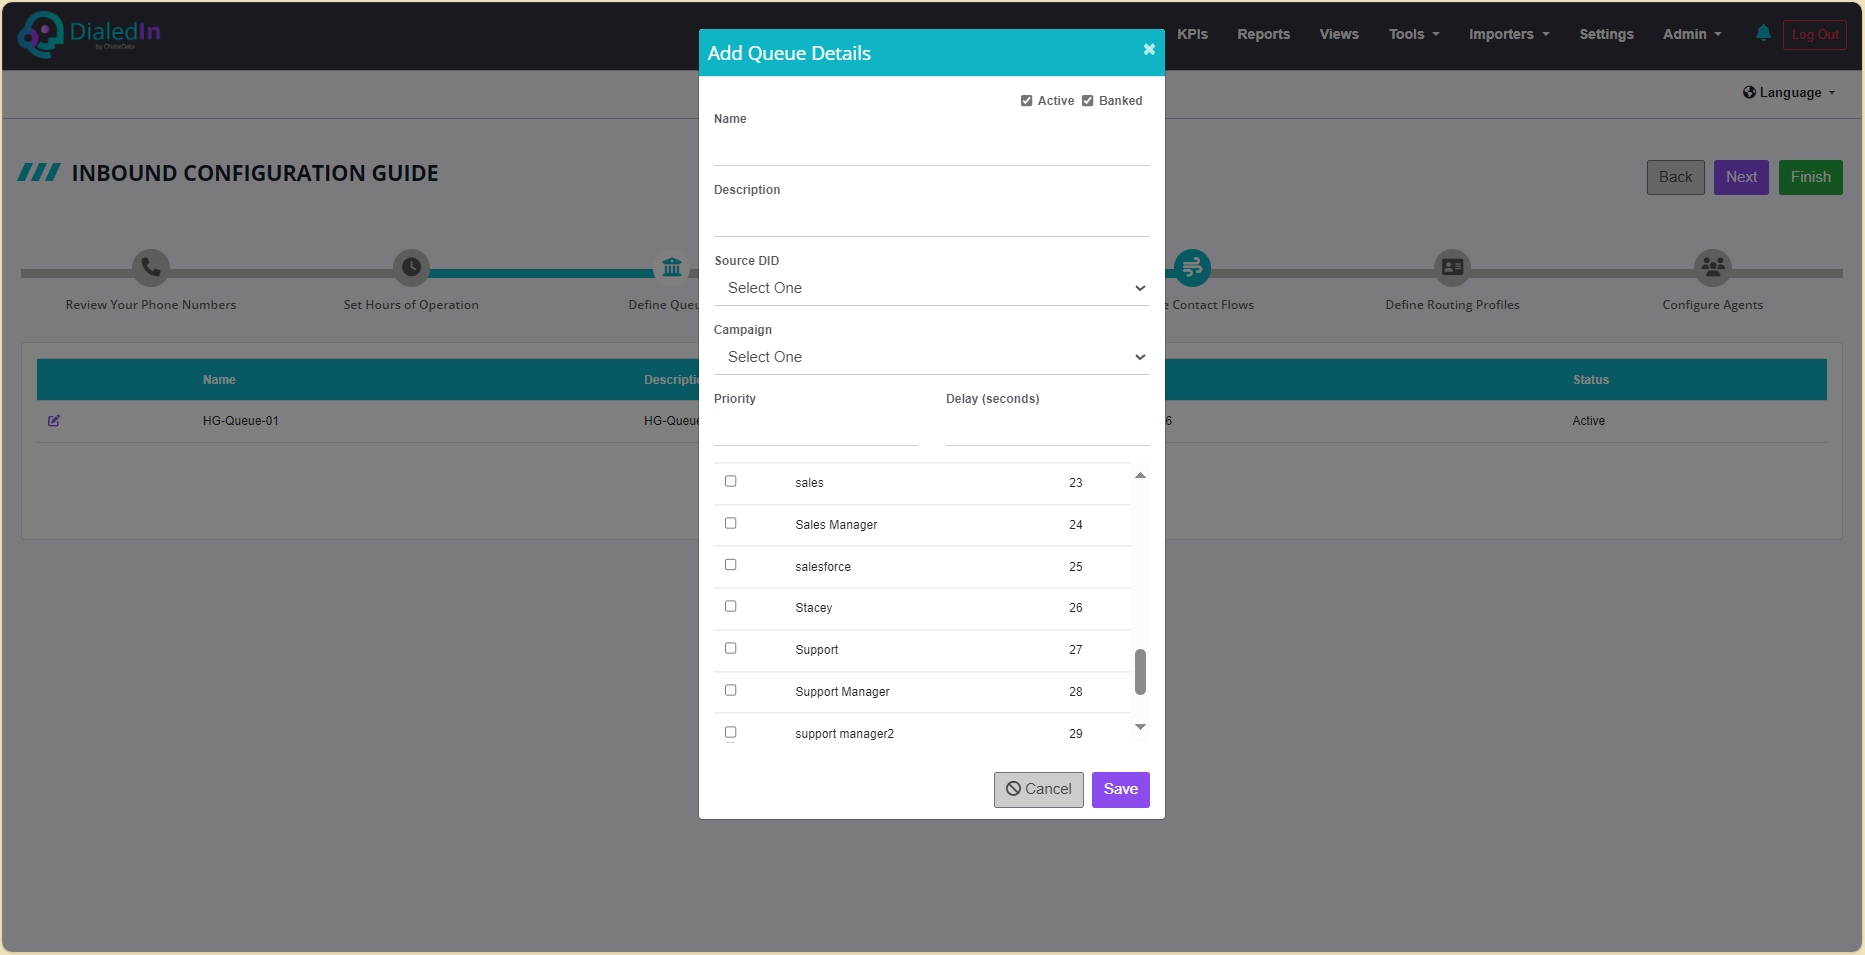
Name and Description identify the Queue (Ring Group). Source DID is one of the phone numbers that are already assigned to your call center, as listed in “Review Your Phone Numbers”. Priority is a list of Agent Skillsets with a priority; for a call, the system parses it until it finds a corresponding agent available.
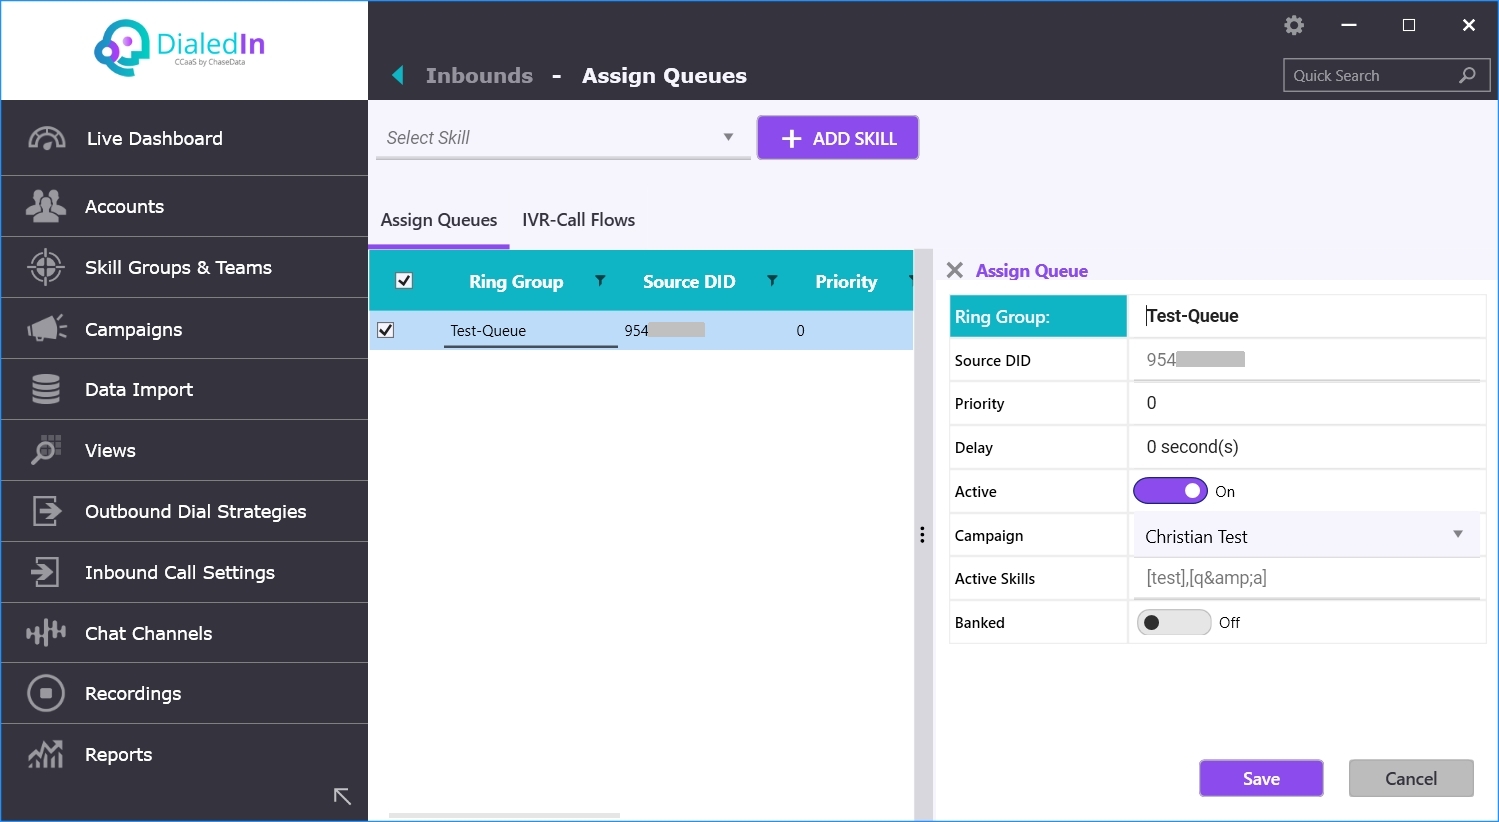
As we have said, the Inbound Configuration Guide takes you through the same steps you would manually go using the Admin GUI. For this step, it corresponds to Assign Queues within Inbound Call Settings, as depicted in the following picture.

Voice Prompts can and should be customized for interactions with the caller, from main greeting announcements, to waiting and leave-message announcements. This is done by defining a message, linking it to a corresponding event type, and associating it with a campaign, queue, or another entity. Refer to the following pictures.

The message requires a triggering event, including the following.
IVR Event TypeGreetingMessage |
This is the first audio message that would be presented to the caller; should include a presentation of the options for the caller to select (e.g. “press 1 for…”). The message will be played in its entirety without interruption even if an agent is available. The system does not include a default message for this event, so one is required, or nothing will be played. |
|---|---|
WaitForOperator |
This is the audio message that is played to the caller when it’s put into the inbound call queue and will be interrupted as soon as an agent becomes available; it loops (repeats) until the call is connected to an agent or another condition is triggered. A default message exists and will be played if a custom one is not configured. |
NoAvailableOperators |
This is the audio message that is played to the caller when there are no agents signed in (logged in); note that if an agent is on break (Busy), this event type does not apply, since the agent could take the call (see WaitForOperator). Typical use is for after-hours (office closed); message could offer to leave a message (would need to set Termination appropriately). |
LeaveMessageAfterTheTone |
This is the audio message that is played to the caller to invite caller to leave a message after an action for Voicemail is triggered; the Termination parameters should be set appropriately. |
ErrorHasOccured |
This is the audio message that is played to the caller if something unexpected has occurred (e.g., no response, wrong digit pressed). |
Whisper Notification |
This audio message is not a voice messages played to the caller, but rather to the agent to notify about the inbound call. |
GoToOperator |
This is the audio message that is played to the caller when the caller chooses the connect-to-operator option. |
NonWorkingHours |
This is the audio message that is played to the caller when the call comes outside of the defined Hours of Operation for the Campaign; the Termination parameters should be set appropriately. |
An additional action can be triggered post-message, as follows.
Termination OptionsNone |
Does not trigger an additional action to follow |
|---|---|
Busy |
Play a busy tone |
Hangup |
Just disconnect the call |
Extension |
Transfer to an extension or external number; requires to also specify an extension or 11-digit number |
Voicemail |
Transfer to voice mailbox; asks to also specify an extension, but can leave blank to use the campaign’s default |
InboundSource |
Transfer back to a Source DID; requires to also specify the number. |
A Delay can be specified to indicate the time in seconds to wait before the Termination action is taken.
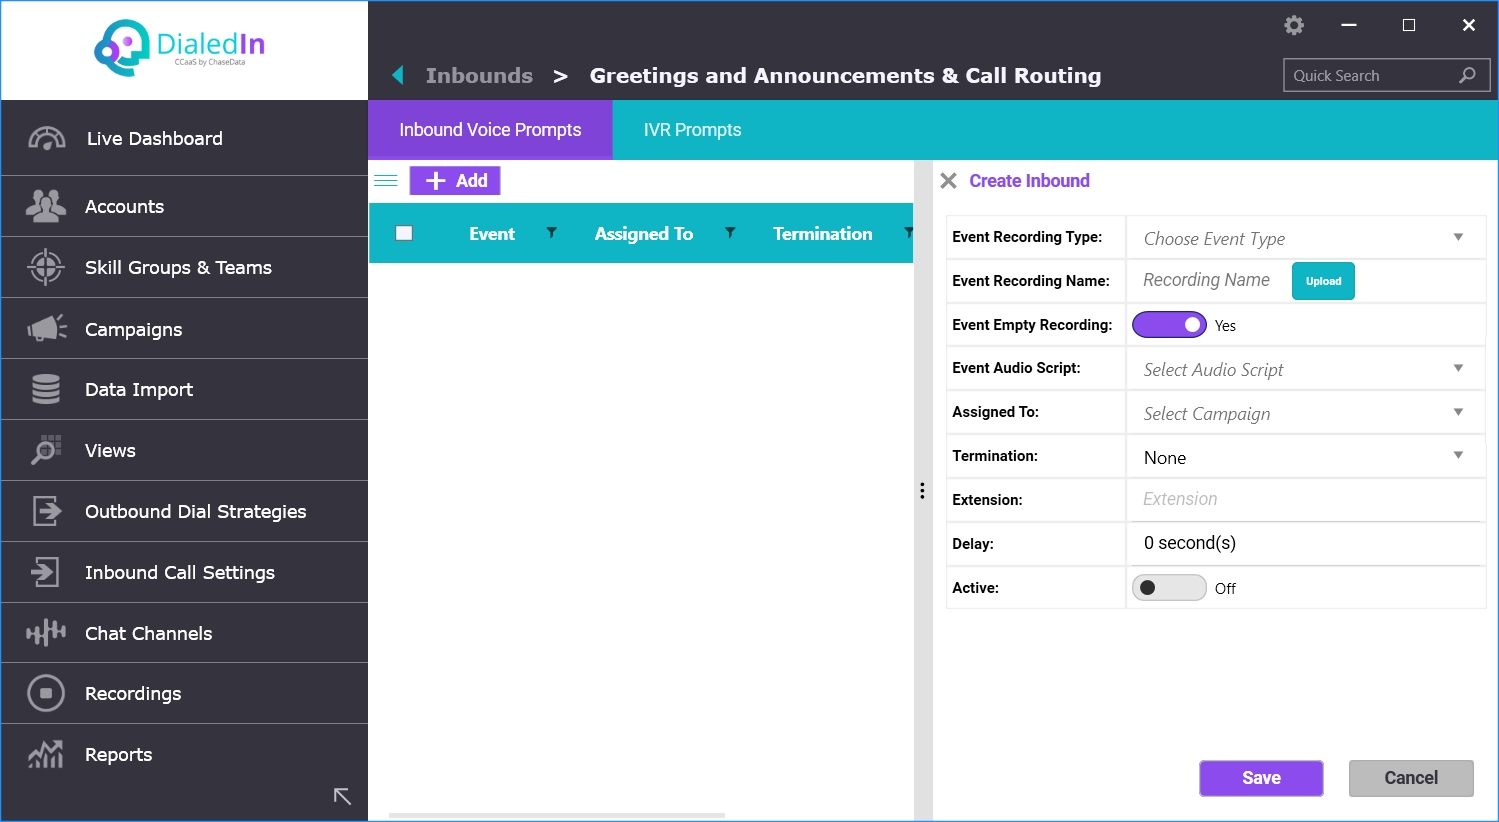
As we have said, the Inbound Configuration Guide takes you through the same steps you would manually go using the Admin GUI. For this step, it corresponds to Inbound Voice Prompts within Inbound Call Settings, as depicted in the following pictures.

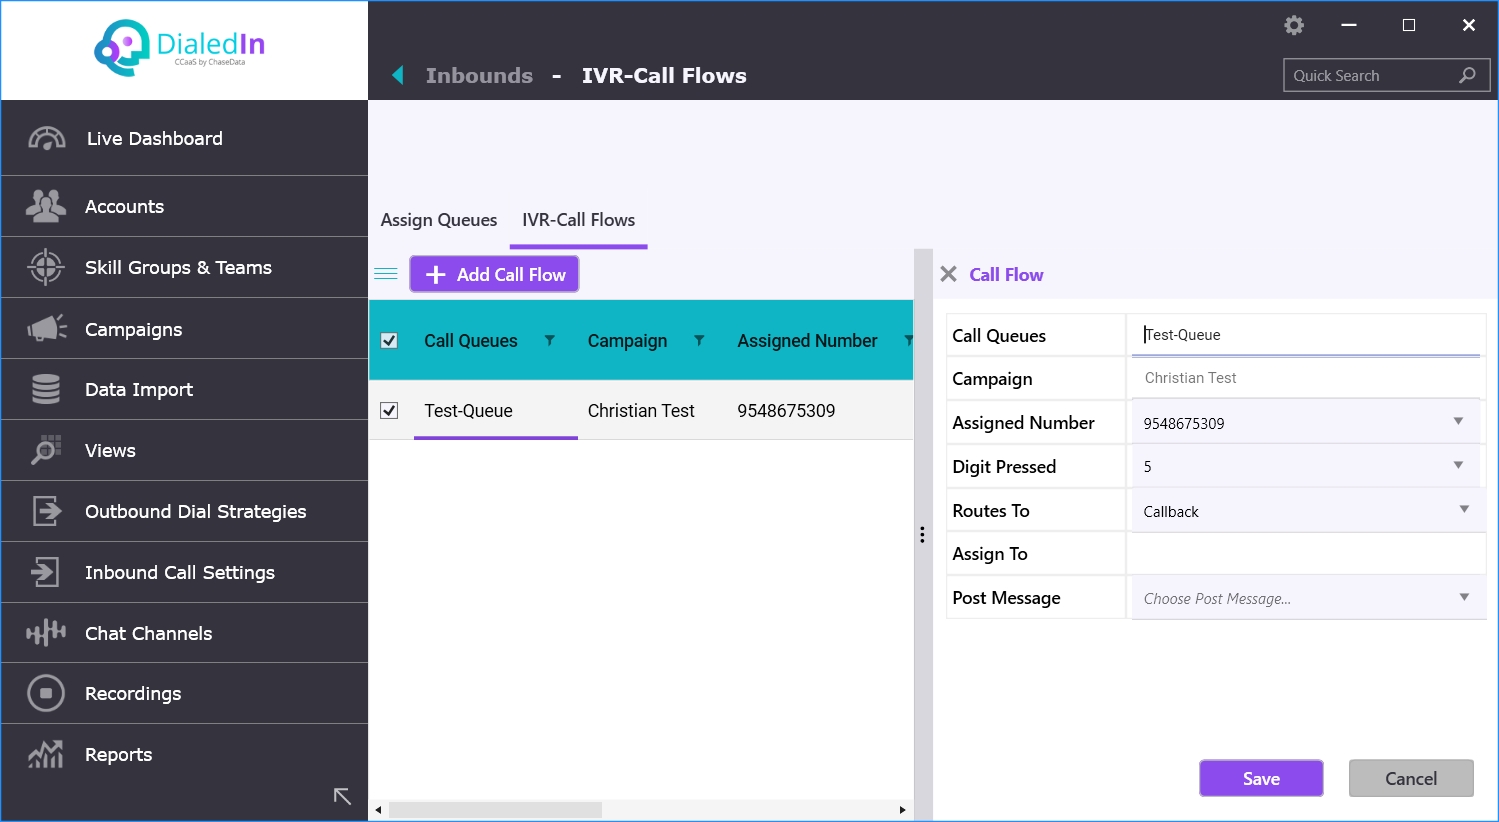
In Define Contact Flows we define what to do for every caller response (e.g., digit pressed), so we can route the call appropriately.
There are two ways to configure the IVR call flow, depending on availability and configuration. One is using a pop-up to define each allowed caller response; another one is to use the Contact Flow drag and drop tool. Refer to the following pictures.
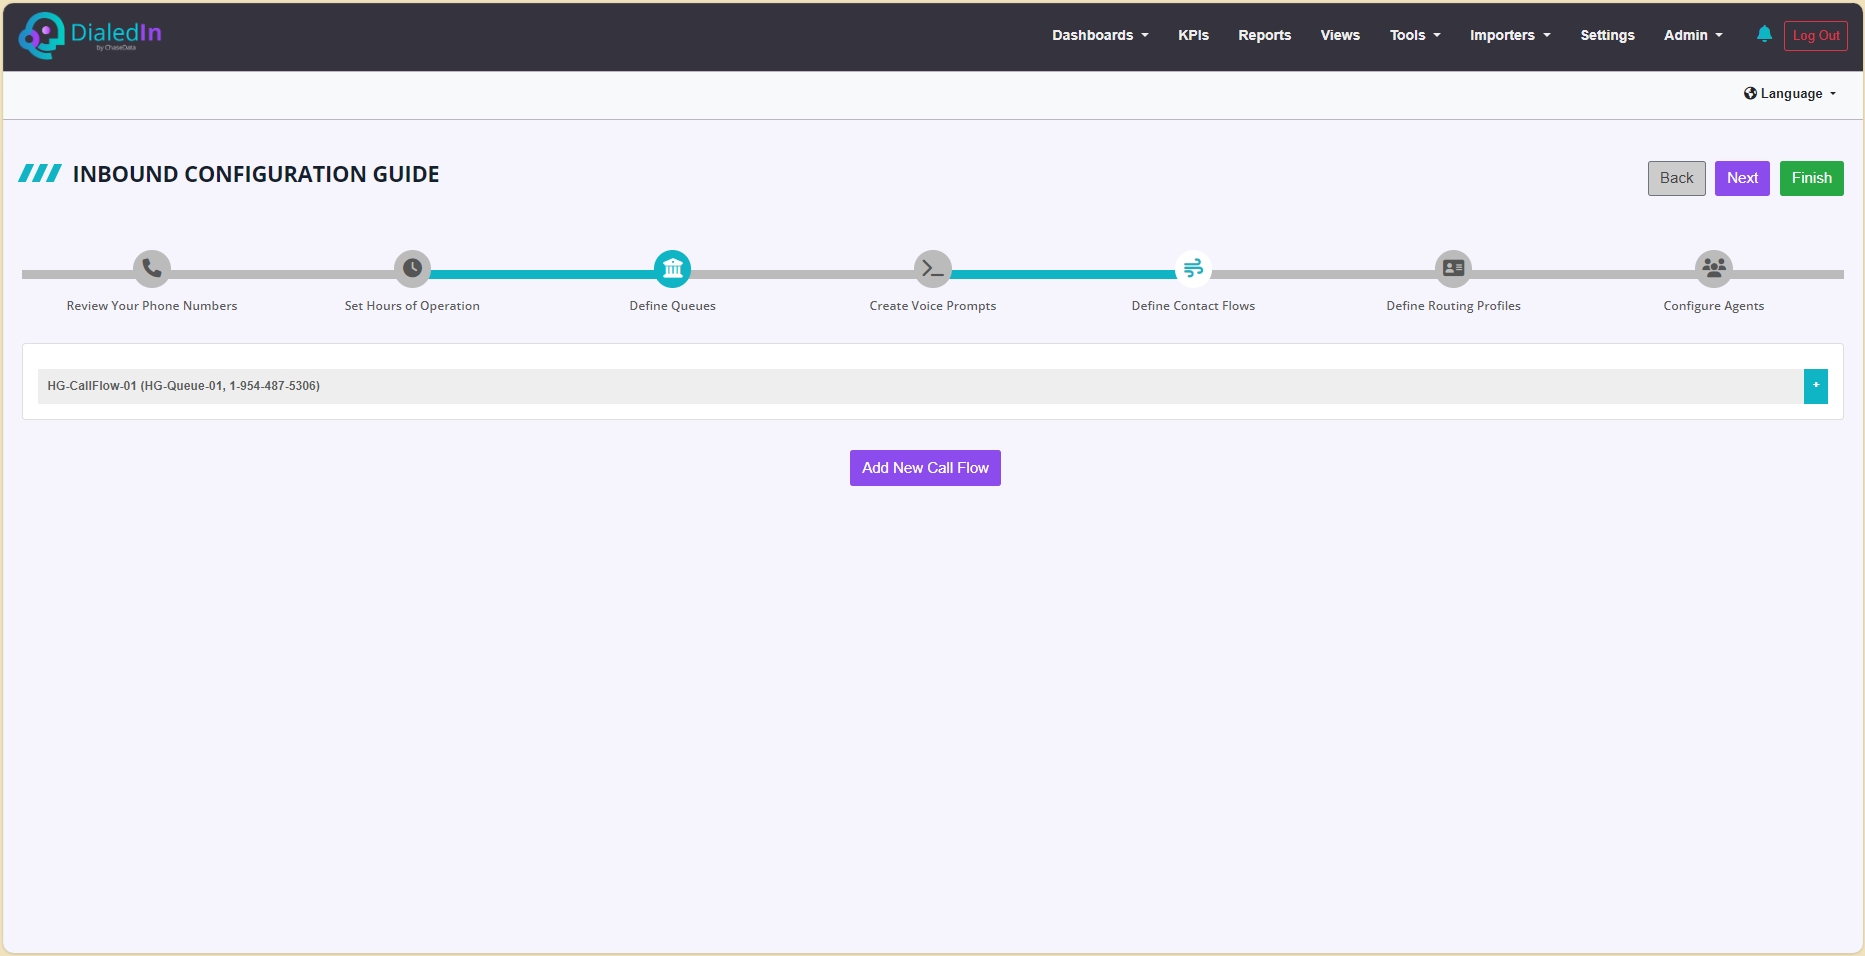
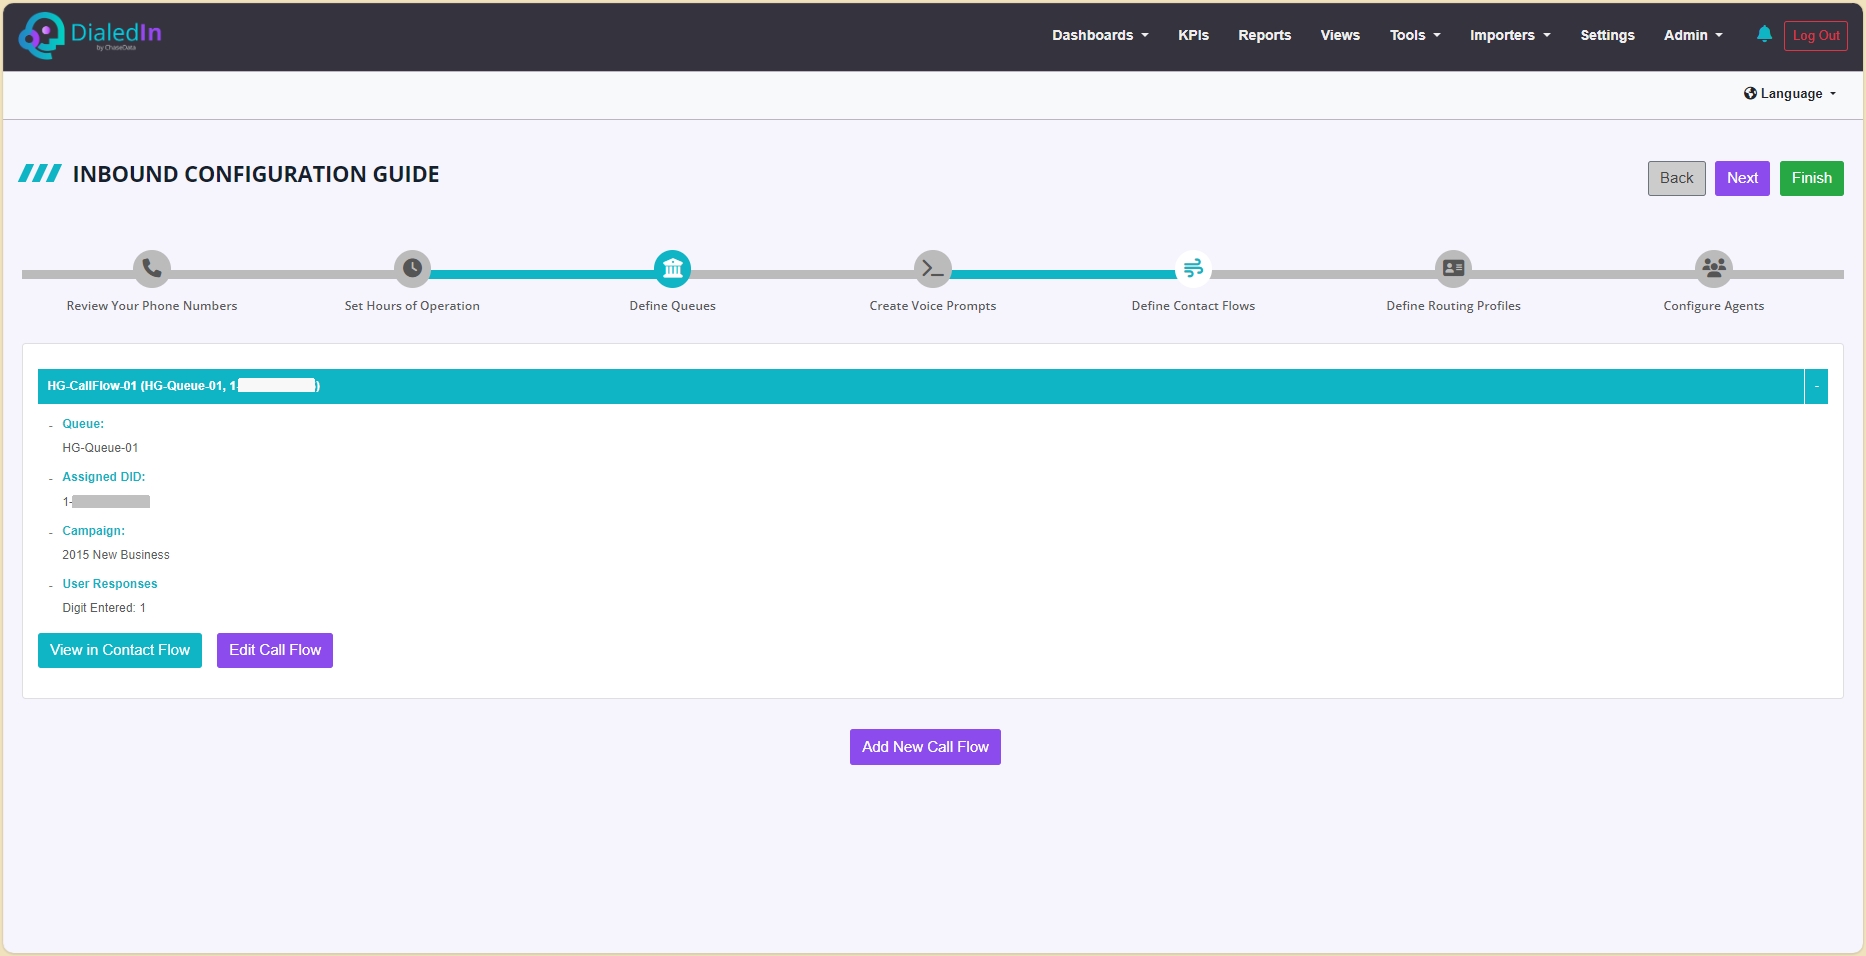
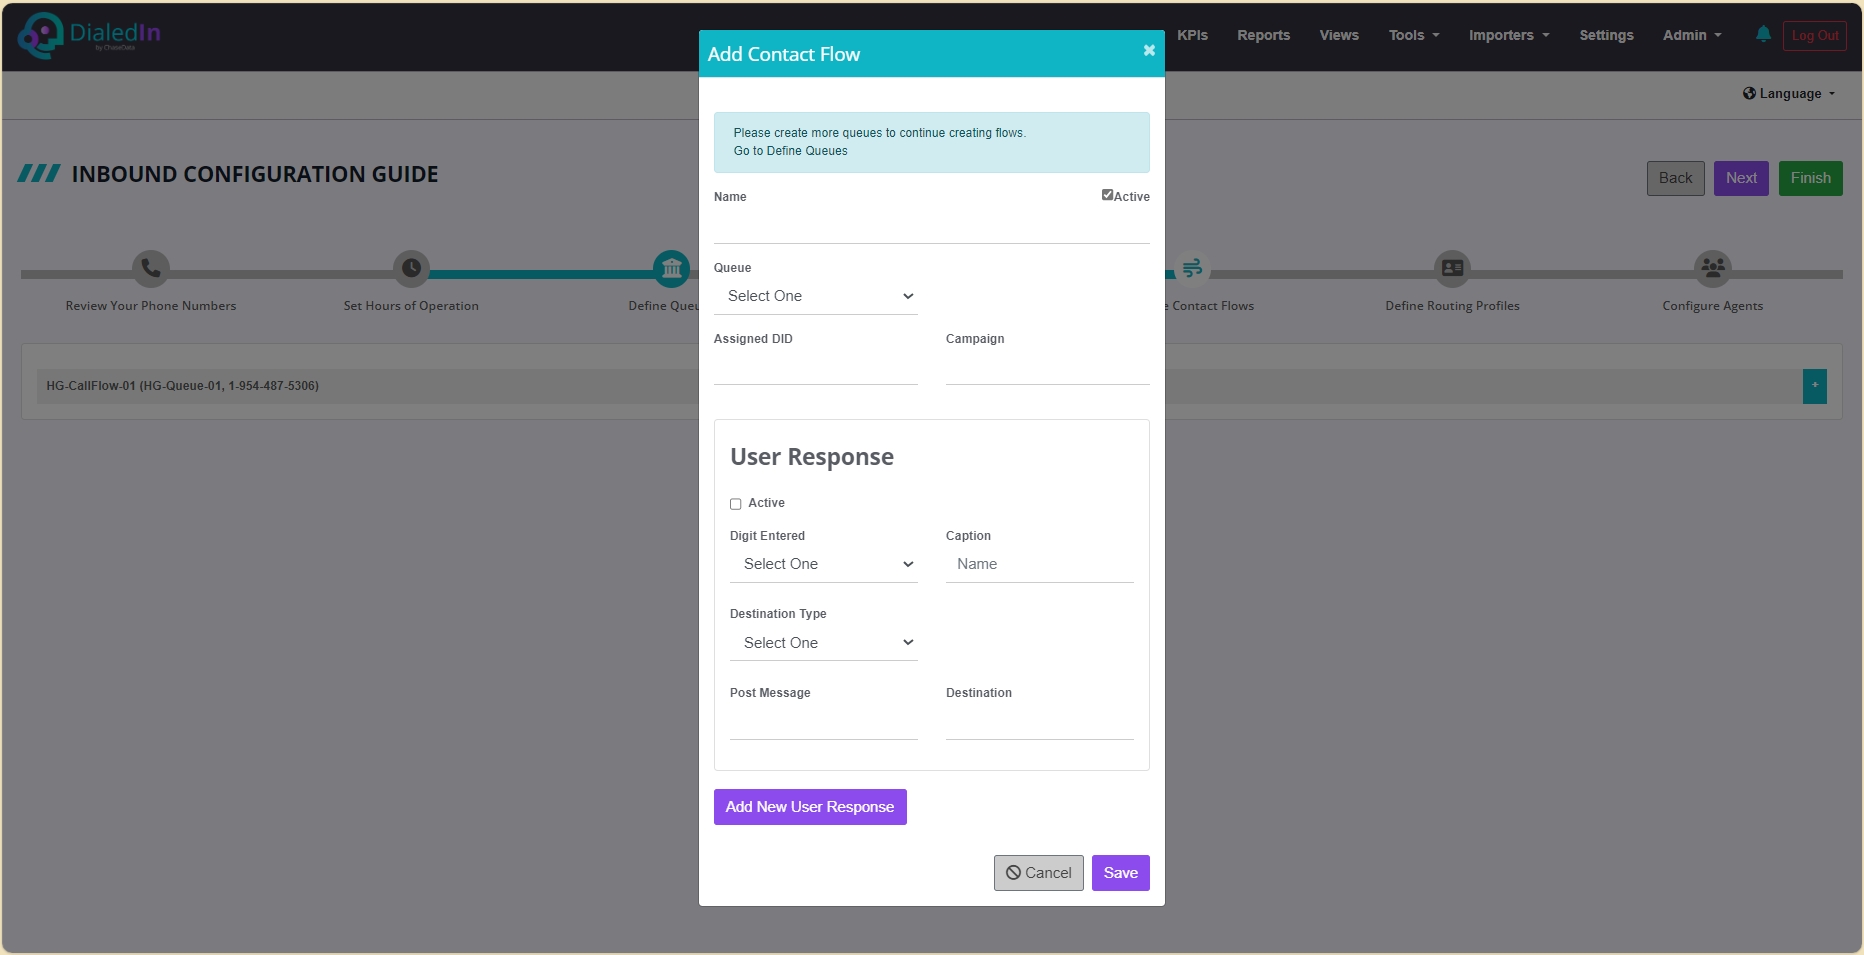
The contact flow needs to be associated with a queue (ring group), which, as we have previously seen, is in turn associated with the phone number (DID) where calls arrive and a corresponding campaign. Therefore, when a queue is selected, the DID and campaigns will automatically be shown.
The next step is to add a User Response for each digit pressed. Each User Response identifies the digit pressed, the destination type (how to route), and the actual destination (where to route). The following are available options.
Destination TypesVoicemail |
Route the caller to voice mail; if no Extension is specified in the Assigned To parameter, it will be sent to the general mailbox |
|---|---|
Operator |
Route the caller to the operator; the system will try to route to an available Agent |
Not Interested |
Sets status of the inbound call to Not Interested; terminates the call and sets disposition/Wrap-Up Code accordingly |
DNC |
Sets status of the inbound call to a DNC disposition; terminates the call |
Skill |
Route the call to agent with the Skill as specified in the Assigned To parameter |
Extension |
Route the call to an external number as specified in the Assigned To parameter |
Callback |
Sets status of the inbound call to a Callback disposition; terminates the call |
Agent Extension |
Route the call to a specific agent Extension as specified in the Assigned To parameter |
Ring Group |
Route the call to another Ring Group / Call Queue as specified in the Assigned To parameter; useful when a main number is used to route to different department; care must be taken not to create infinite loops when each Call Queue routes to each other. |
Extension |
Should enter a valid agent extension |
|---|---|
Skill |
Should enter a valid and compatible agent skill |
Number |
Should enter a valid telephone number |
Ring Group |
Should enter a valid Ring Group / Call Queue. |
The following picture is for the optional Contact Flow drag and drop tool alternative, when available. The same configuration principles apply, but in a more graphical manner.

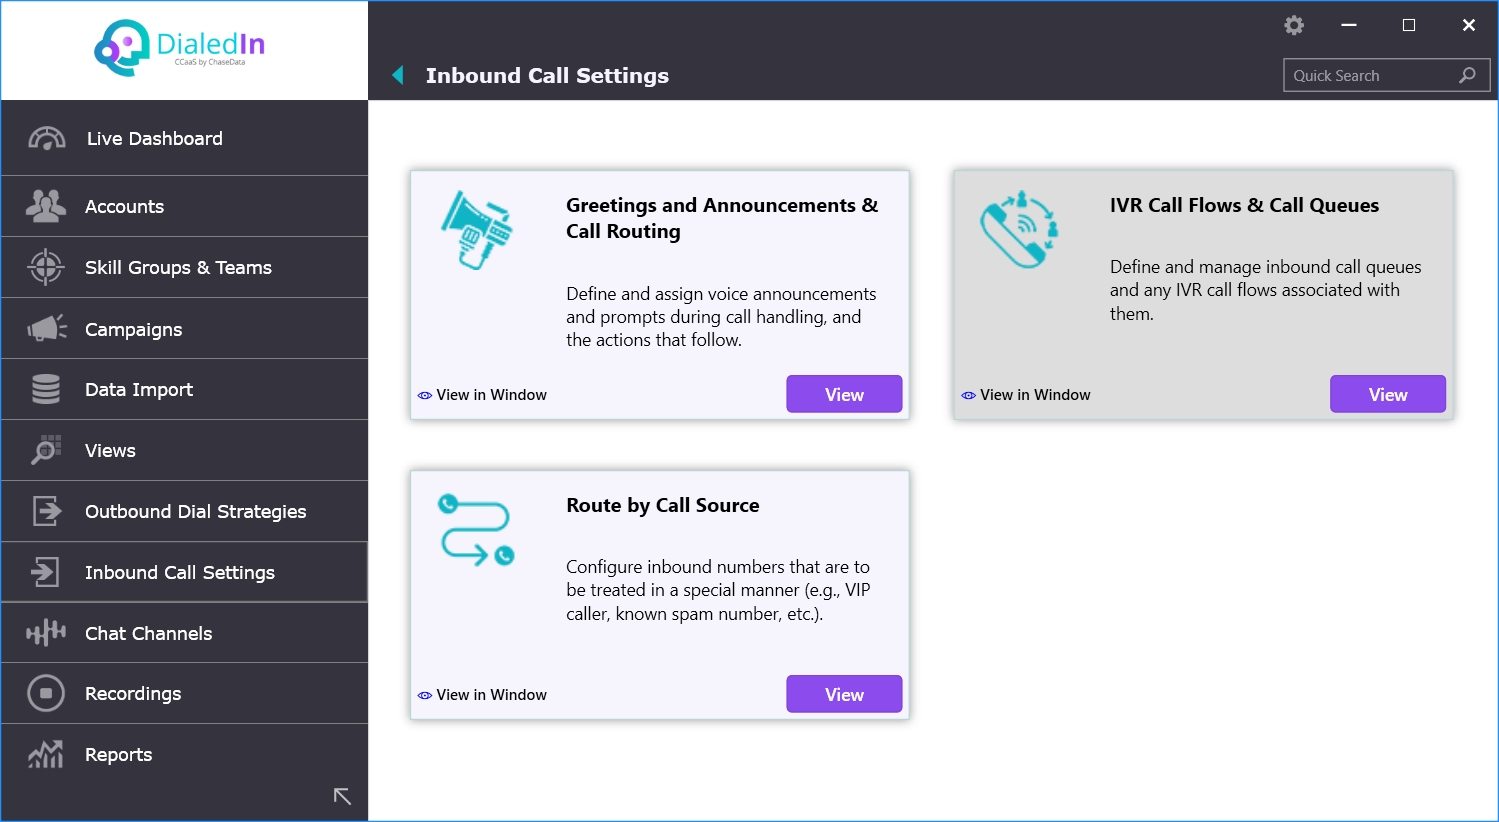
As we have said, the Inbound Configuration Guide takes you through the same steps you would manually go using the Admin GUI. For this step, it corresponds to IVR Call Flows within Inbound Call Settings, as depicted in the following pictures.
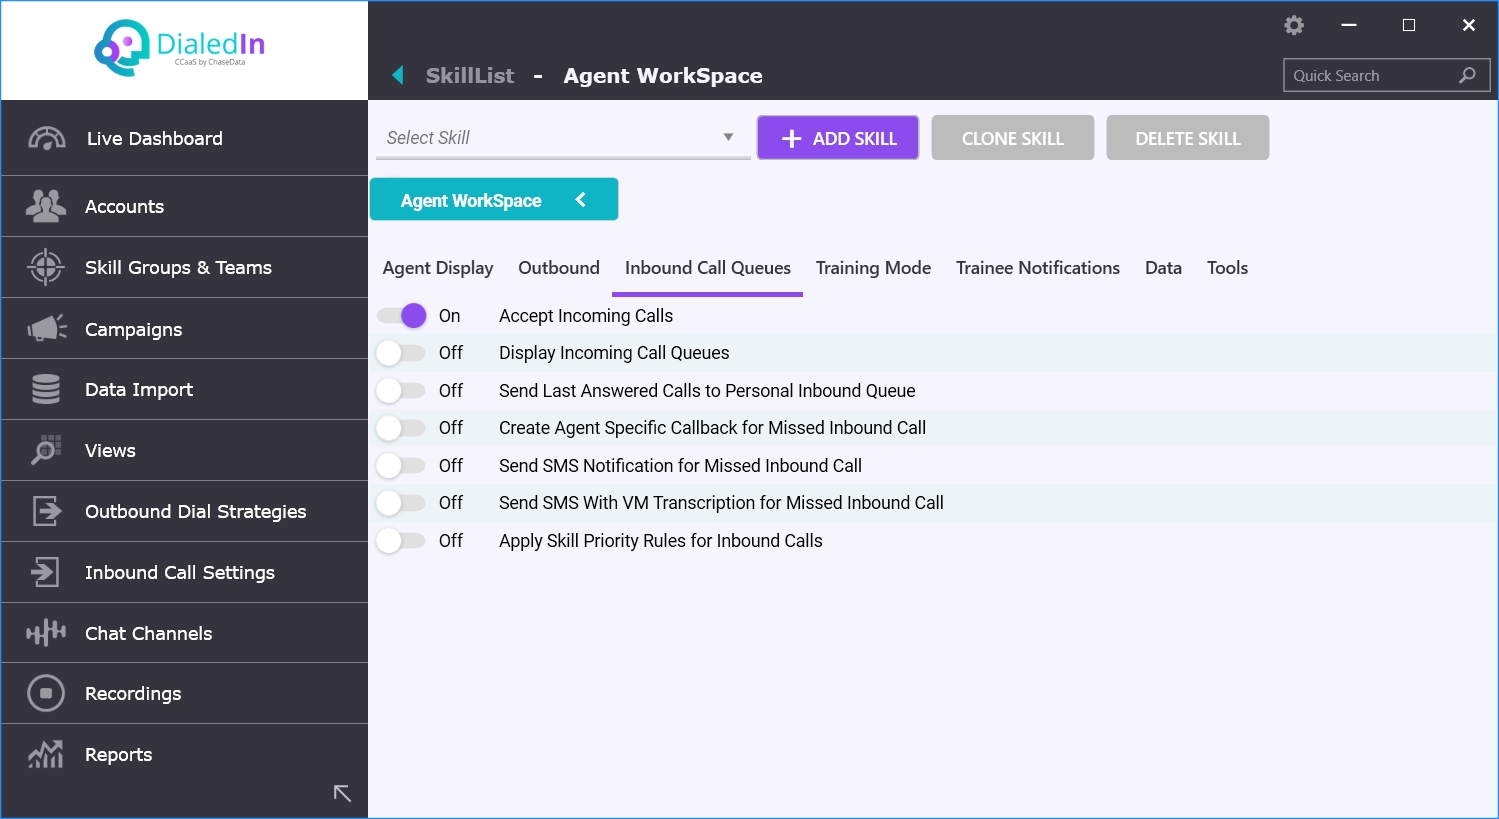
Currently, this step shows the currently available skill sets, the agents assigned those skill sets, and whether the skill set is enabled to accept inbound calls. Refer to the following picture.
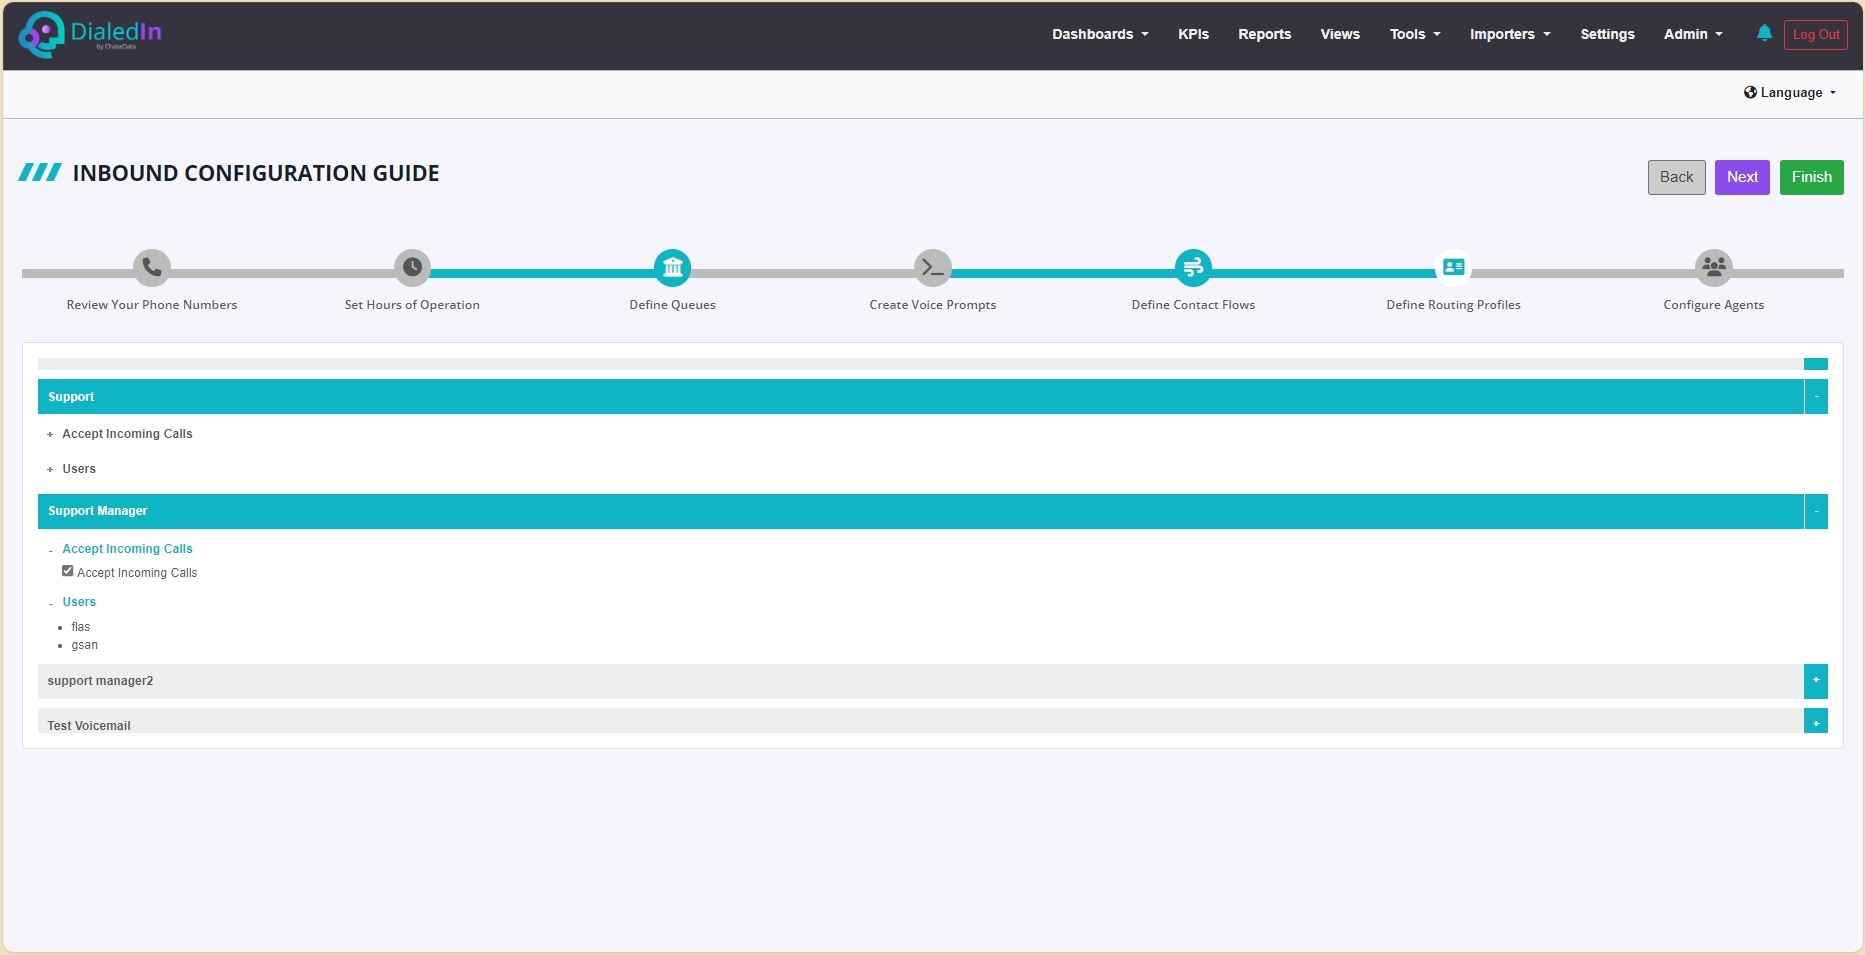
The queue assignments were done at the Define Queues step.
As we have said, the Inbound Configuration Guide takes you through the same steps you would manually go using the Admin GUI. For this step, it corresponds to both the Inbound Call Queues settings of the Agent Workspace in Skill Groups, and Assign Queues within Inbound Call Settings, as depicted in the following pictures.
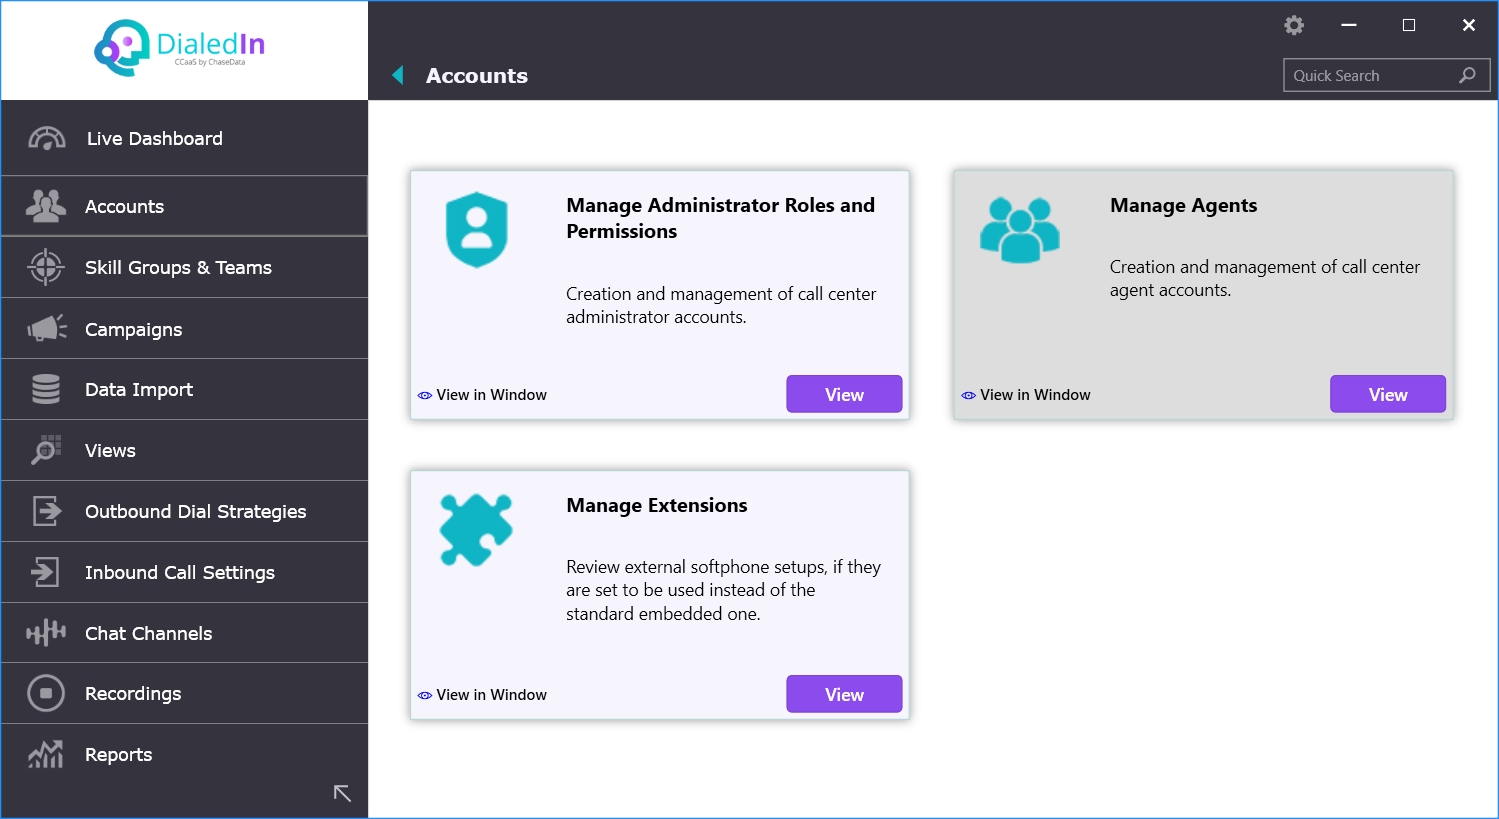
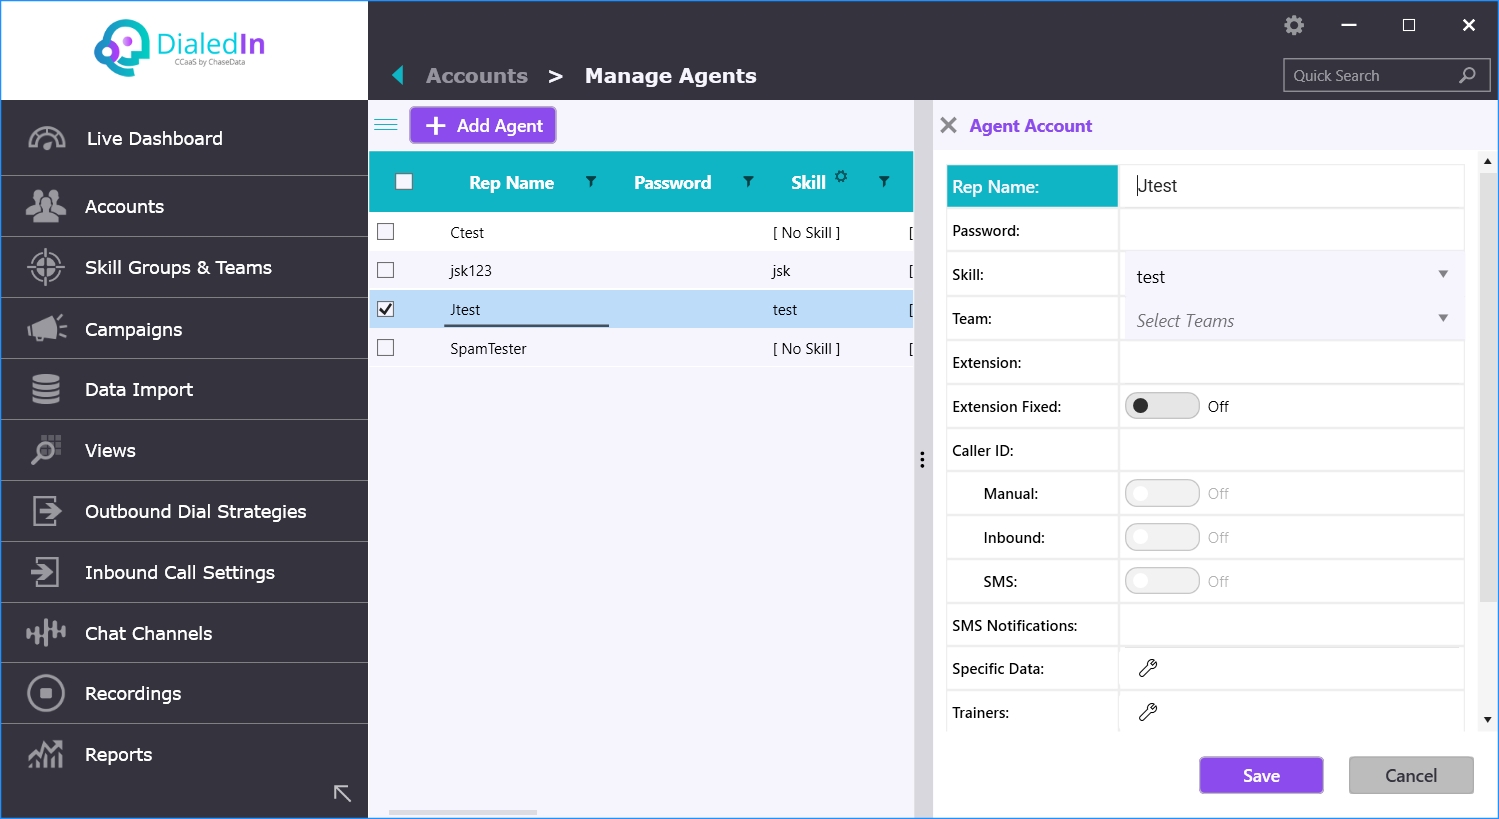
The final step in this Inbound Configuration guide is to make sure we have agents, and that those agents are properly assigned skill sets so call assignment priorities are effective. You can also optionally assign an extension to an agent, in case the agent needs to be contacted directly, or routed to. Refer to the following diagrams.

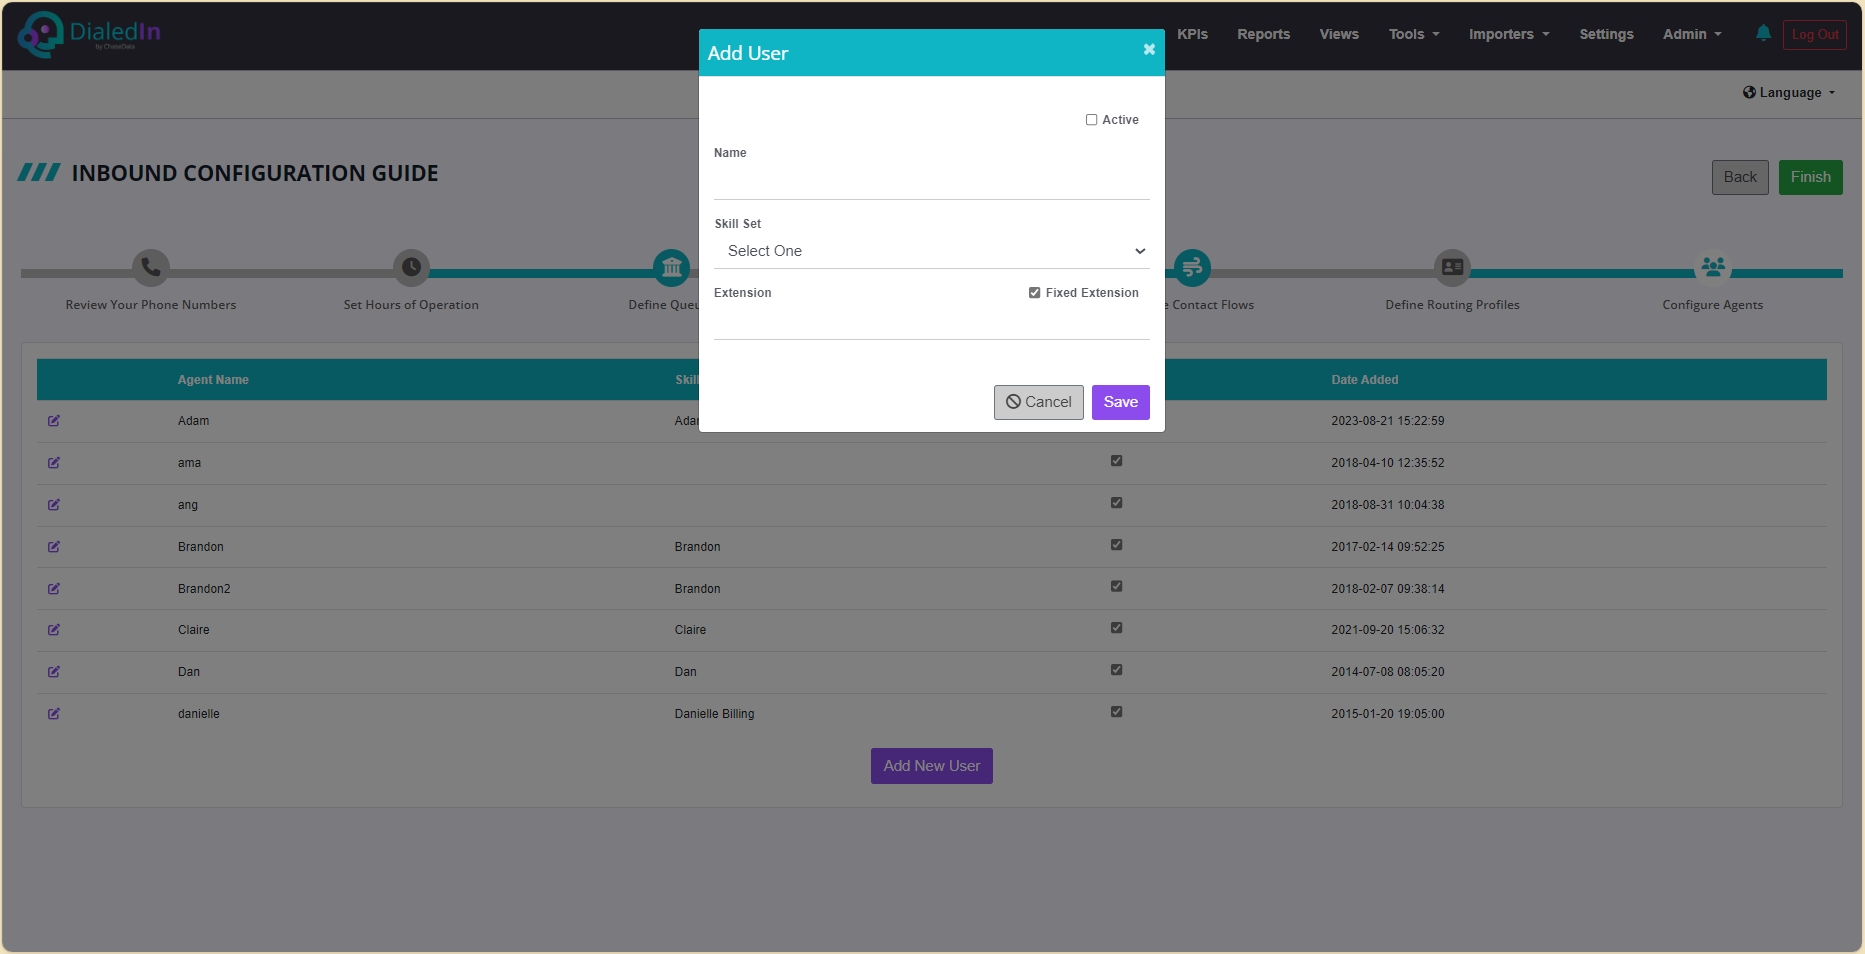
As we have said, the Inbound Configuration Guide takes you through the same steps you would manually go using the Admin GUI. For this step, it corresponds to Manage Agents within Accounts, as depicted in the following pictures.