The DialedIn Contact Center solution relies on proper IP voice communications from a computing device. To be more specific, using VoIP on a Windows based PC or equivalent; and this occurs using the audio ports and capabilities of the Windows PC. For that reason, we must make sure that the PC and Windows audio capabilities are properly working and configured.
Following are a number of areas to explore, as a minimum, to make sure you that your headphone input and output are readily available for your DialedIn setup and working properly.
Following are a number of areas to explore, as a minimum, to make sure you that your headphone input and output are readily available for your DialedIn setup and working properly.
Let's start with the simplest check, which is testing sound.
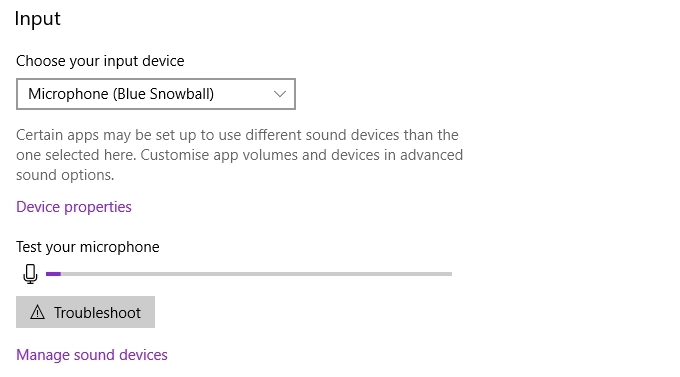
Search the MS Windows Start Menu for Sound Settings and open it. Scroll to the input device and select to test your microphone and make sure input sound is going through. Refer to the following example picture. When speaking into the microphone of your headset, the sound bar next to the microphone icon should show activity corresponding to the sound produced. And you should hear sound coming from your headset’s speaker.
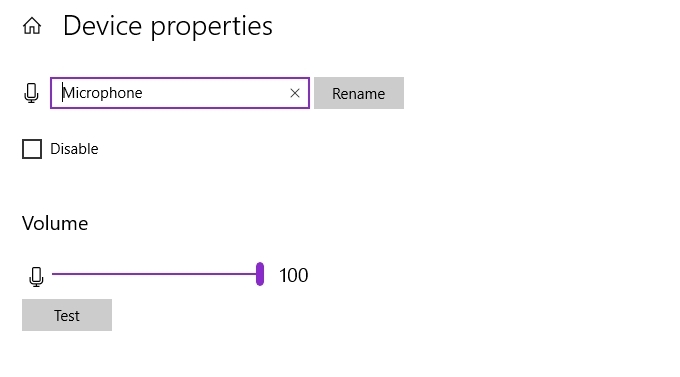
If your sound input and output tests were successful, you probably have the right devices enabled. In any case, you should check devices properties, anyway, to make sure devices are enabled and selected.
From Sound Settings, you can select Device Properties and confirm your device and enabled status. You can also perform a sound test from here, too.
From Sound Settings, you could also select Sound Control Panel, which opens the more traditional control panel settings. Move to the Playback and Recording tabs, to review and enable the speaker and microphone devices, correspondingly.
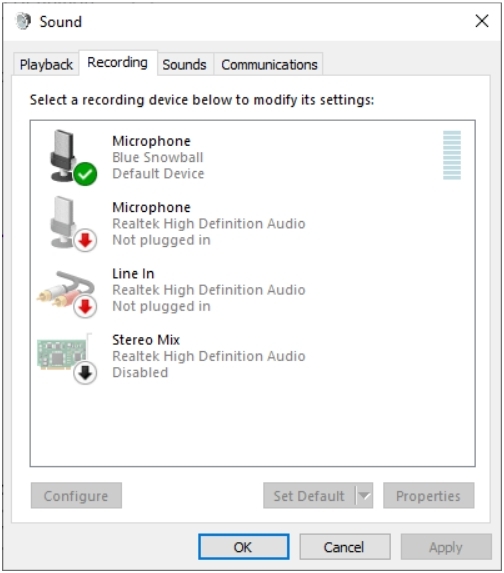
It is possible that an application or sub-system may be preventing the use of the sound devices by the DialedIn system. In that case, you could disable the ability to do that from the Sound Control Panel, which you can access from Sound Settings.
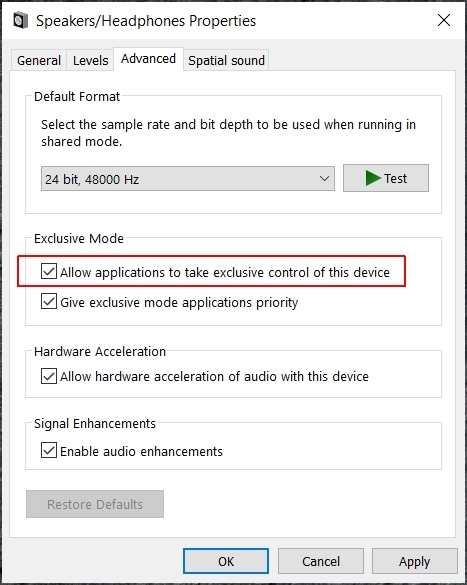
In the Sound Control Panel, select your Recording device and then click on Properties. Move to the Advanced tab and un-check (disable) Allow applications to take exclusive control of this device. Repeat this procedure for the Playback device.
Sometimes, MS Windows enhancements or manipulation of the audio devices may create conflict with VoIP call processing and/or the softphone application. Therefore, another change to consider when having audio problems is to disable those enhancements.
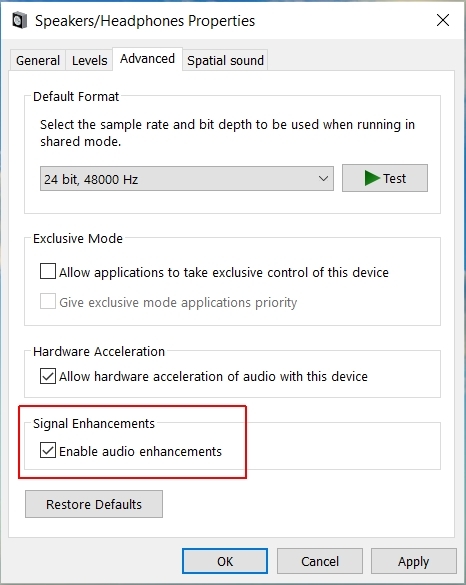
In the Sound Control Panel, select your Playback device and then click on Properties. Move to the Advanced tab and un-check (disable) any applicable enhancements. Repeat this procedure for the Recording device.
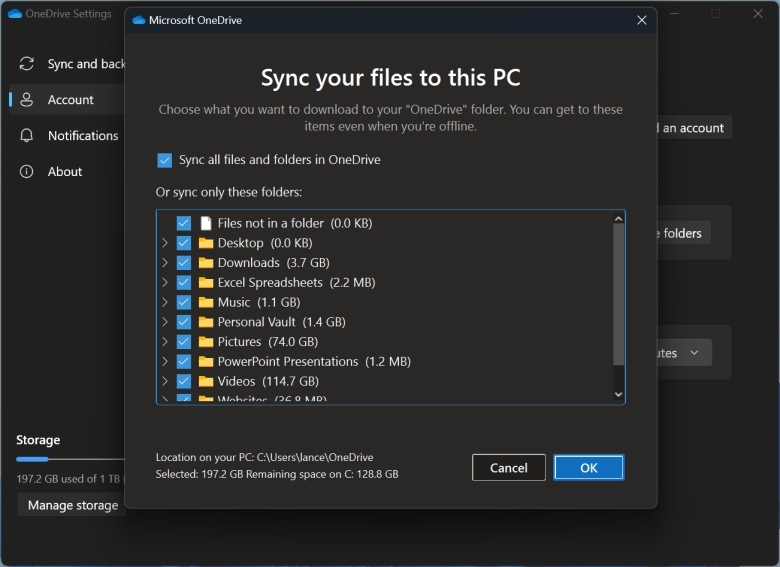
When MS OneDrive is enabled, it may enable, by default, the local/online states of a number of Windows libraries and folders. If that’s the case, and the WPF (Windows Presentation Foundation) folder is included, the DialedIn agent app may not have proper access to important files, creating problems.
To avoid or correct the issue, access OneDrive configuration and disable/deselect OneDrive synchronization of the WPF folder. Do that by accessing the OneDrive application, going to Settings, then Choose Folders, where you can navigate to the WPF folder (usually in the Documents library) and deselect it. You must rerun the DialedIn Agent app setup if you made a change. Refer to the following picture for a generic example of the OneDrive folder selection UI.